Install Home Assistant on Raspberry Pi
date
Jul 31, 2023
thumbnail
slug
install-home-assistant-on-raspberry-pi
author
Can Durmus
status
Published
tags
Quick Project
Smart Home
Raspberry Pi
Automation
summary
Your first step to have a open source software powered smart home!
type
Post
updatedAt
Oct 24, 2023 08:25 AM
Home Assistant is an open-source home automation system. It supports a wide range of integrations and allows users to add different systems to their homes. In this guide, I will share how to install it on Raspberry Pi.
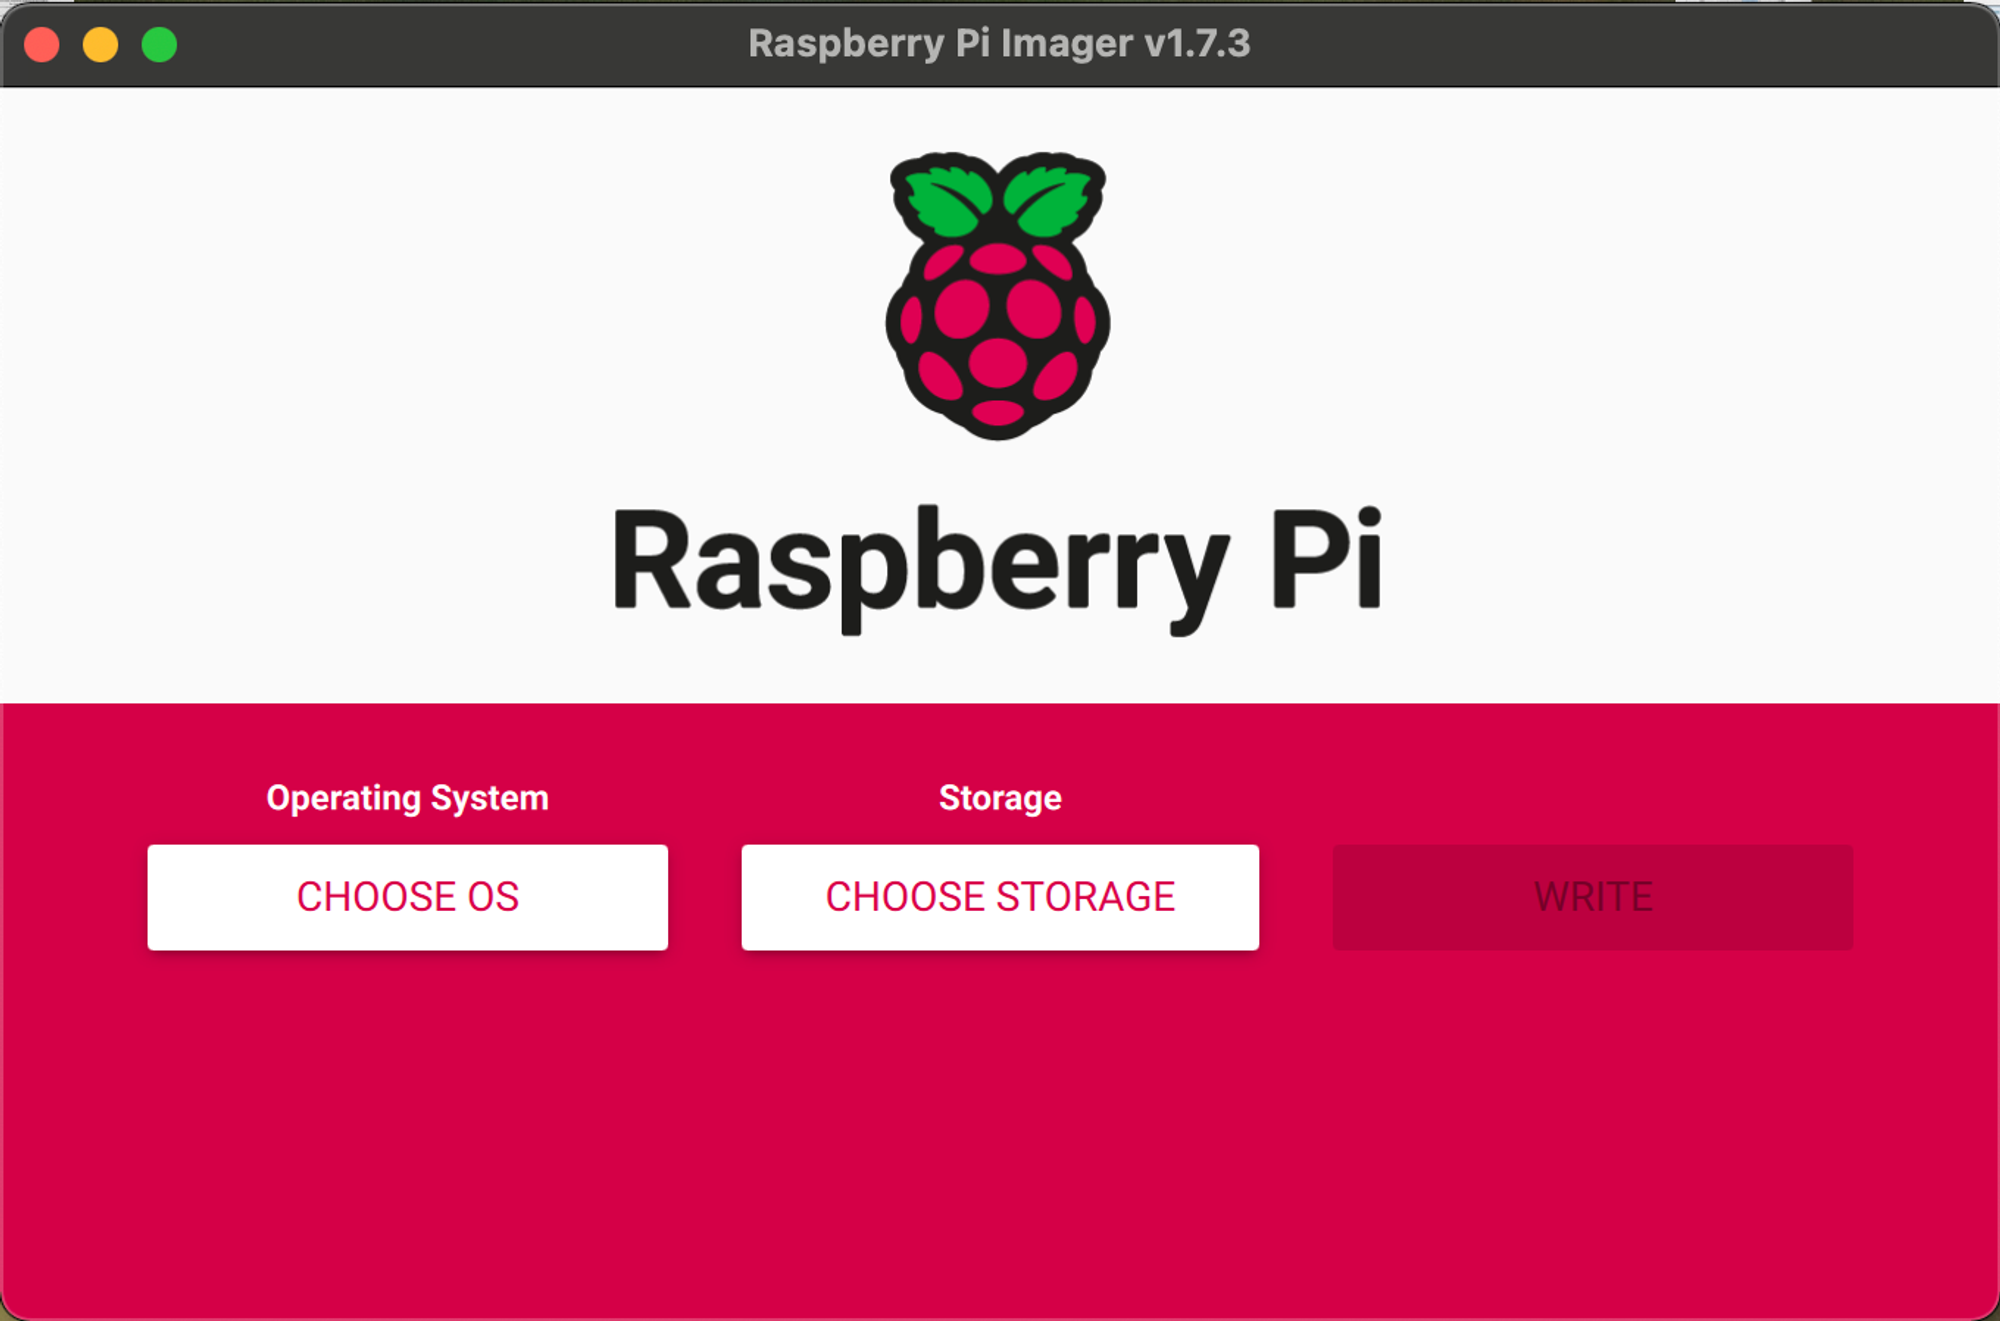
By using Raspberry Pi Imager, installation is quite easy. Download the Raspberry Pi Imager from the following link: https://www.raspberrypi.com/software/
After the download and installation, start the Imager. Plug in your Micro SD Card.
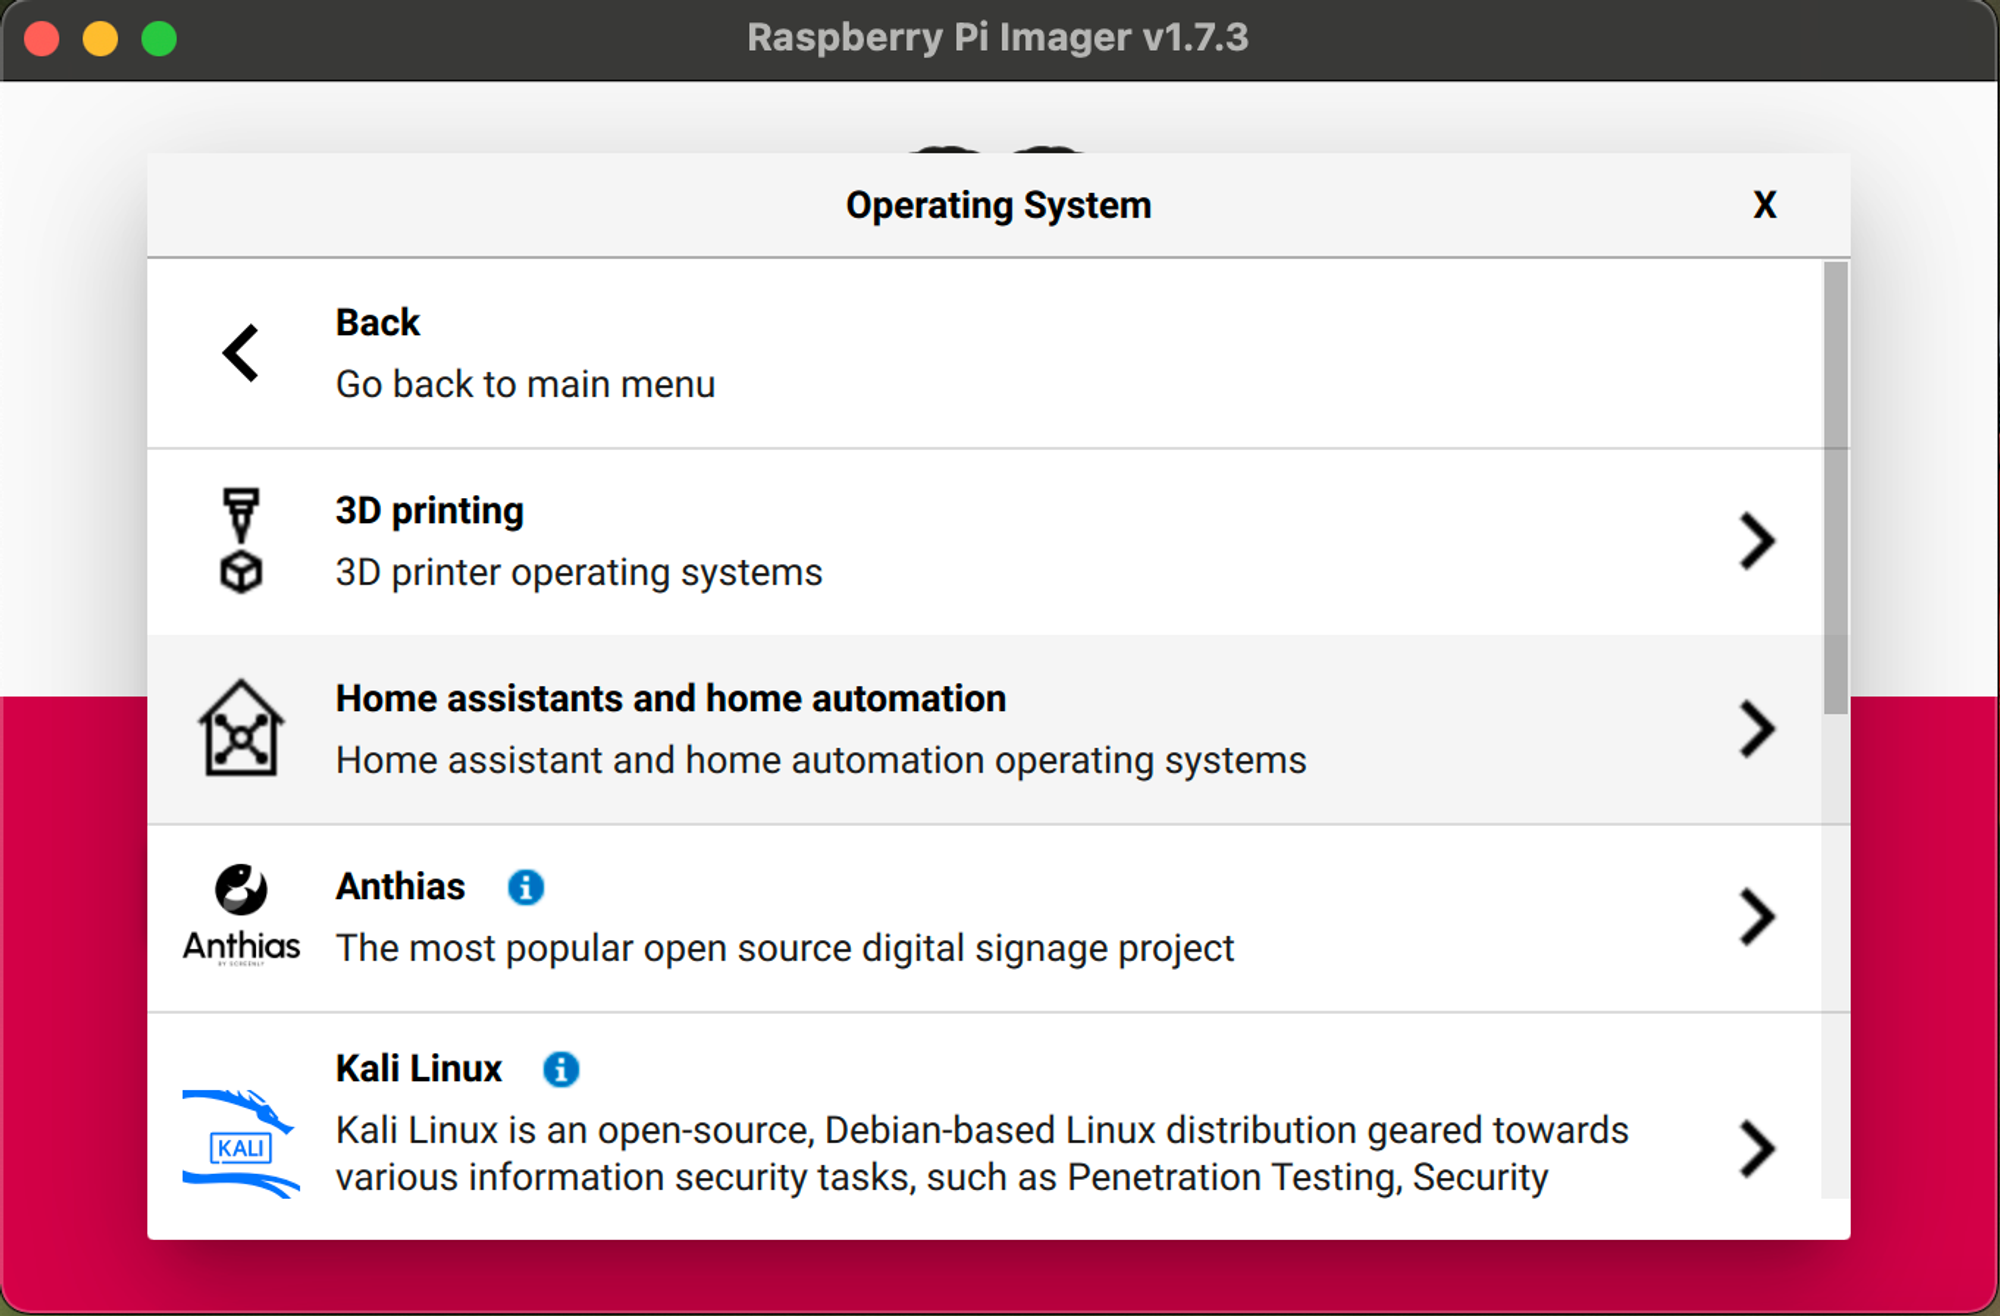
- Choose OS
- Other Specific Purpose OS

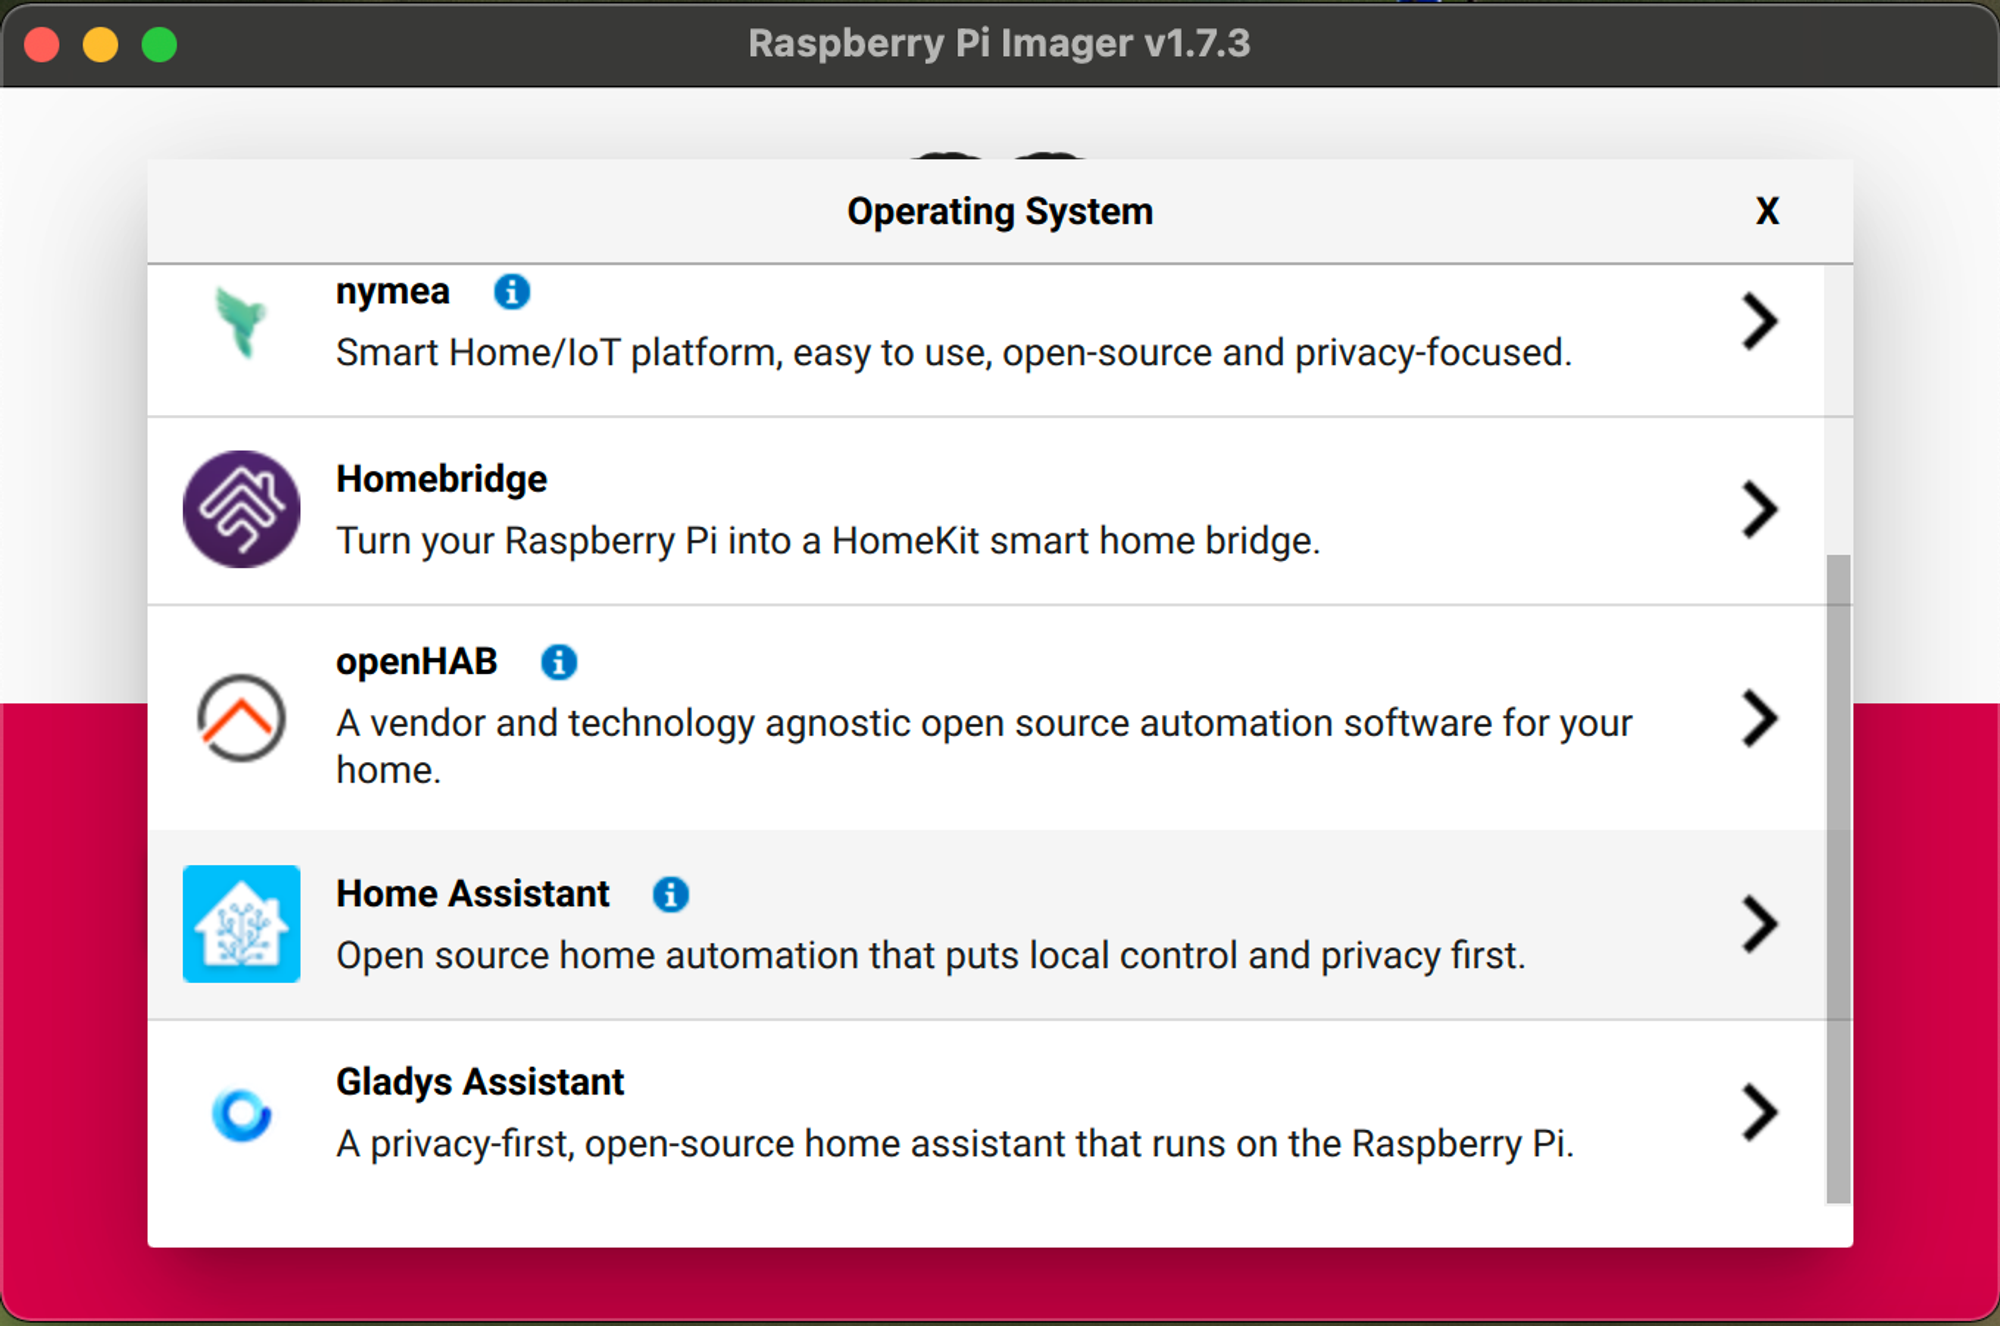
- Home Assistant and Home Automation
- Home Assistant
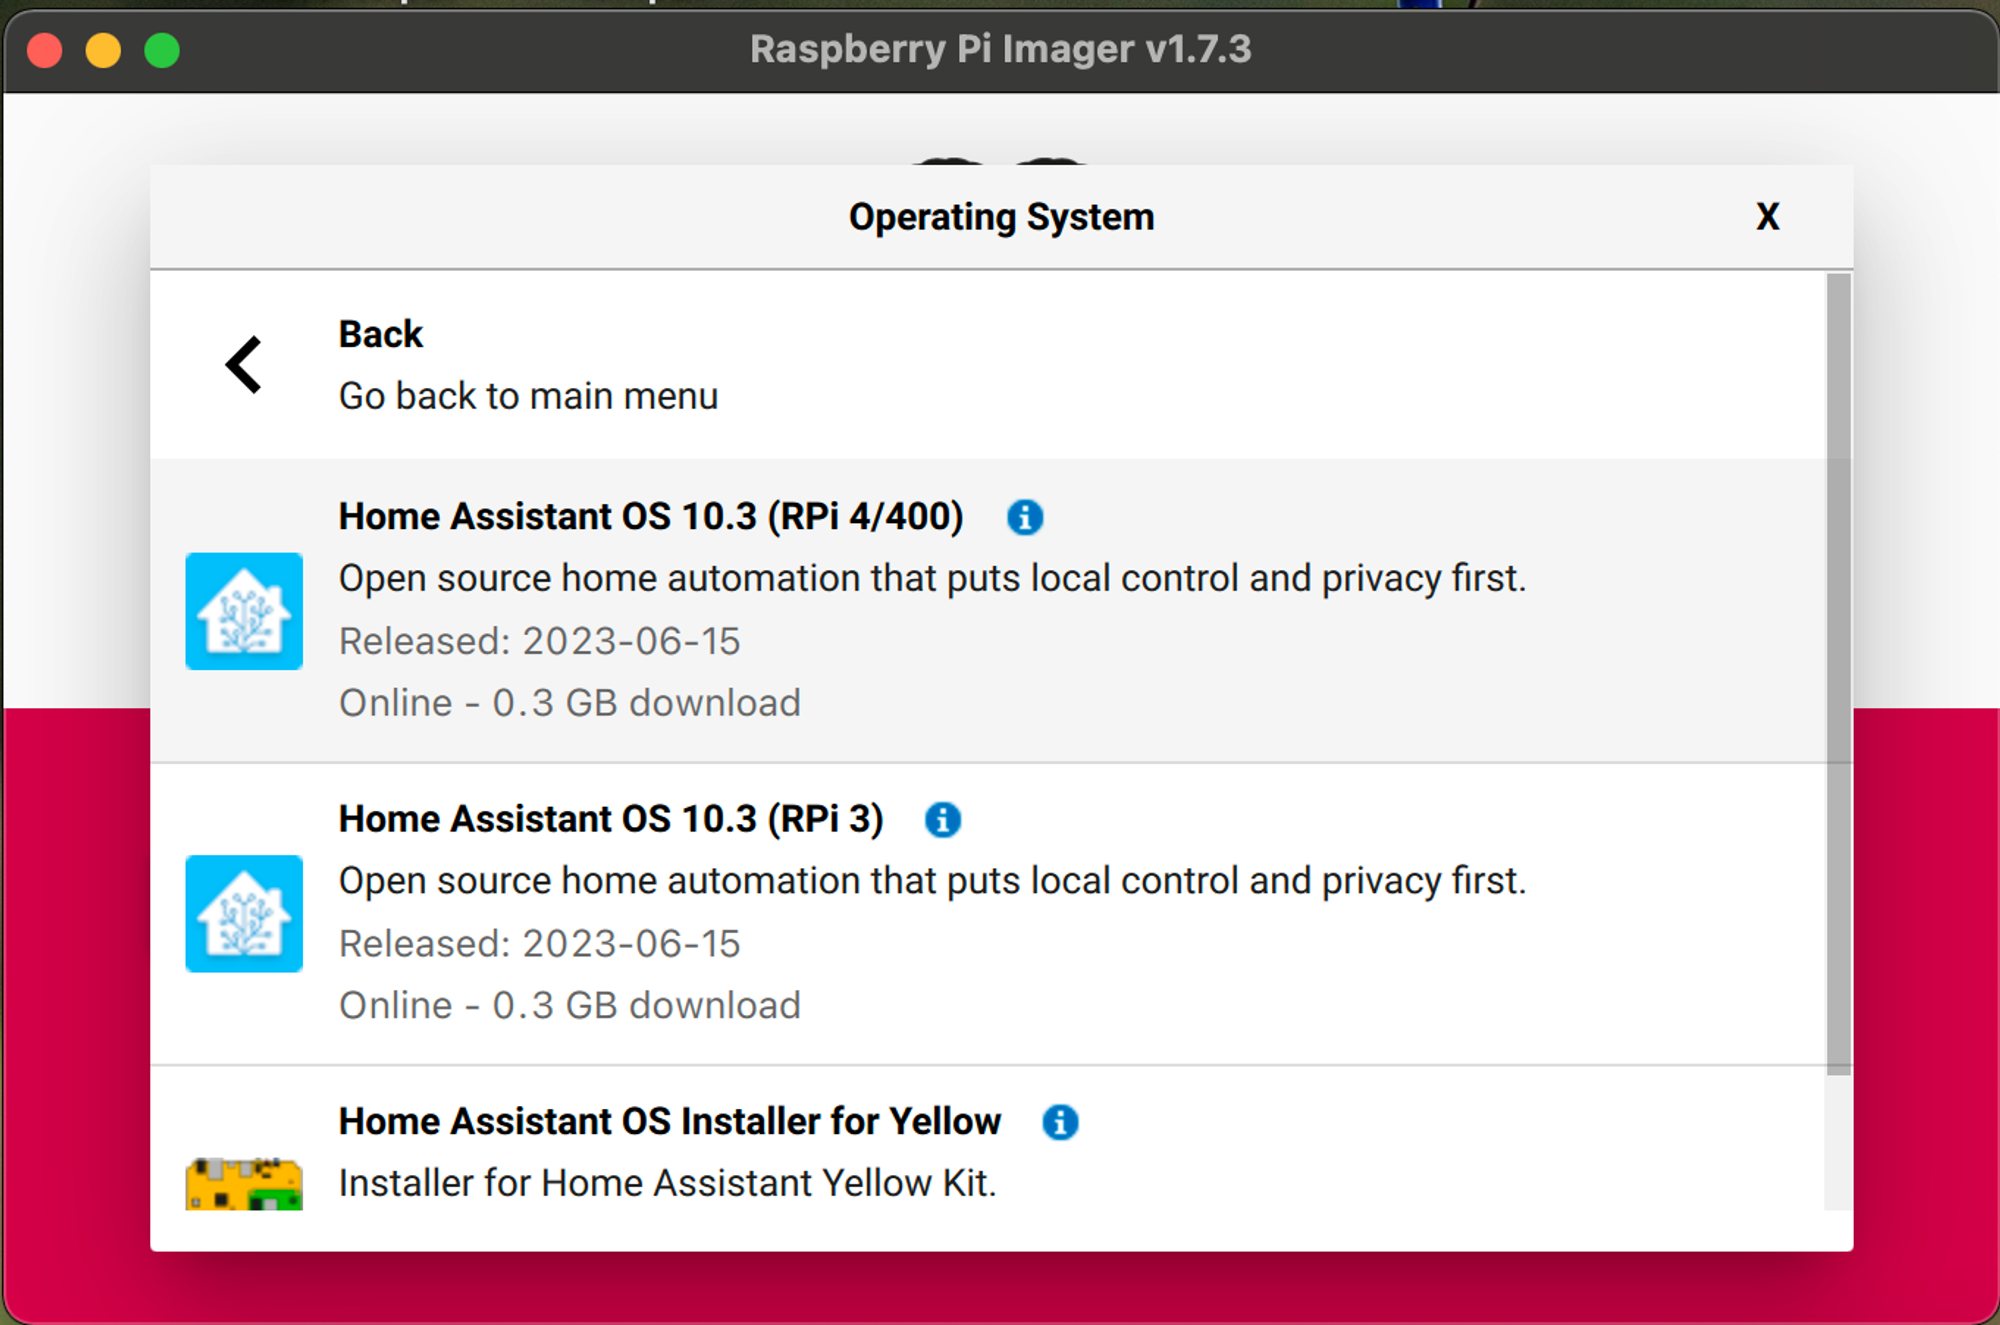
- Select the Corresponding Version for Your Board
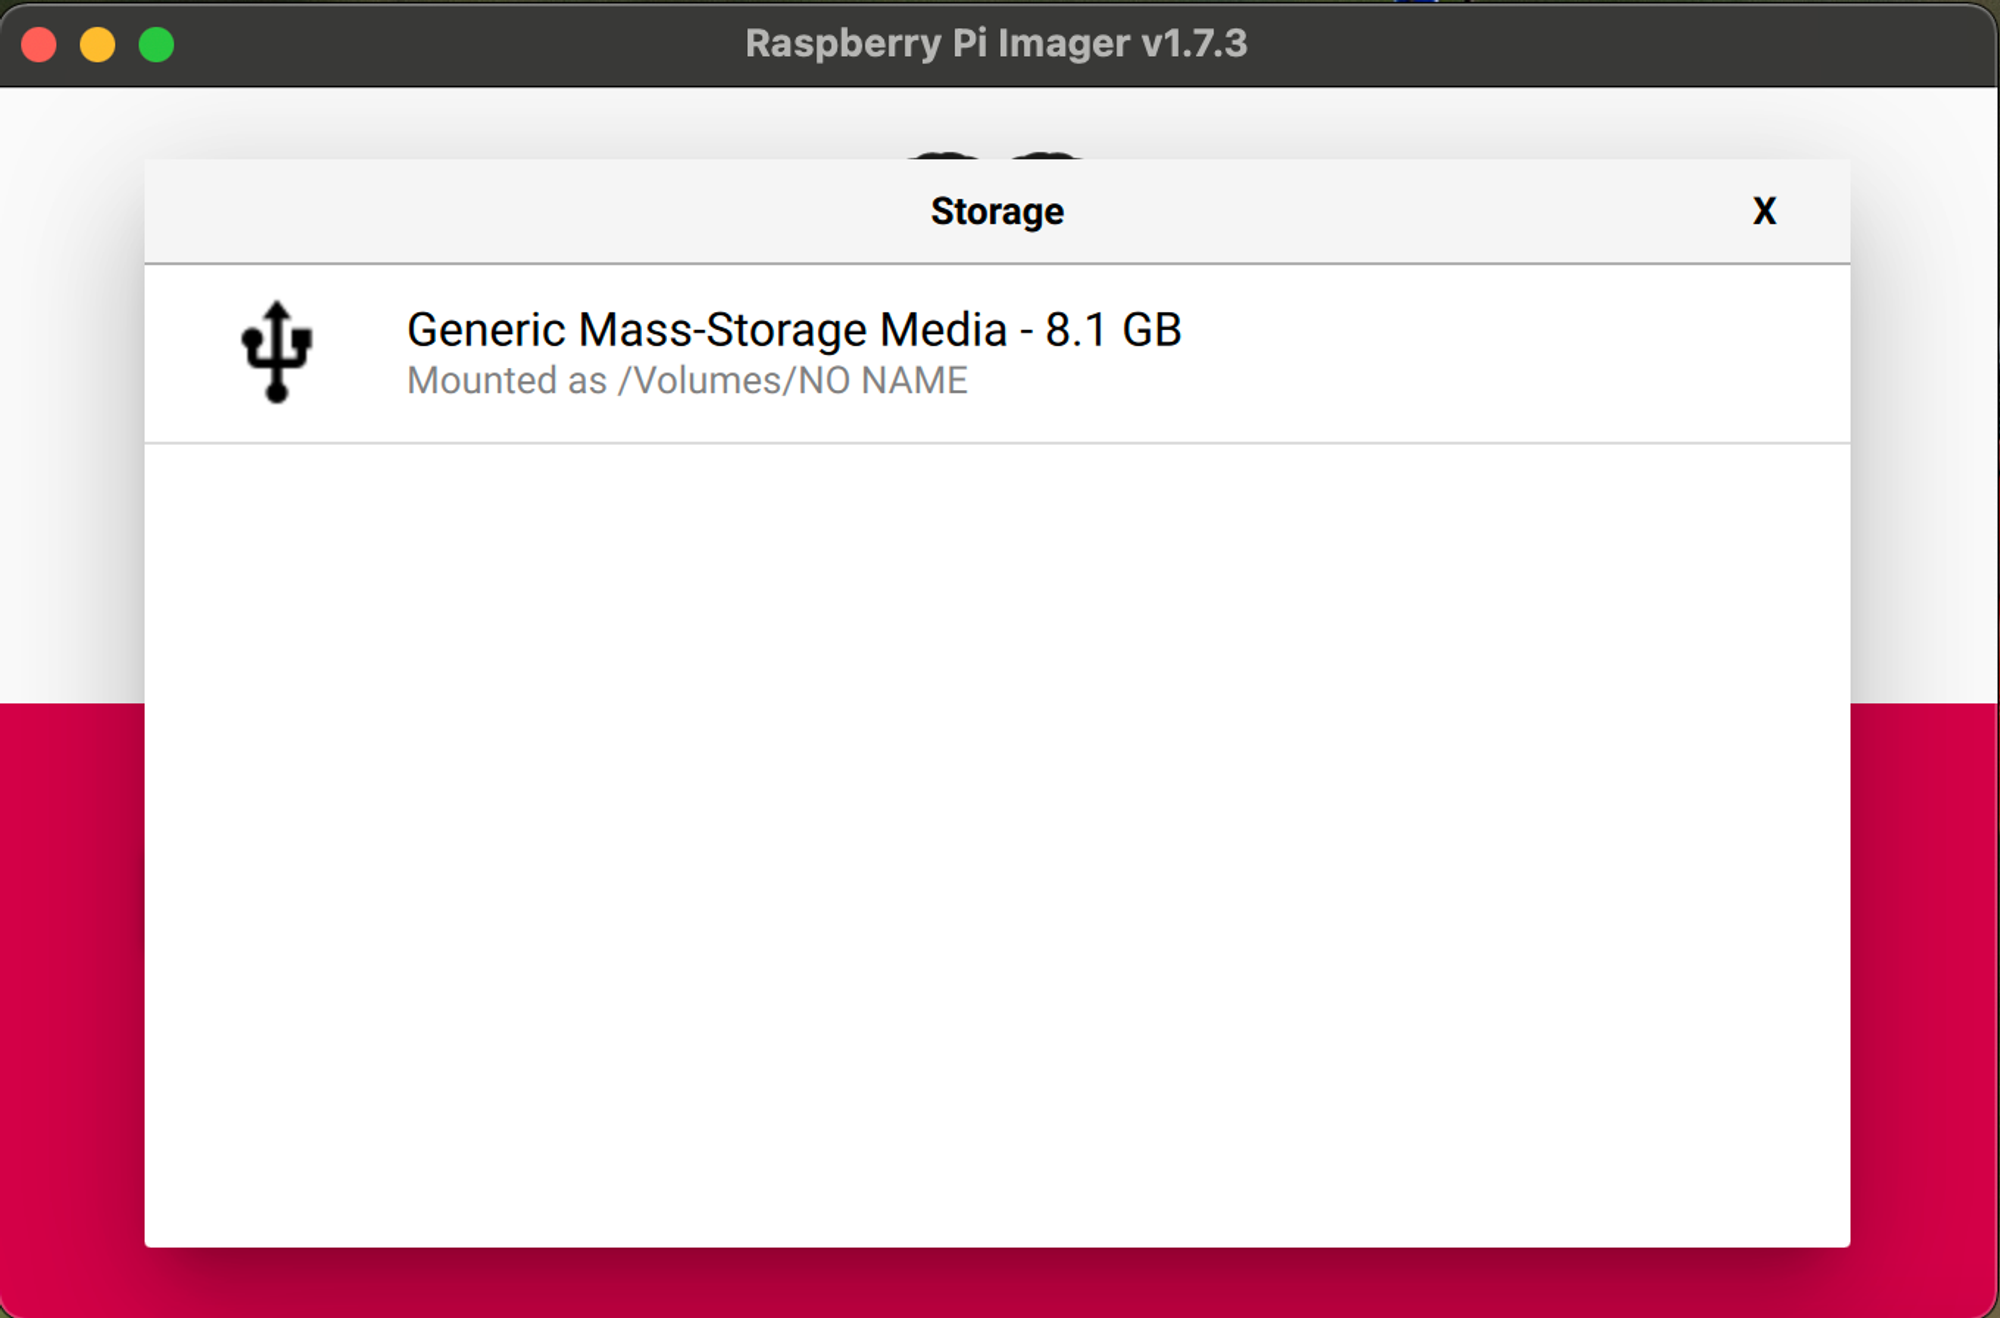
- Click Choose Storage and Select Your MicroSD Card
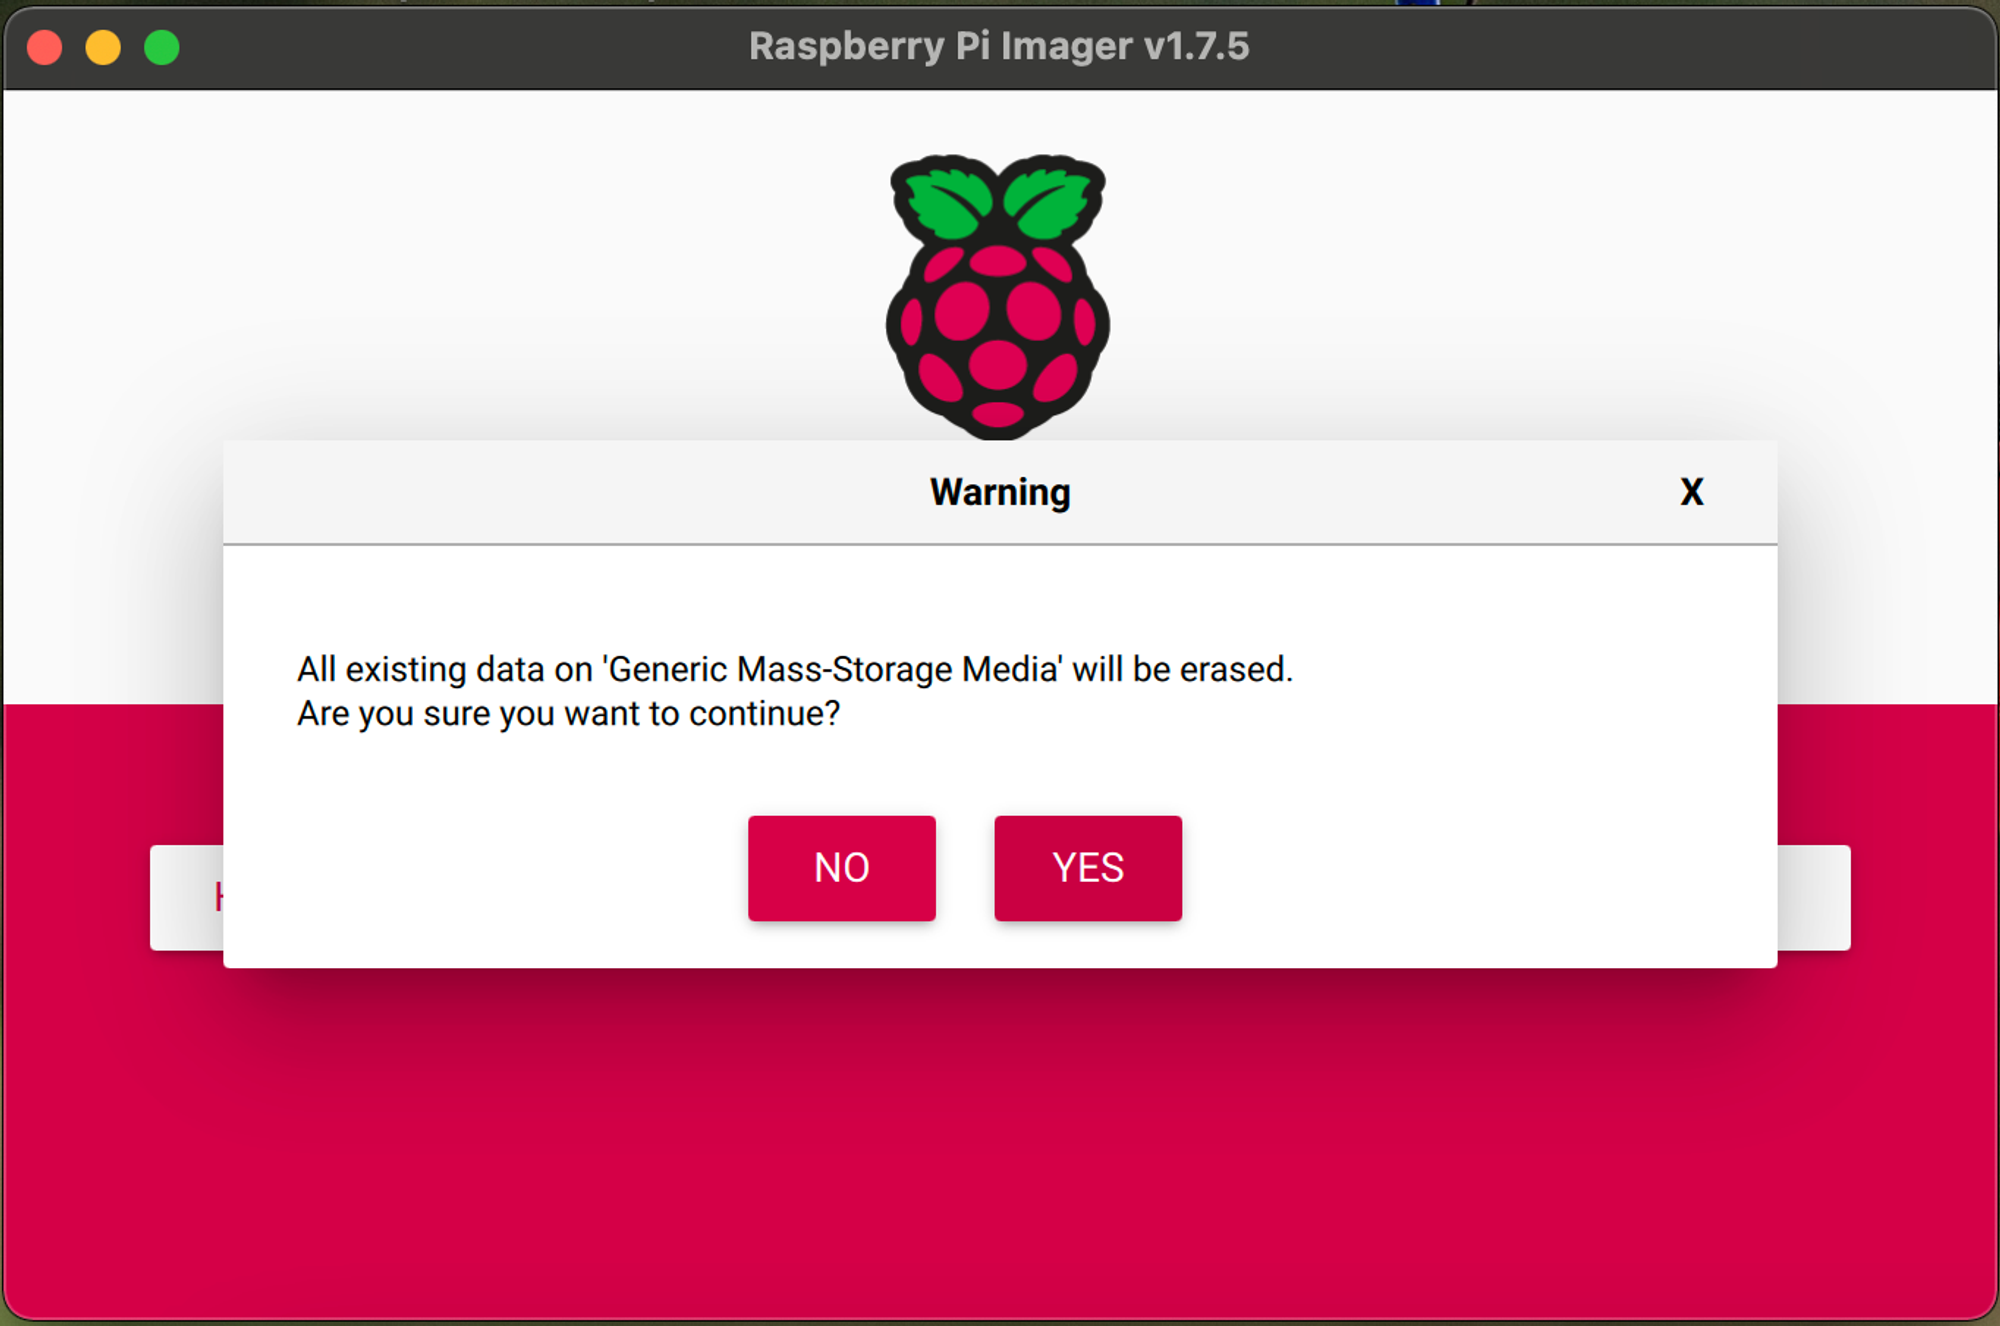
- Click Write and Confirm
- When the installation is completed, put the Micro SD Card into Raspberry Pi and connect the Raspberry Pi to your router by using an ethernet cable and connect it to power.
- After Raspberry Pi boots up, go to the “http://homeassistant.local:8123” address in your browser.
- You should be able to see the welcome screen. If this is the first time installing, click “Create my smart home”. Then the application should take you to the account creation form. Enter your credentials as you wish. Then it should ask you about your location and units with the data you want to share. Personally, I deactivated them all.
- At the end of the installation, the Home Assistant software searches the network for compatible devices and lets you know if it has found anything. You can follow the UI to add them to your dashboard. In my case, I would like to add my own home quality sensors later.
- You can add some cards on the Overview page to access the data collected by the smart devices on your network. Also, these cards can be connected to different sources on the internet to provide relevant data such as the weather. To add a weather card to the Overview page: Go to Settings → Devices & Services → under the Integrations tab → Add integration → Search for weather and choose your provider. I am using “met.no”. Depending on the integration you would like to use, a form should ask you for the relevant information/credentials. You can search Google to get an API key etc.
- When you add the integration, you should be able to add the card to the Overview page. Go to the Overview page and click “Edit dashboard” on the top right. Then click “Add card” on the bottom right and select the weather card you would like to use. The dashboard will ask you for the parameters for the card and then add it to the overview page. Congrats, you have the minimum Home Assistant installation!
- Typically, the Raspberry Pi with Home Assistant installation should be running and connected to the network all the time for it to collect data from your sensors and control devices in the network. In future posts, I will show how to build and add your custom air quality sensors to this installation. You can check for the integrations (there are thousands!) over here: https://www.home-assistant.io/integrations/
Have fun!