Coding on Raspberry Pi Remotely with VS Code
When developing software for Raspberry Pi we all get frustrated by the synchronization between the Raspberry Pi and the development environment. Some people are pushing the code from the development environment to git and pulling it from the Raspberry Pi and running it. Some people are using “scp” to copy files into the Raspberry Pi from the development environment through the local network.
When we are able to test the software on the development environment, this is not a big issue, develop it test it, and synchronize the two environments. But when it comes to the “code specific to the Raspberry Pi” like using GPIO or different hardware connected to the Pi, running the code frequently is required, and synchronizing two environments can stall the development process.
VS Code has a proper solution for this issue. All you have to do is install “Remote - SSH Extension” on your development environment VS Code and connect to your Raspberry Pi with SSH credentials. VS Code will install a service on the Raspberry Pi and then you will be able to keep developing on Raspberry Pi as you develop locally.
Whenever you hit Ctrl+S, the file will be synchronized with the project on the Pi. The terminal on the VS Code will be connected to the Raspberry with SSH as default, so opening a terminal and running “python3 test.py” would be as easy as running on the development environment.
1. Download and Install VS Code
You can download VS Code with this link. Installation is extremely easy but different on all operating systems, I suggest you follow VS Code documentation if you need any help.
2. Navigate to the Extensions section on VS Code
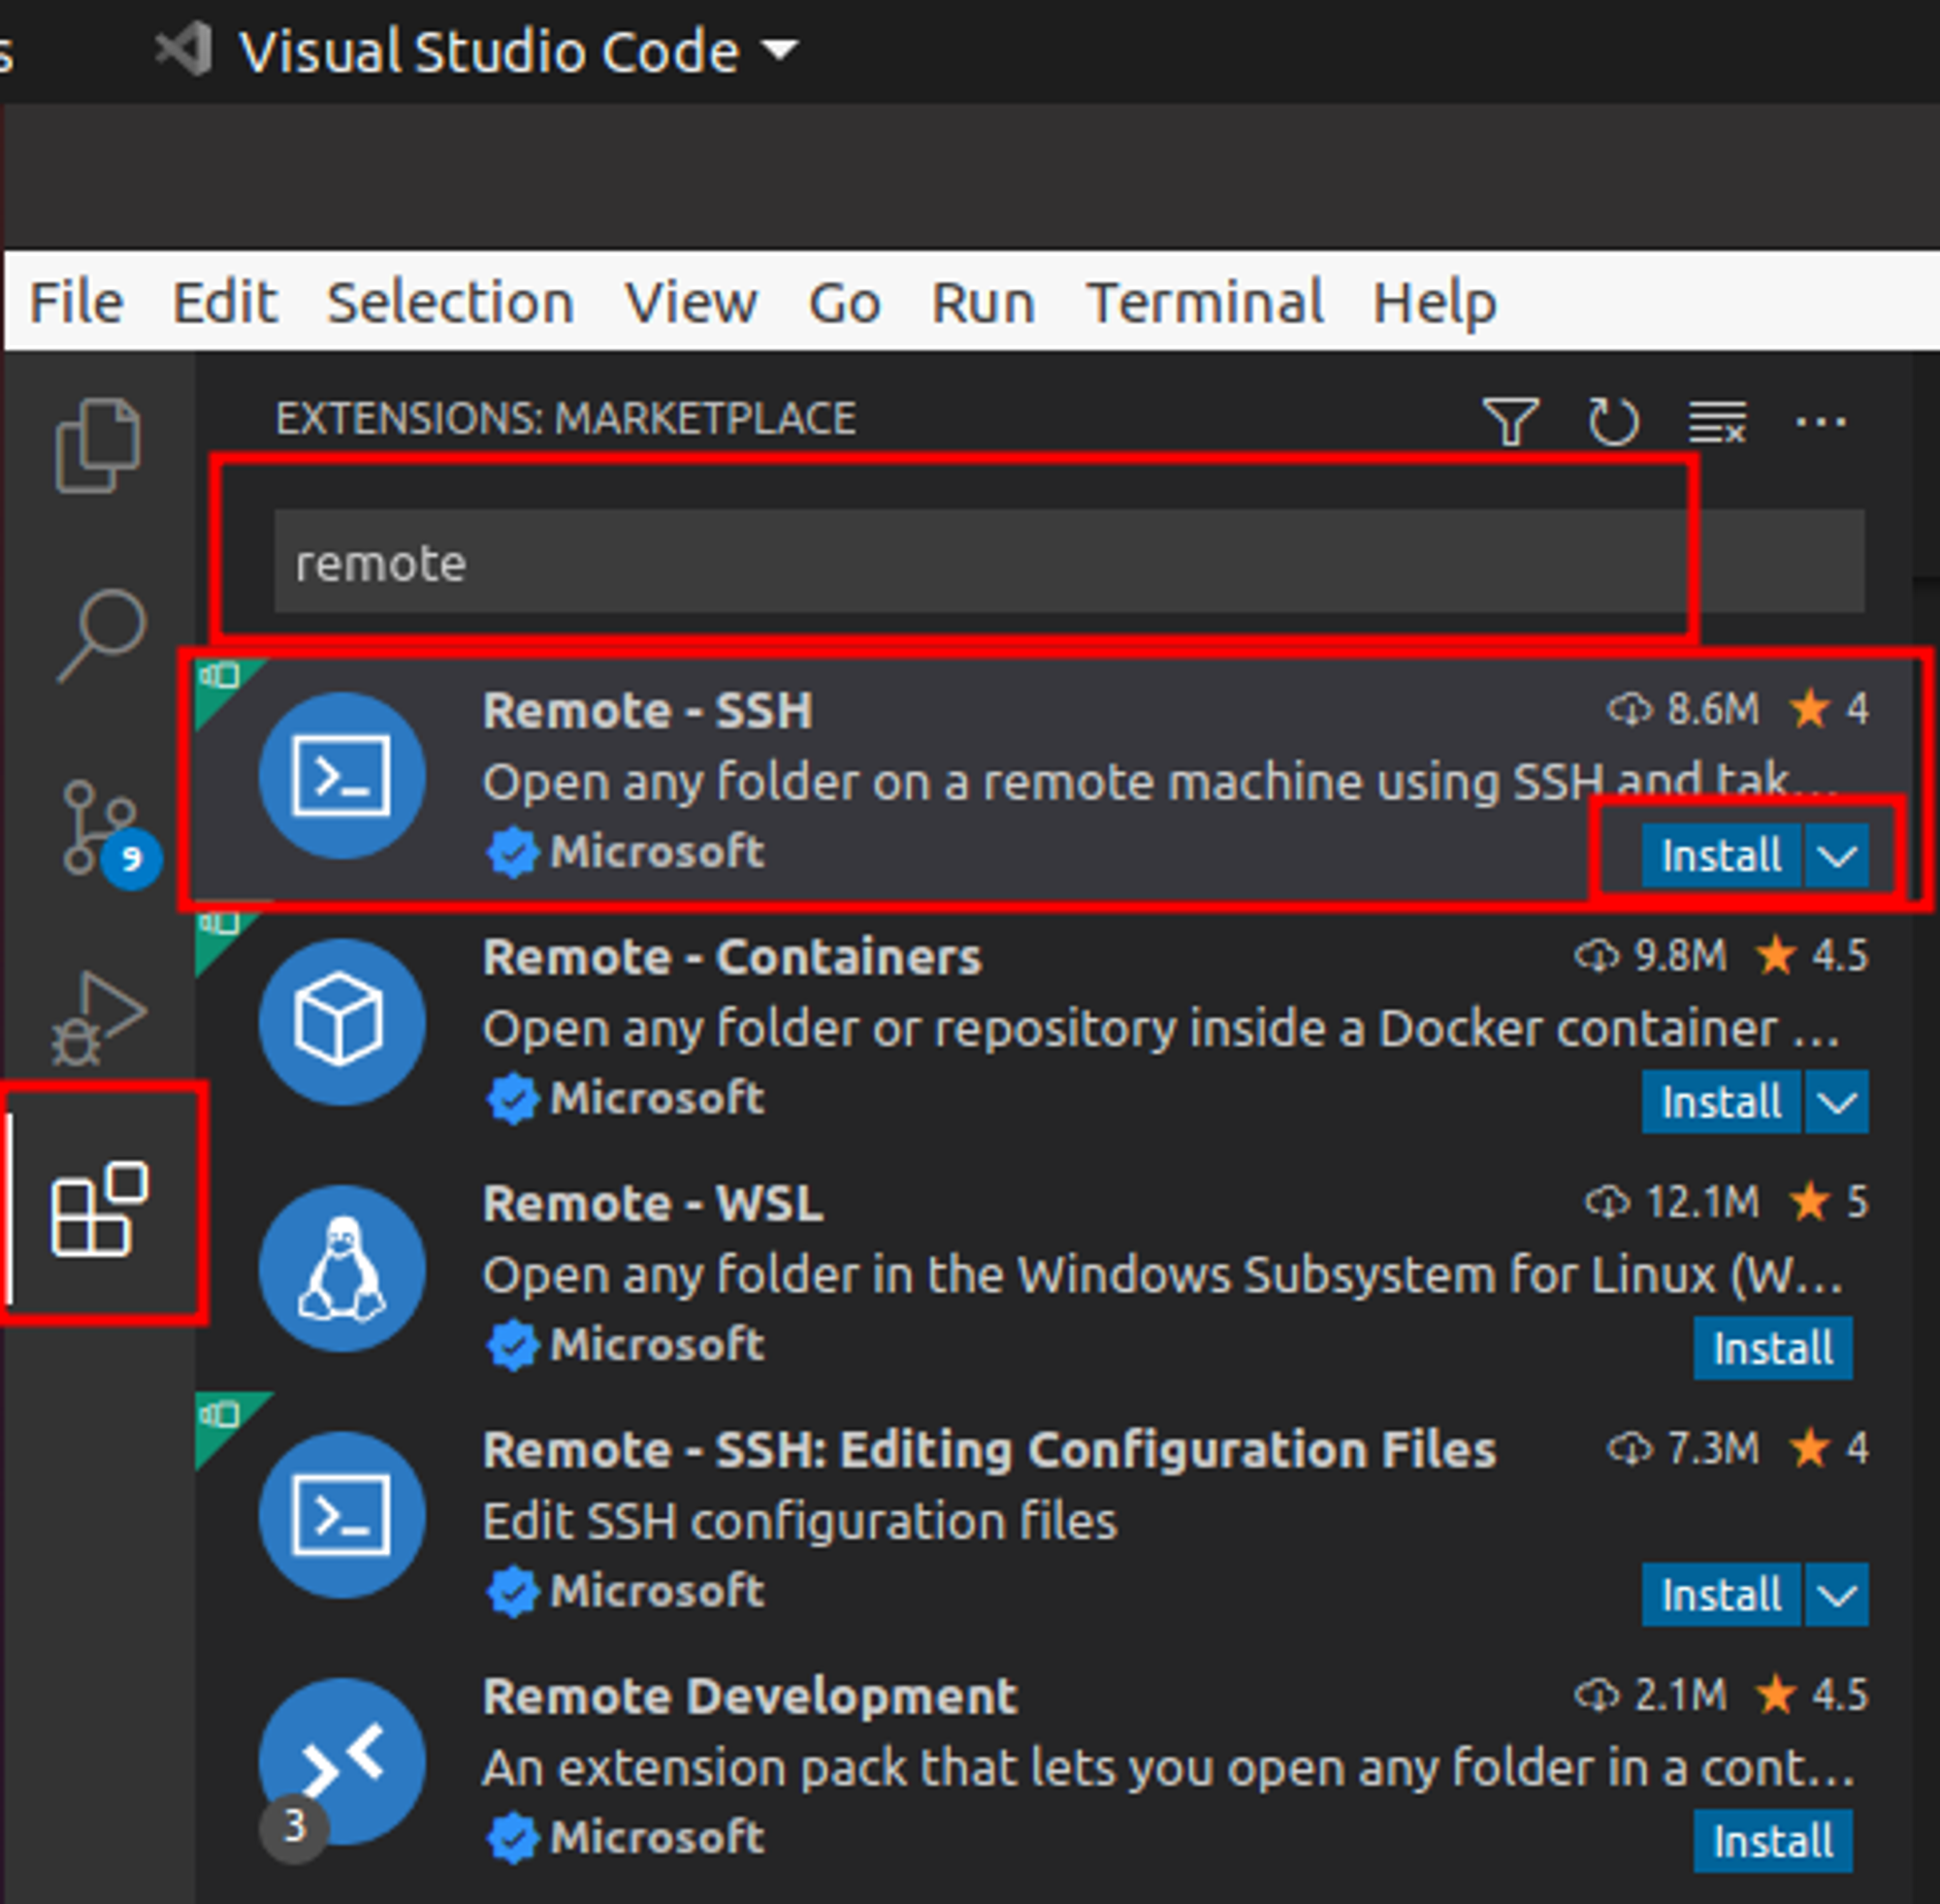
After the installation, open VS Code and navigate to the Extensions section on the left bar. There is a search bar on top of the Extensions section, search for “remote”. In the results, find the “Remote - SSH” extension and install it.
3. Add Raspberry Pi to the “SSH Targets”
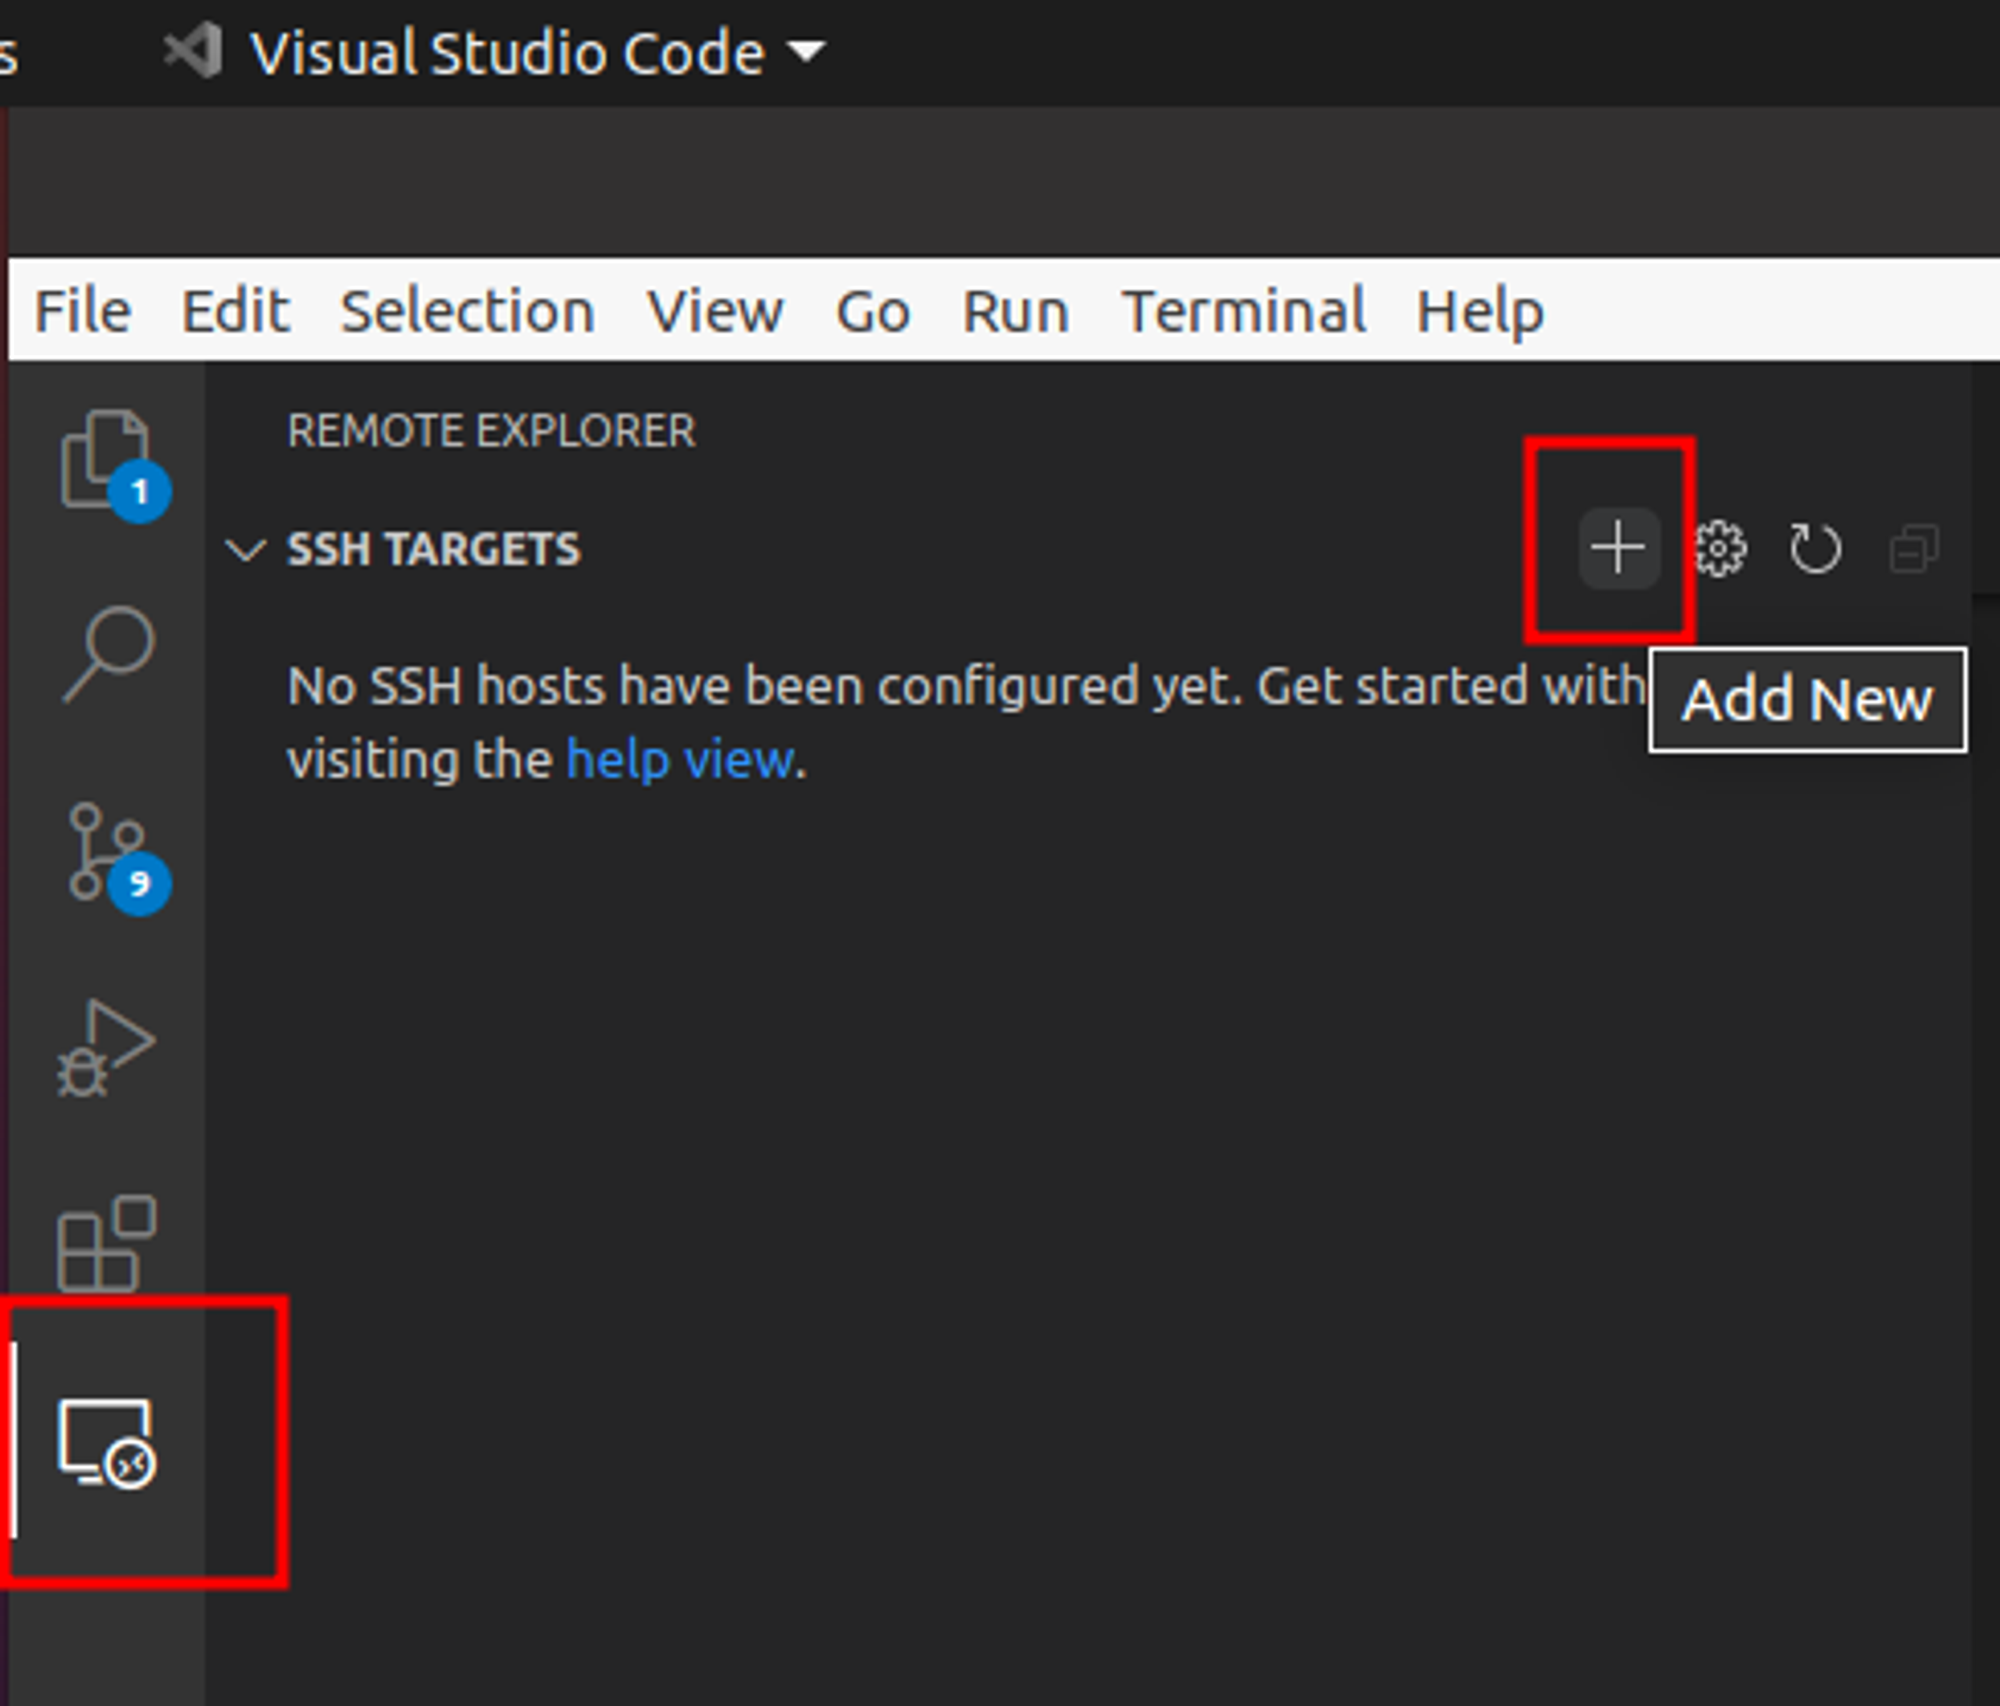
After the installation of the extension, you should be able to see the new section added for the extension. Navigate to the new section and click the small ’+’ button to add a new host (Raspberry Pi in our case)
4. Enter the SSH command and credentials
VS Code will ask for the SSH connection command. On my Raspberry Pi, Ubuntu Server is installed as an operating system. The user name typically will be ‘pi’ if you are using Raspberry Pi OS. Of course, do not forget to change your IP address to your Raspberry Pi’s IP address. After entering the connection command line as below, press enter.
ssh [email protected]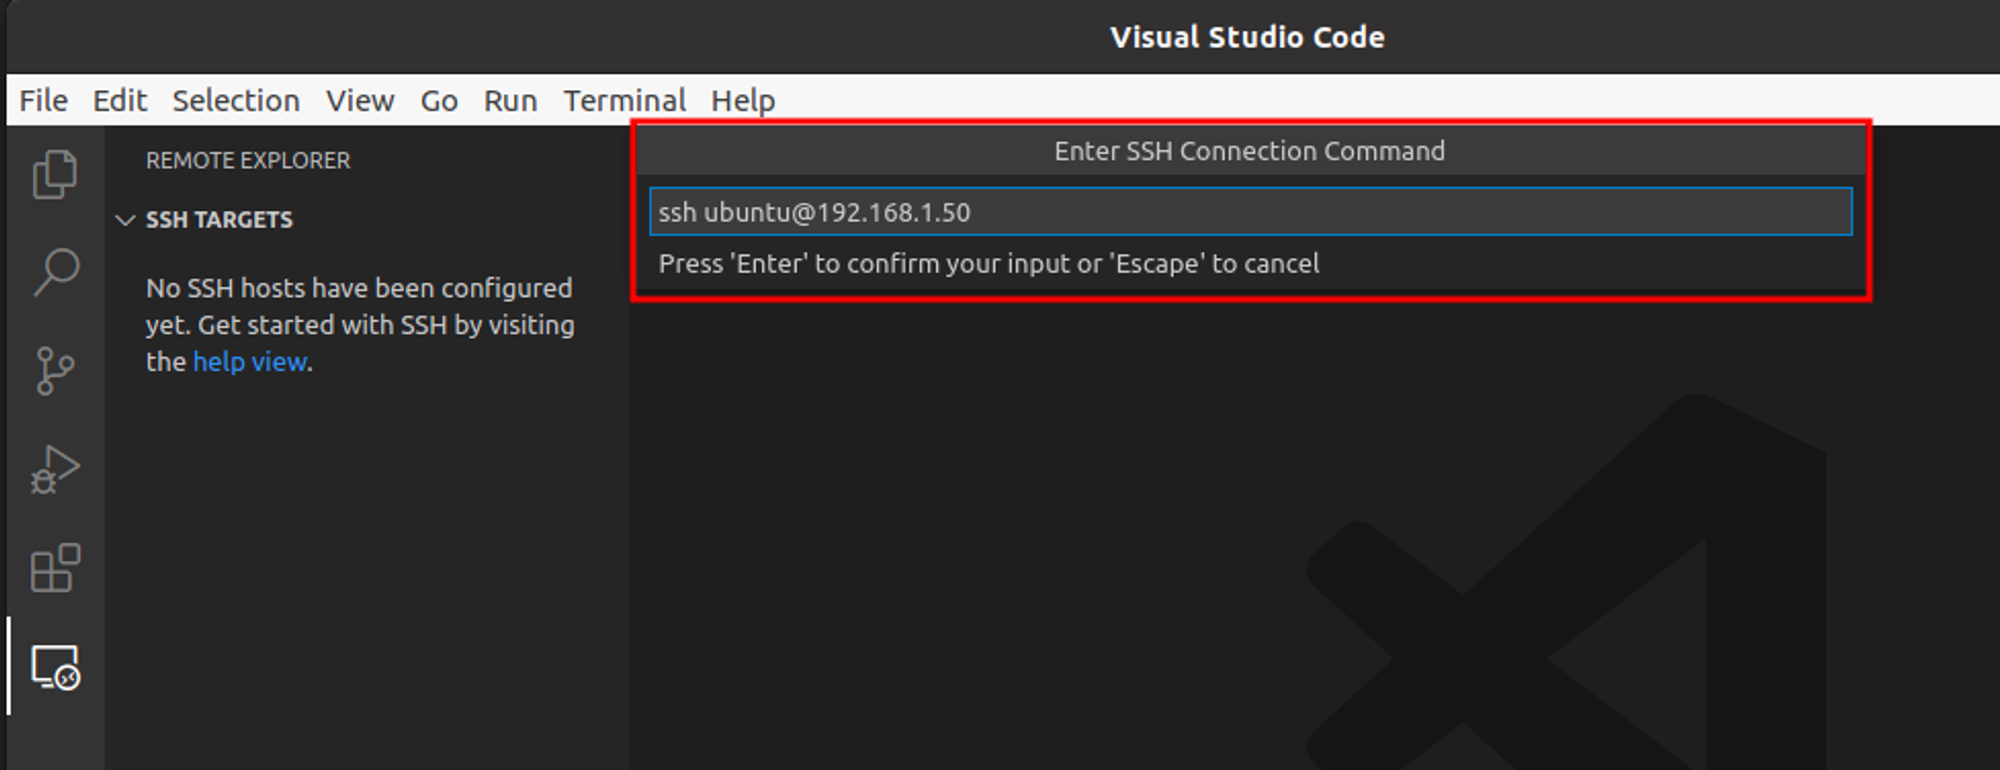
5. Select the SSH configuration file
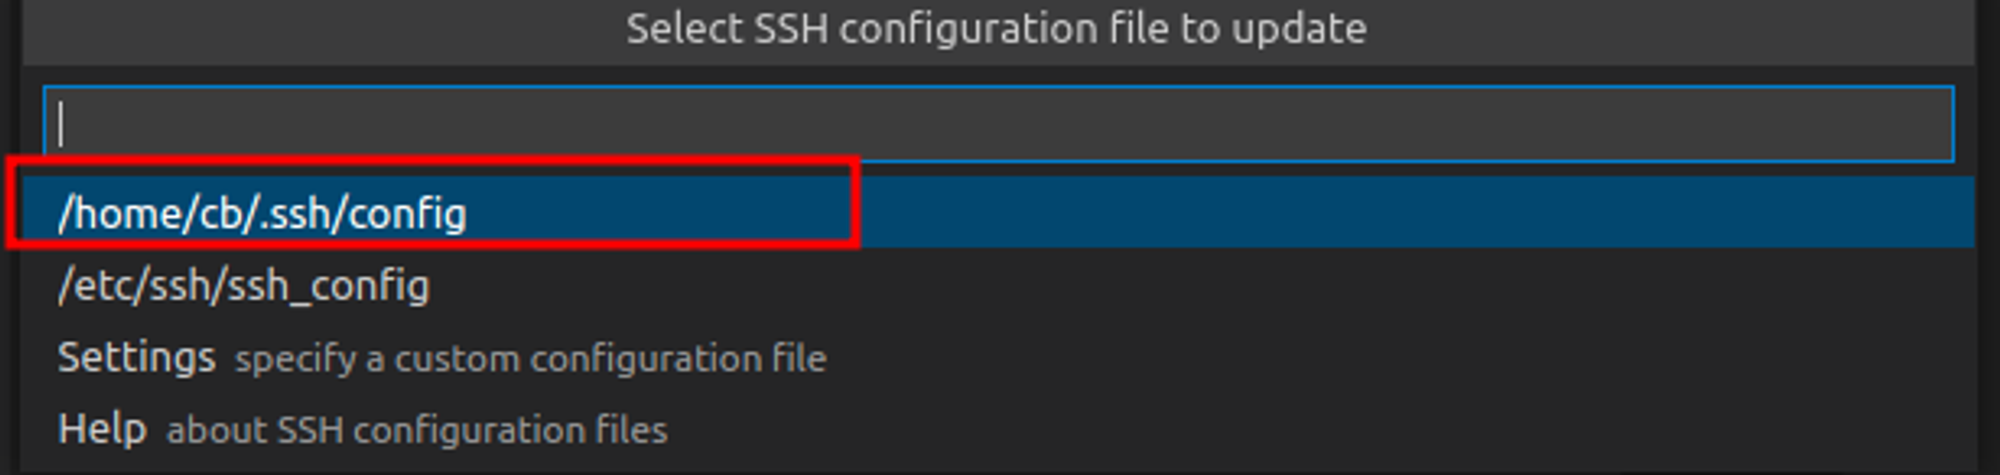
SSH keys should be held somewhere on your local file system, VS Code will as for your preference. I typically use the .ssh folder under my user as shown in the image.
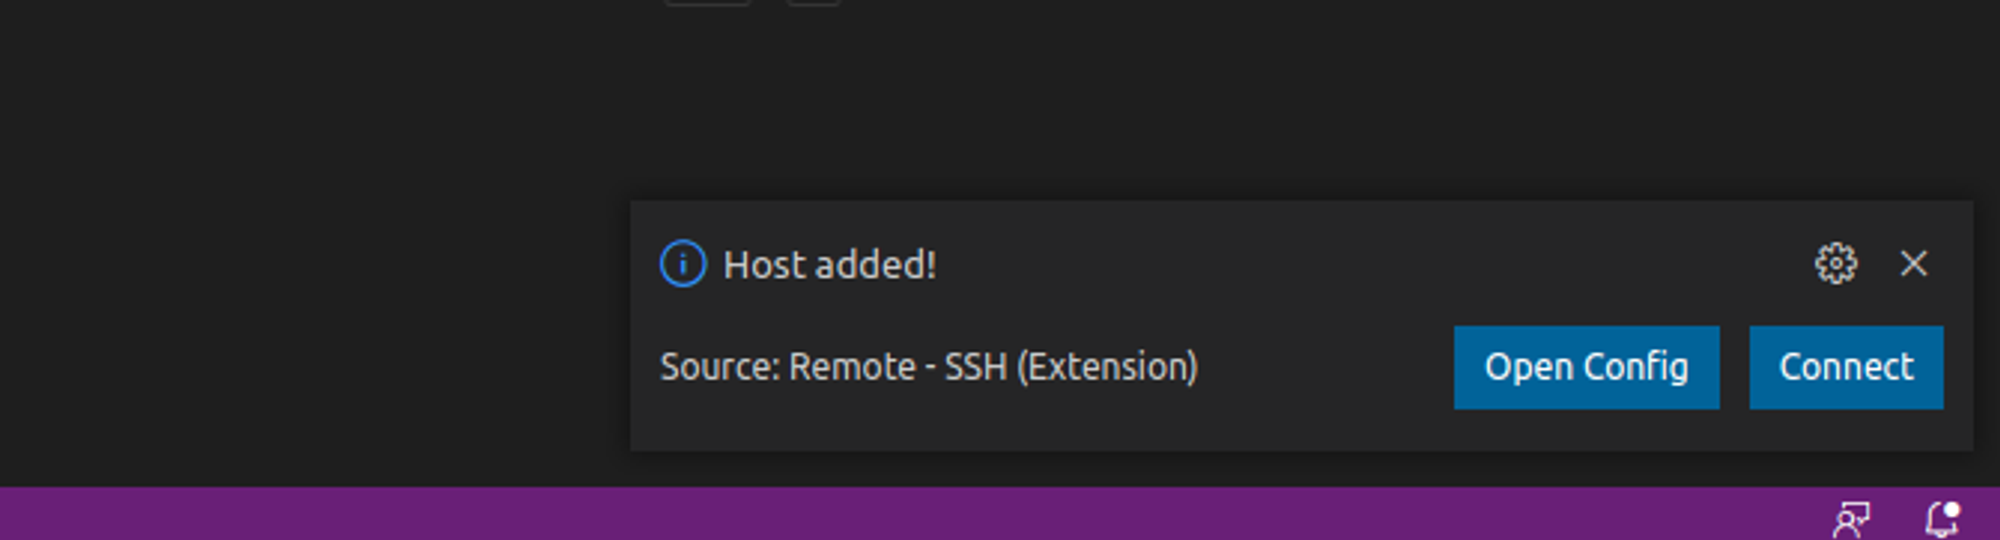
You will see a notification that says ‘Host added!’
6. Connect to your Raspberry Pi
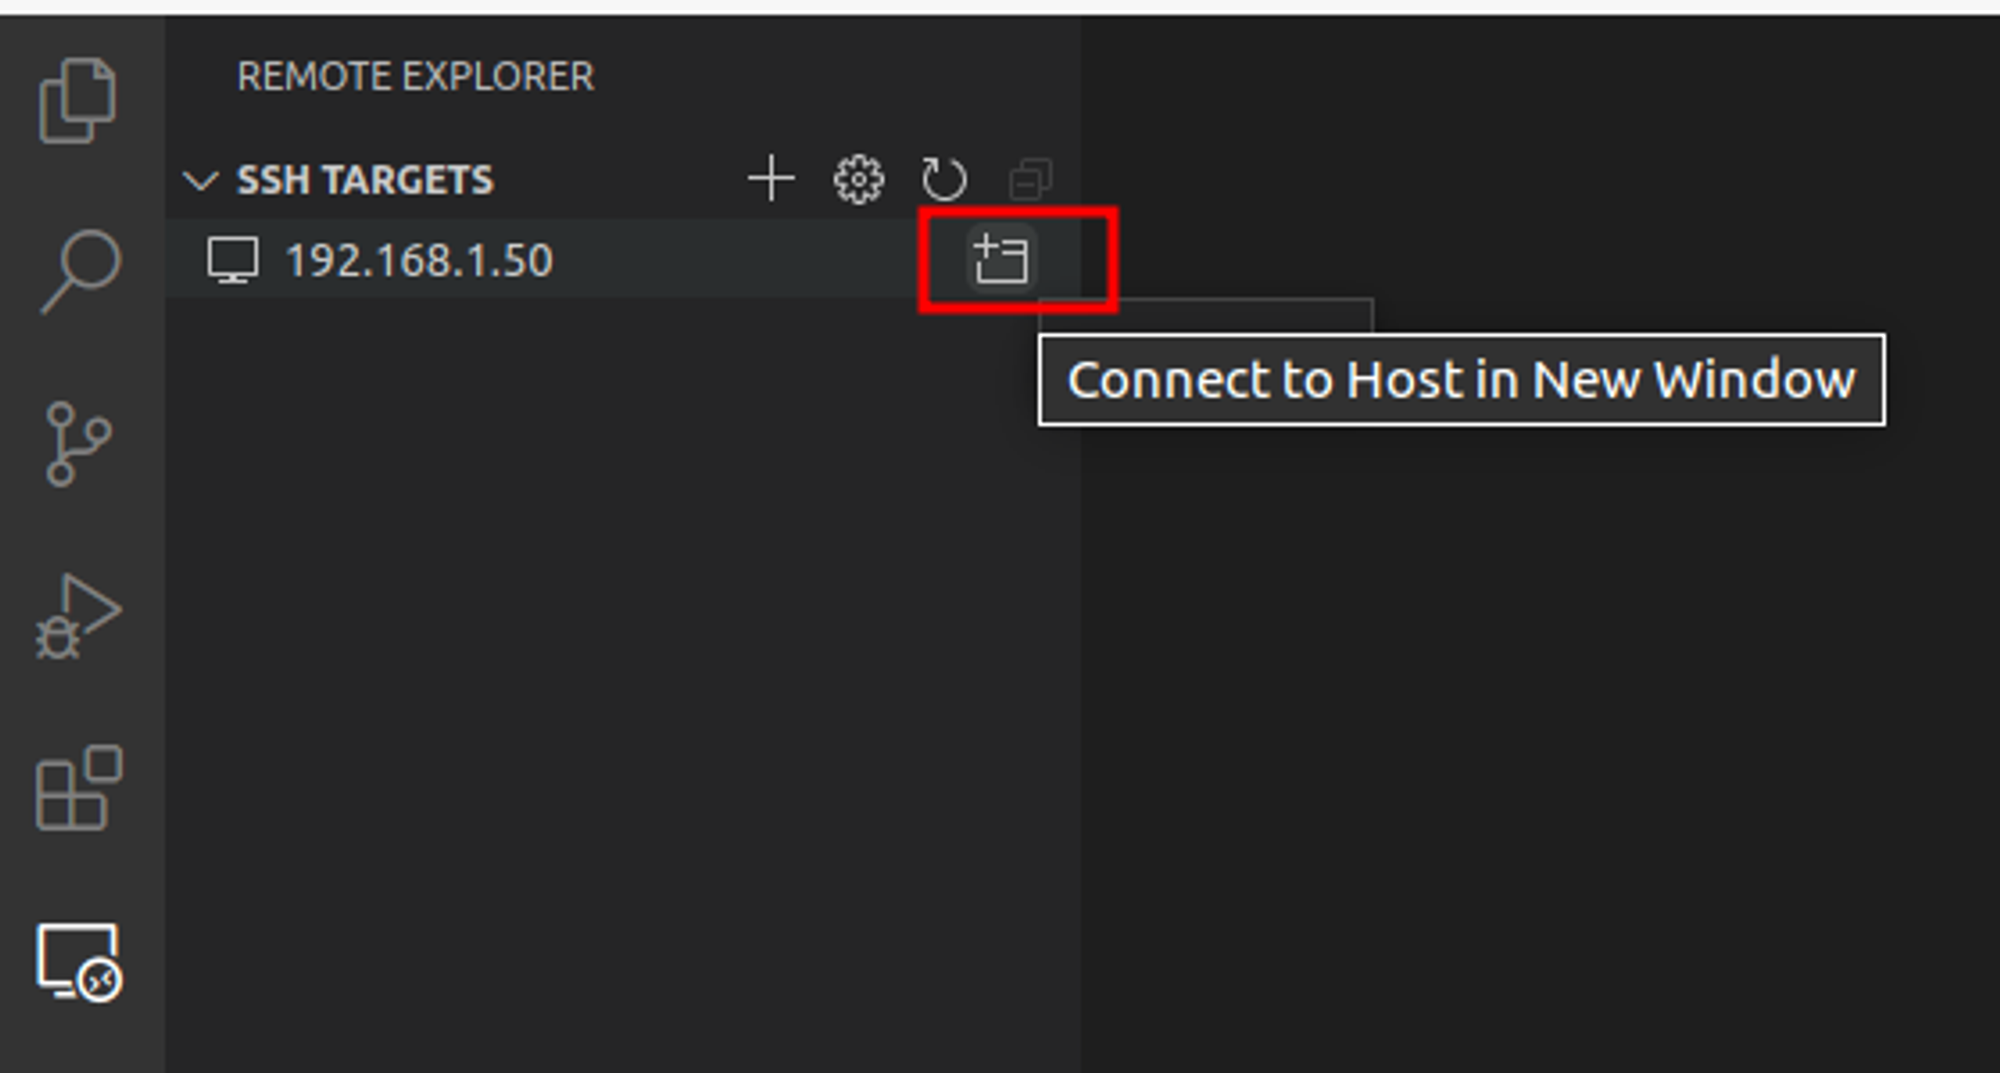
You should be able to see your Raspberry Pi as listed under the ‘SSH Targets’ on the left side. Click on the small folder icon to connect to your host.
It will ask for the password, enter your password, and press ‘Enter’.

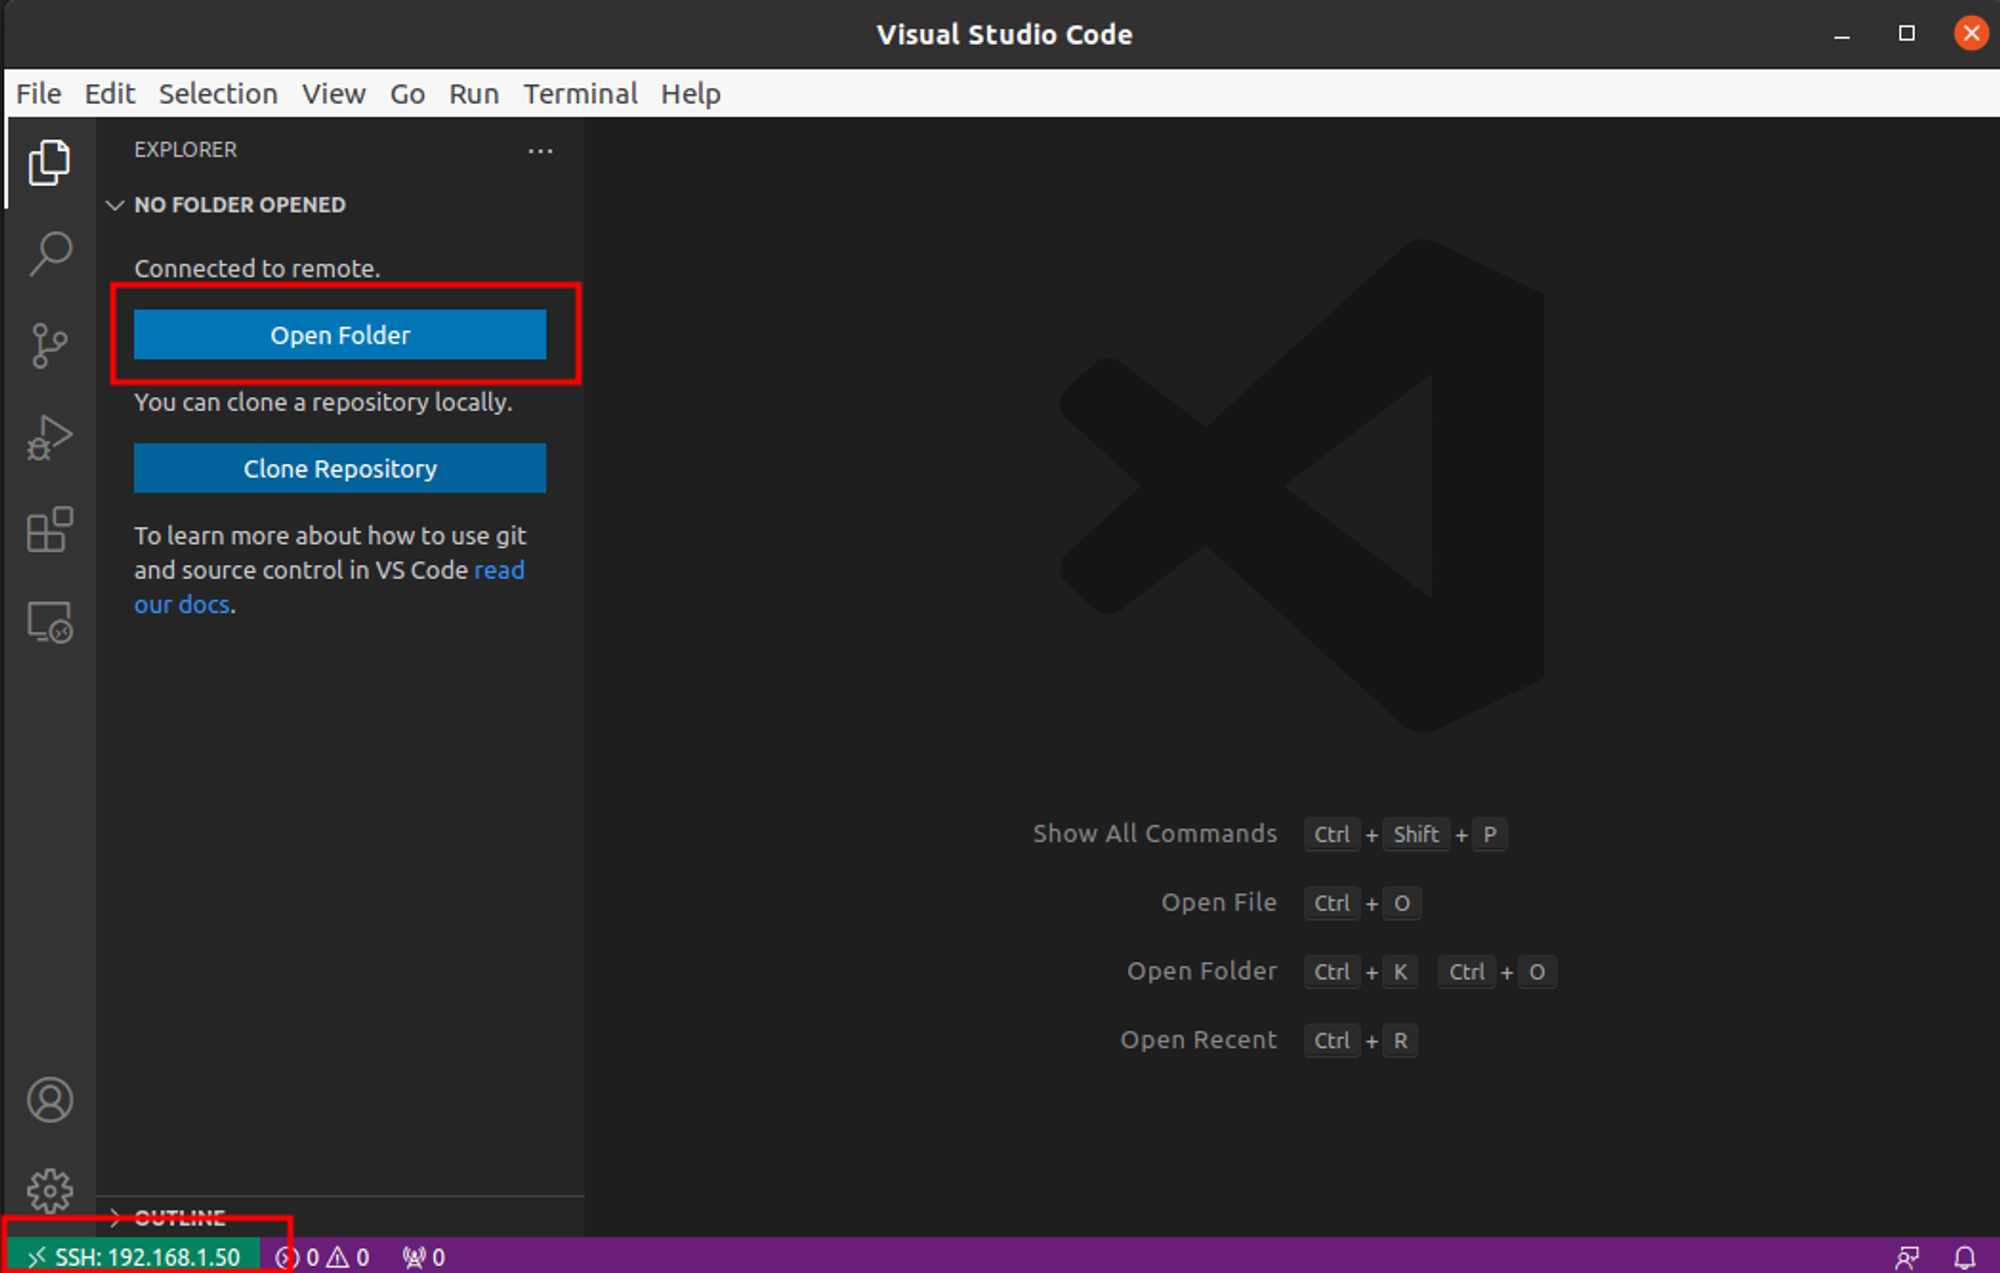
VS Code will notify you that it installs ‘VS Code Server’ to the Raspberry Pi, it is required for the synchronization between the development environment and the Raspberry Pi’s file system.

7. Open your project
As an example, I already created a folder and a small Python script in it to represent your project on the Raspberry Pi. If you don’t have your project on your Raspberry Pi you can use git to clone it to the Raspberry Pi.
Click ‘Open Folder’ to open your project folder.
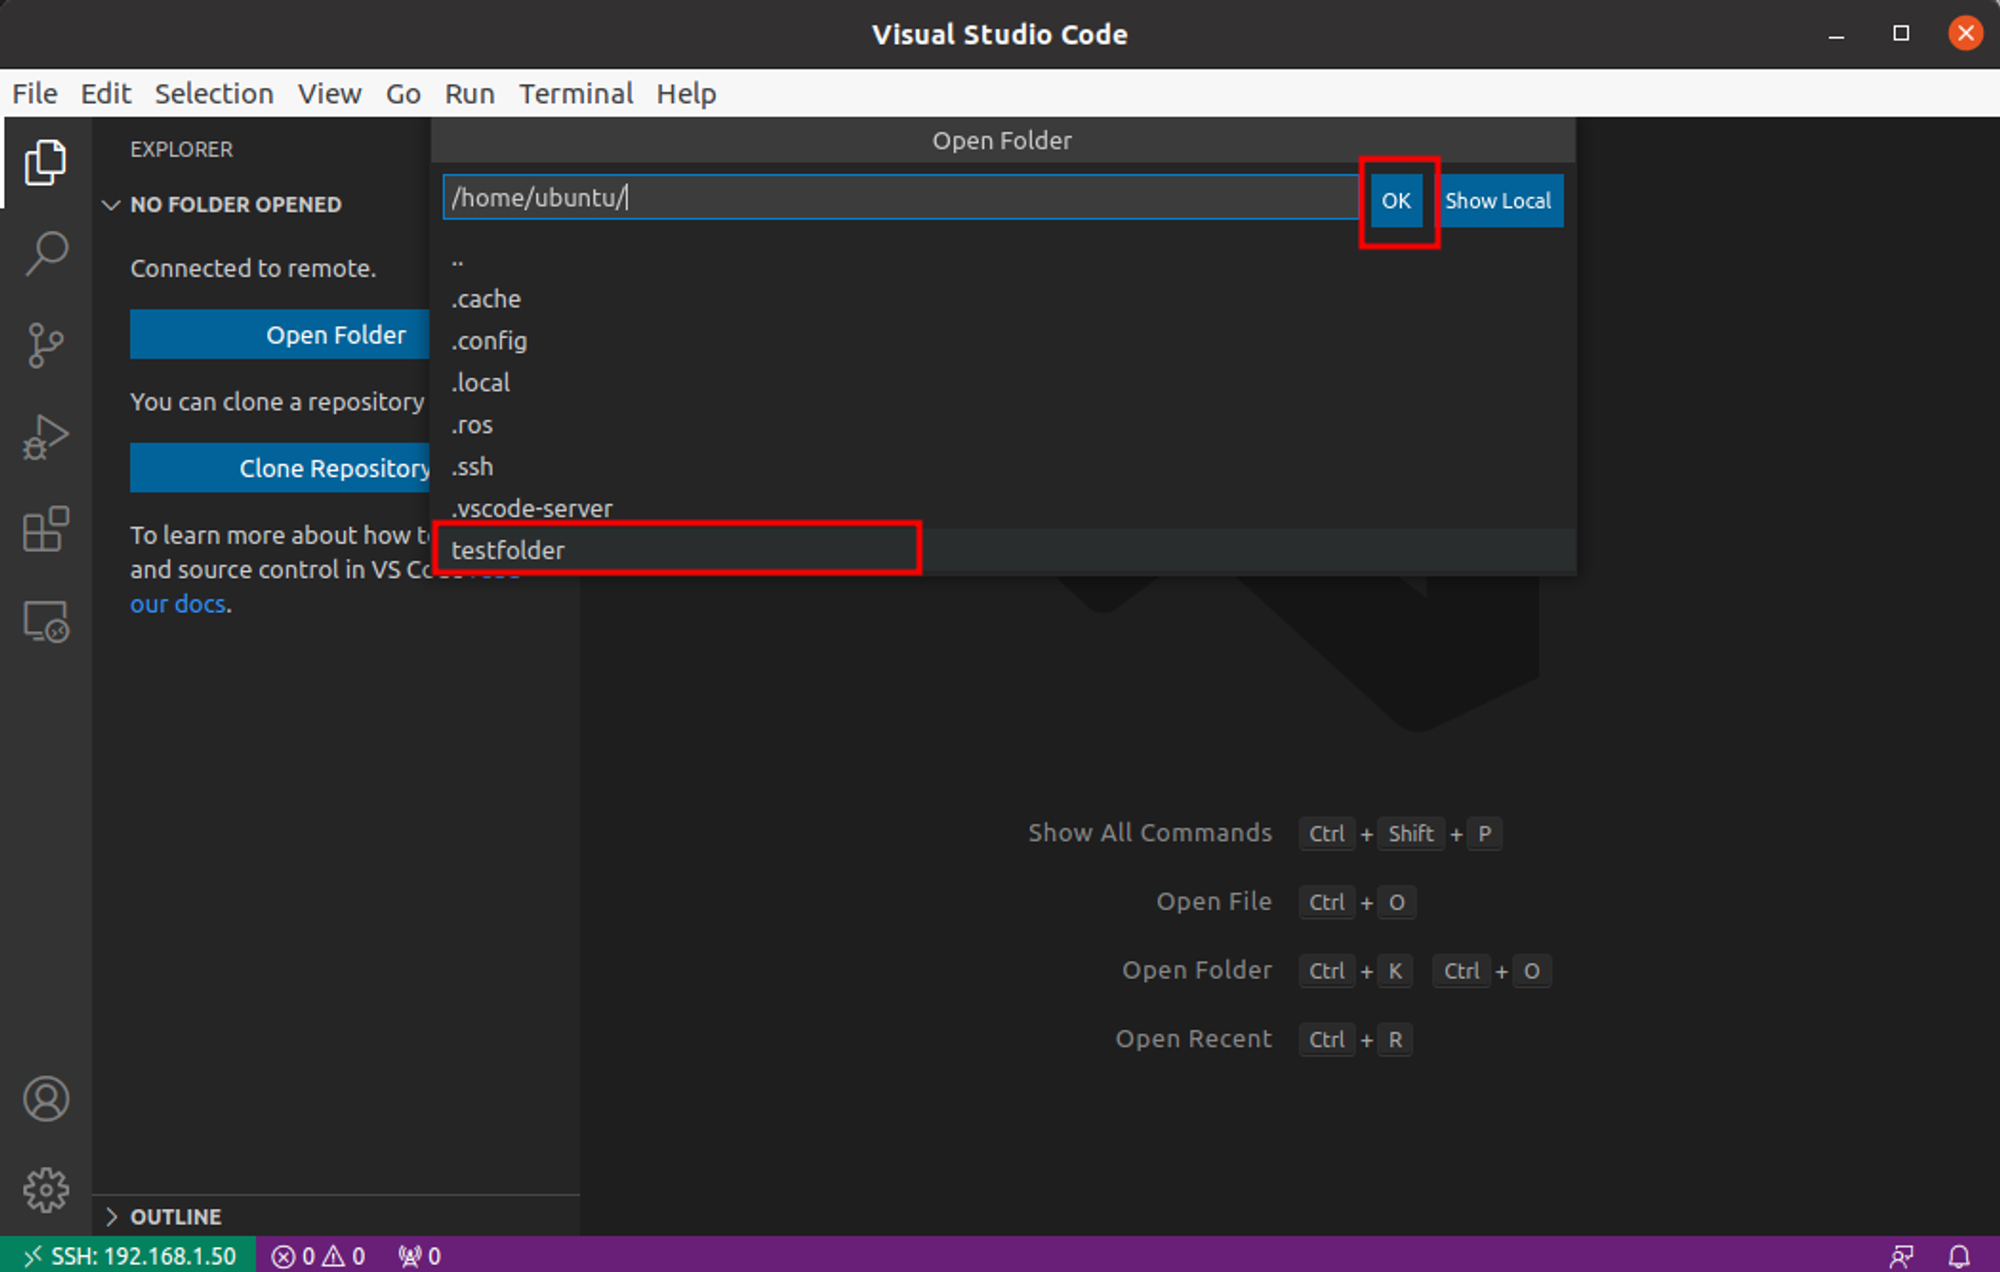
Select your project folder in the given list (it will be the home directory of the Raspberry Pi file system) and click OK.
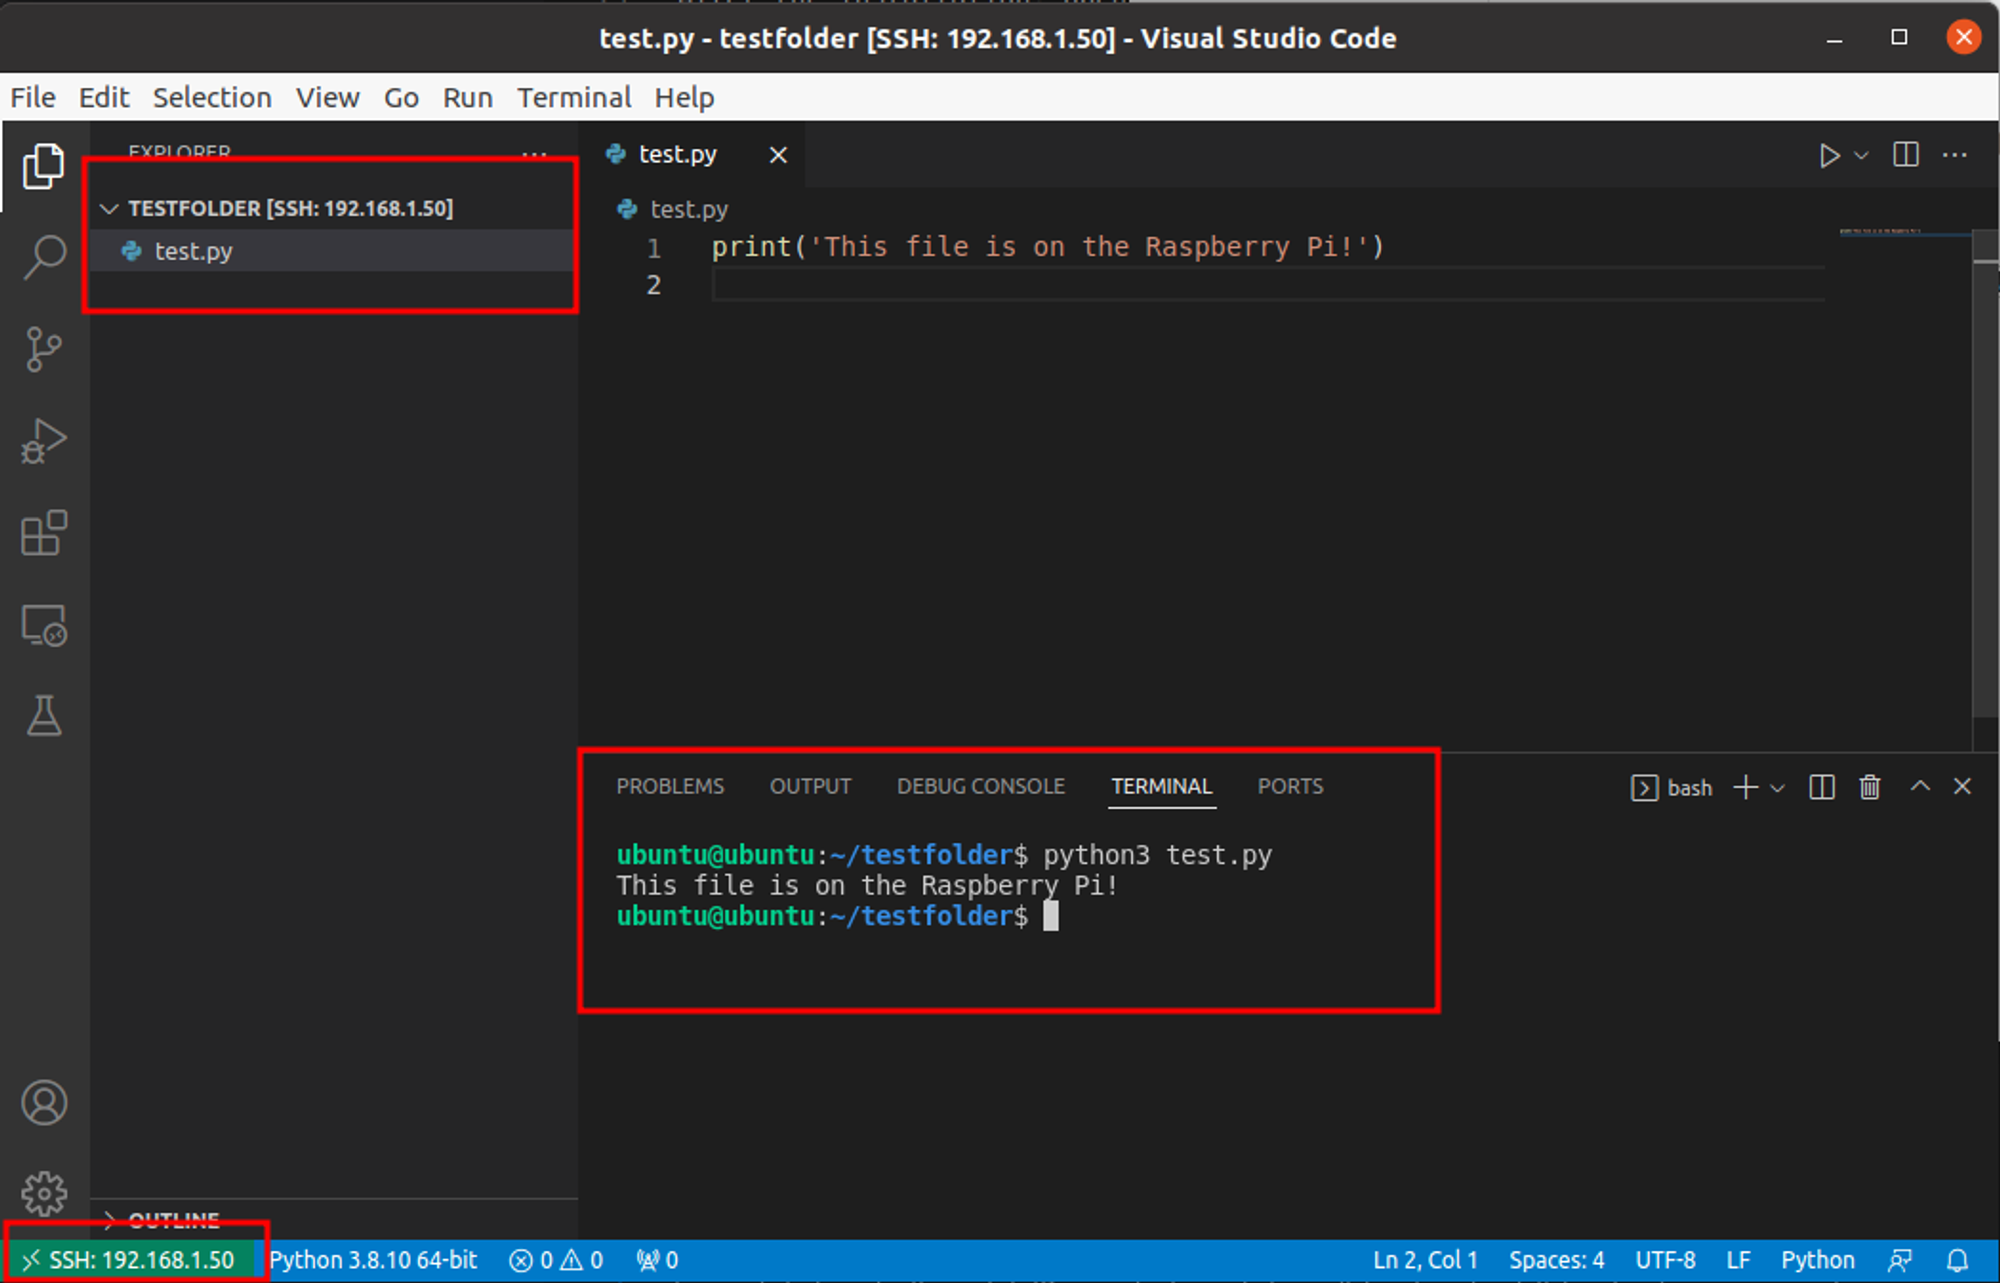
You will be able to see the files in your project file on the left bar (as in your local file system) and open the files as usual. If you open a terminal (with Ctrl+`) you can see that the terminal is already connected to the Raspberry Pi with SSH and navigated to your project root. So you can run your program with your run command. In my case, it is a Python script and you can see the content and the output of the script below.
8. Conclusion
Your time is valuable when it comes to software development, whether you do it as a professional or for fun. Also synchronizing files between systems repeatedly can reduce your productivity. Hope this guide helps you to establish a productive workflow.
Have fun!