Image Classification with Tensorflow Lite on Raspberry Pi
In this post, we are going to use tflite_runtime to run one of the official examples from Tensorflow. I am using a Raspberry Pi 4 Model B 4 GB RAM model with a Pi Camera v1.3 attached. Classifications and performance are quite acceptable when the objects are close and lighted sufficiently.
1. Clone the Tensorflow examples repository
Connect your Raspberry Pi and clone the Tensorflow examples repository to your local file system.
git clone https://github.com/tensorflow/examples --depth 1
2. Create a new virtual environment
The installer in the repository will install various Python packages to make tflite_runtime able to run, so we should prefer to keep these packages in an isolated Python virtual environment.
mkvirtualenv tfenv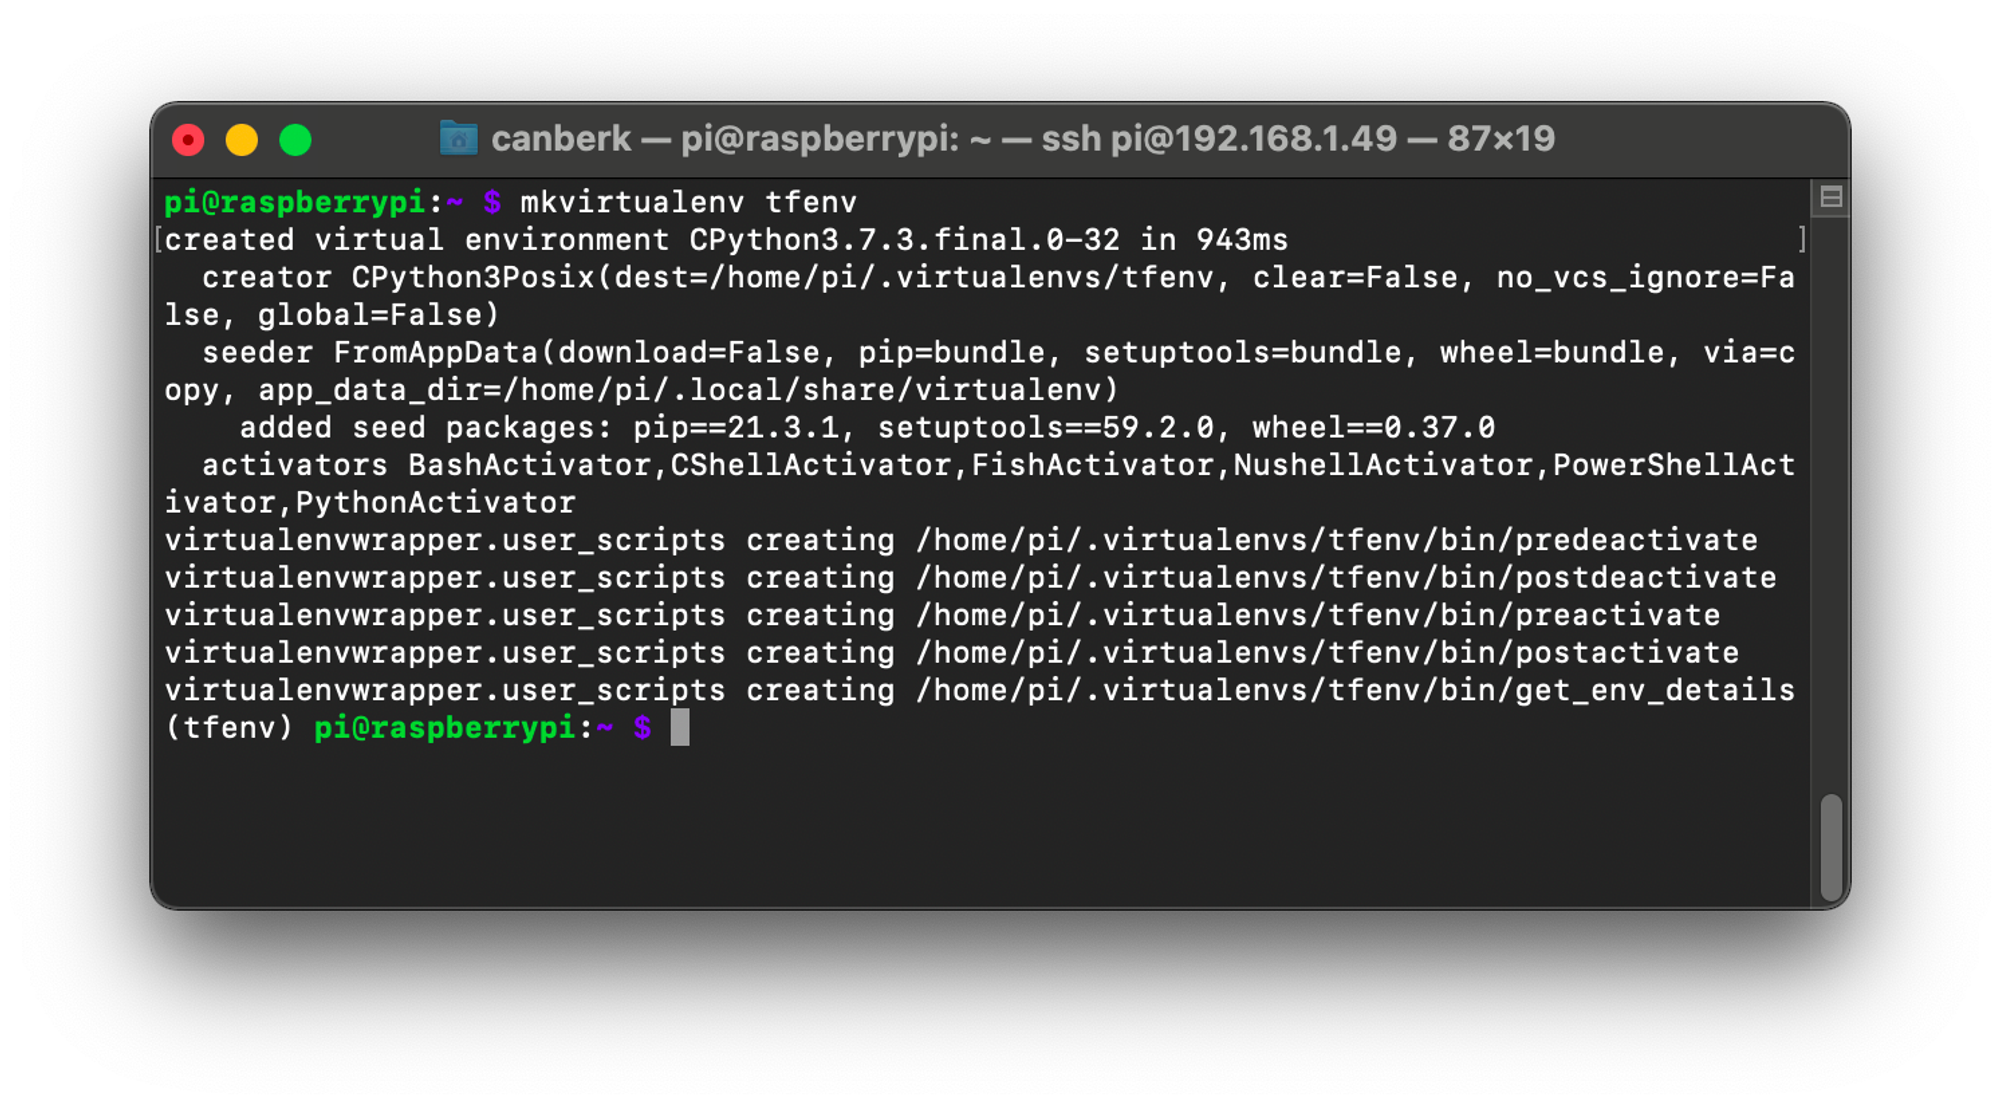
3. Install the required Python packages
Go to the example location that we are going to use and run the installer script as shown below.
cd examples/lite/examples/image_classification/raspberry_pish setup.sh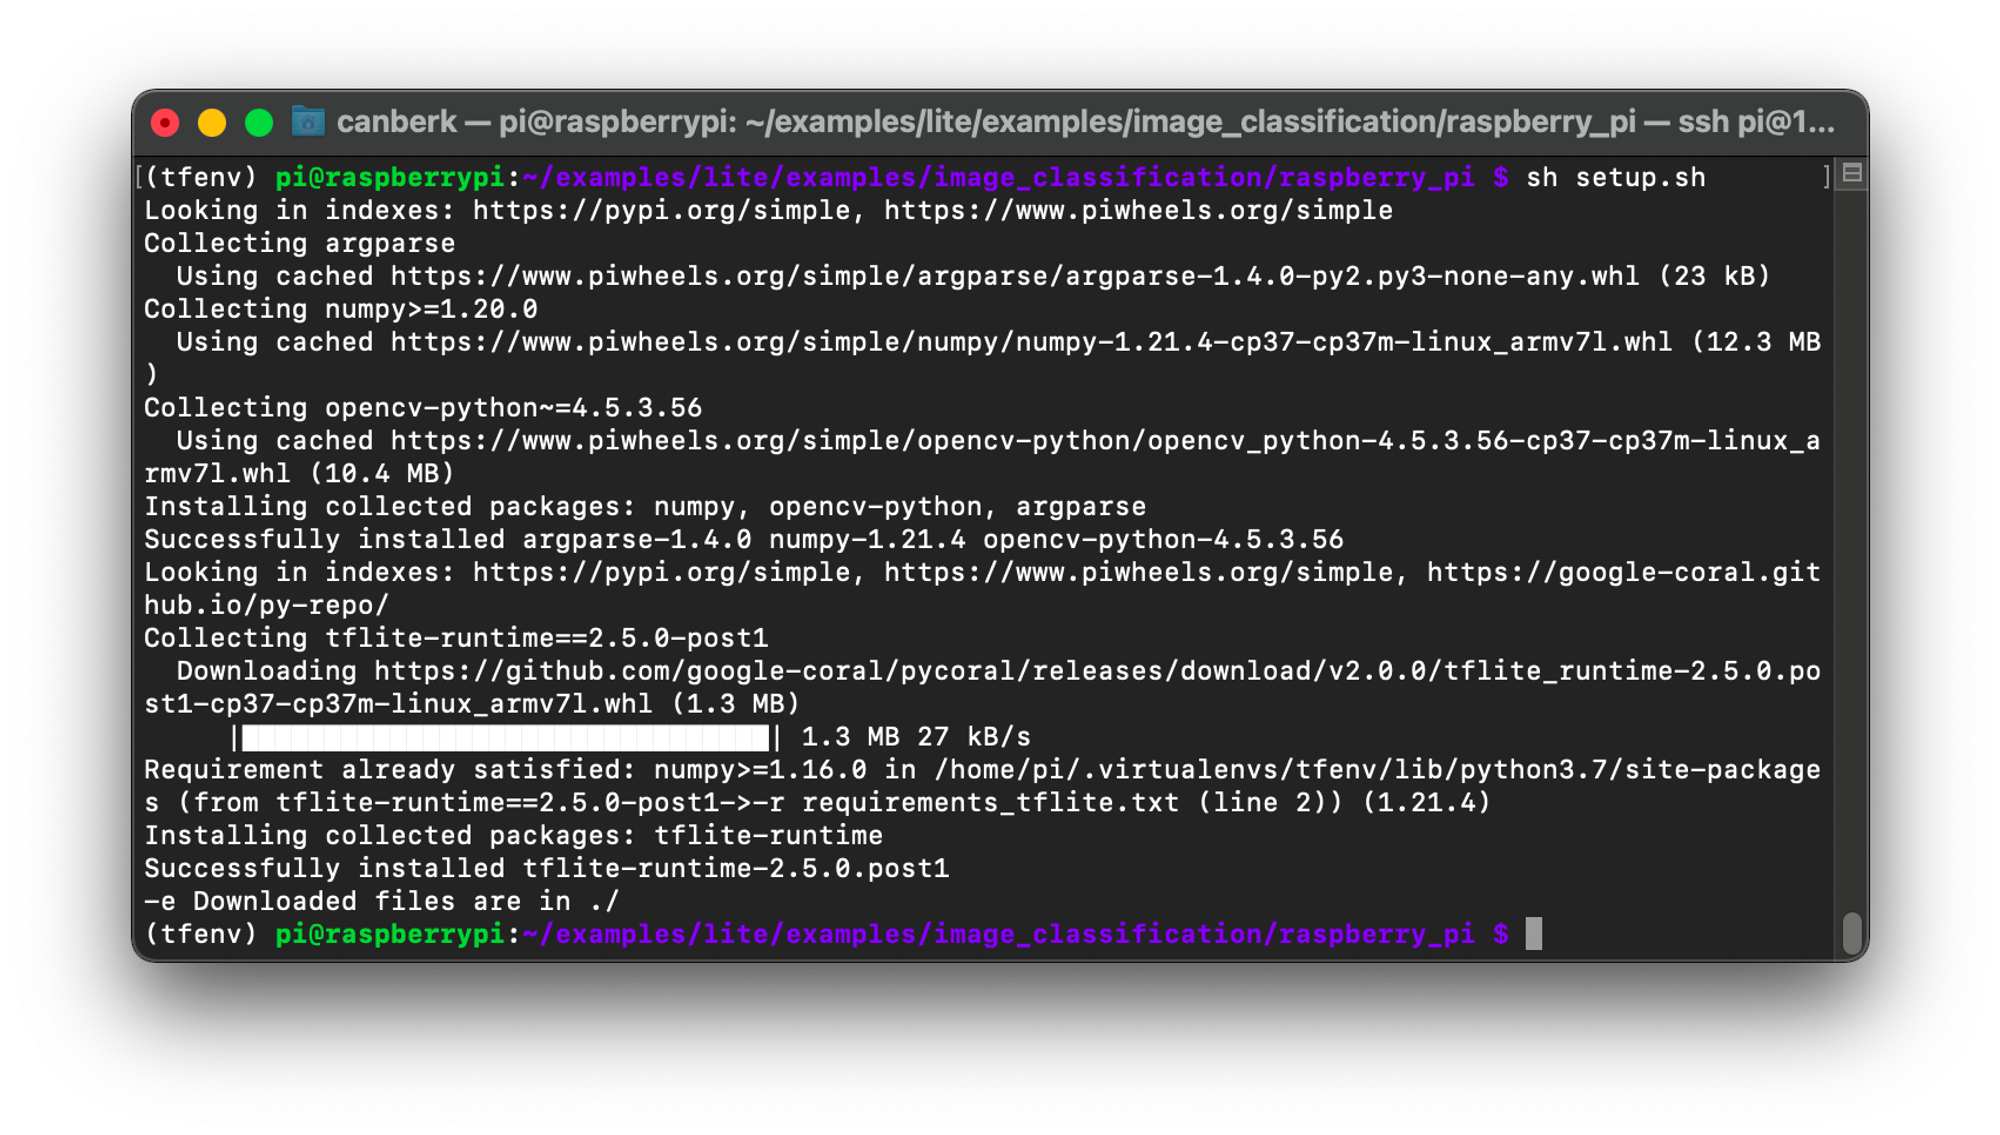
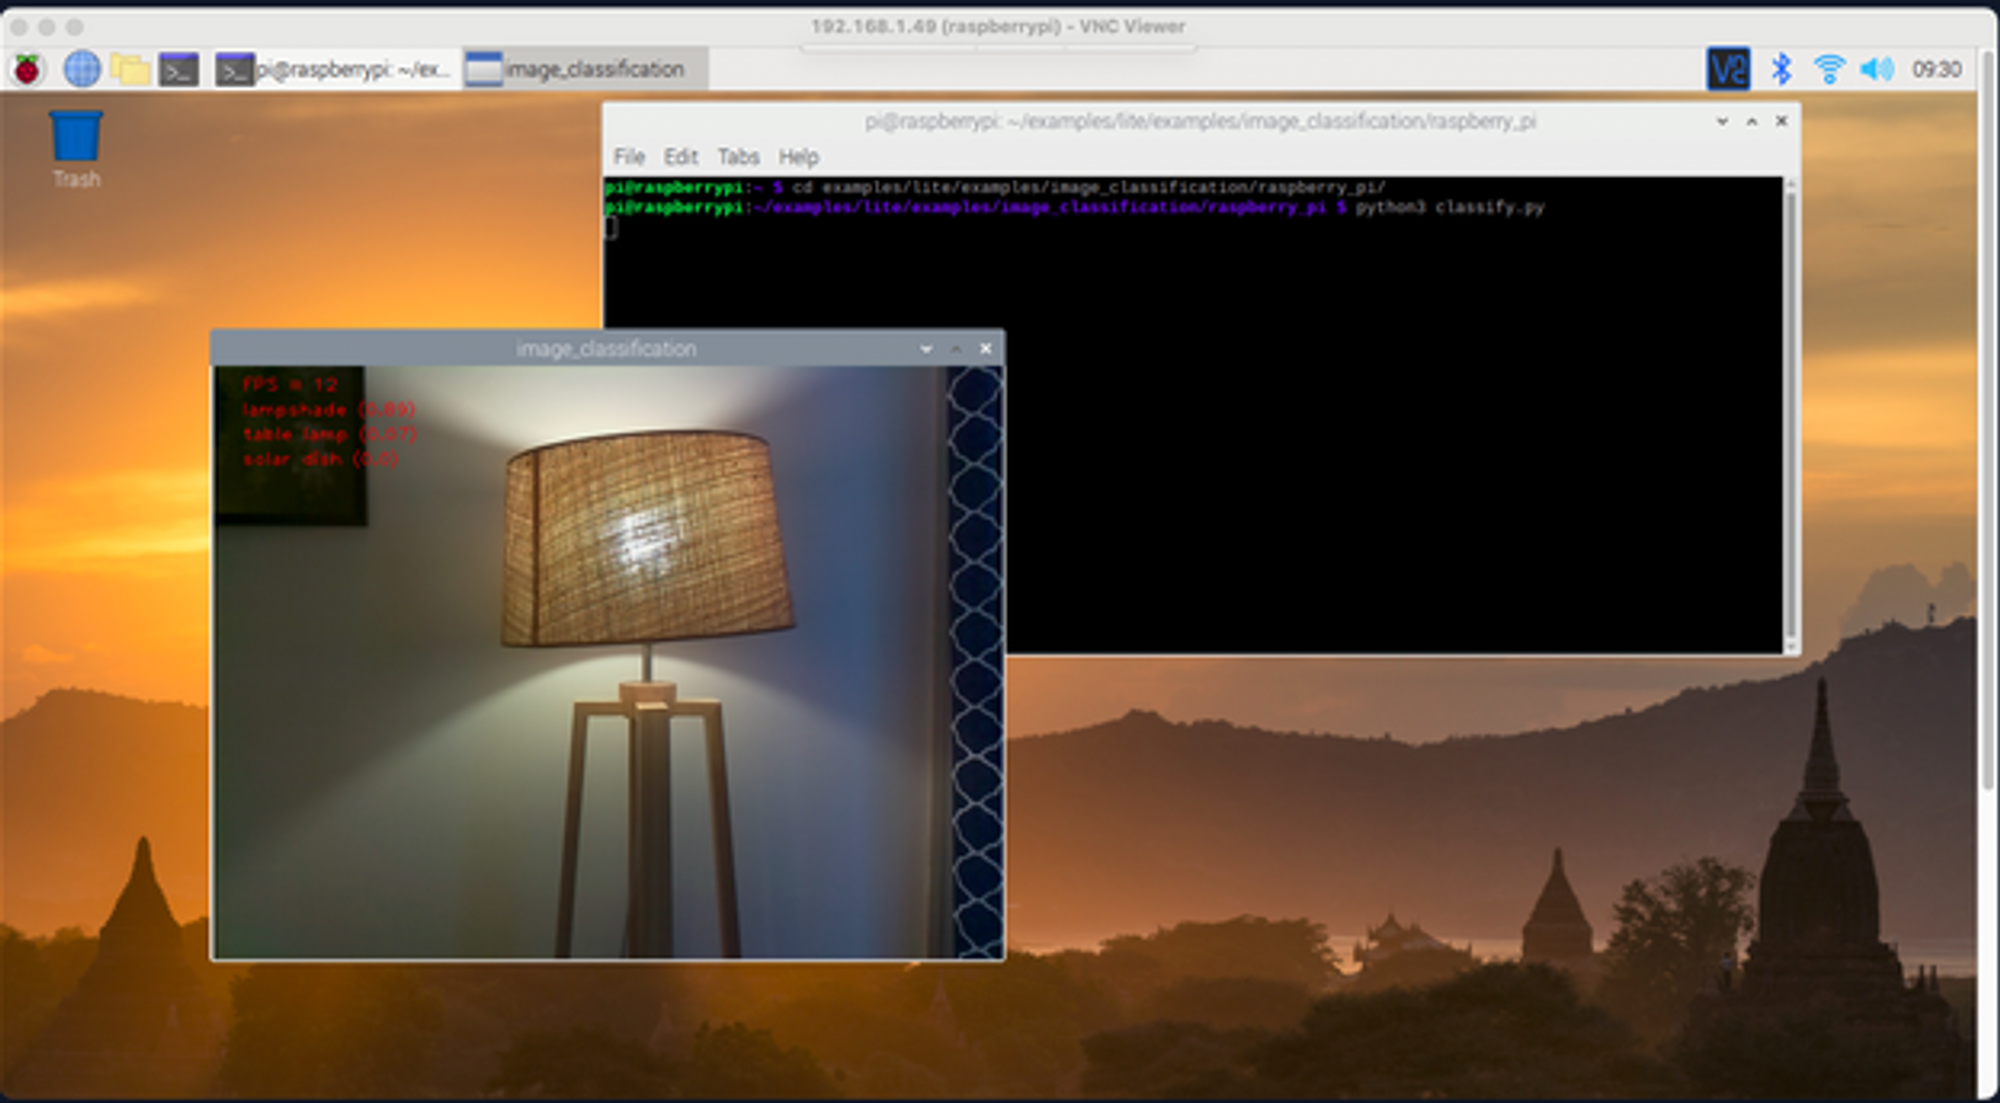
4. Connect to the Raspberry Pi with VNC
The script is going to use cv2.imshow to show the classification results which means we need to connect to the Raspberry Pi. We can use the VNC viewer to do this or simply connect our Raspberry Pi to an external monitor.
5. Run the example
When you run the classify.py Python script, you should be able to see a stream from the Raspberry Pi camera, and there should be classification labels on the left top of the video.
python3 classify.pyThe script runs between 6-12 FPS (Usually around 8-9 FPS) on a Raspberry Pi 4 Model B 4 GB RAM model.