Install OctoPrint on Raspberry Pi Zero 2W
1. What is Octoprint and what can it do?
Octoprint is “The snappy web interface for your 3D printer.” according to their official website. This means that this open-source and free software gives you the ability to control your 3D printer with a web interface through the network connection. It can save you from taking out the SD card from the printer and loading the gcode and plugging it back, it can give you the ability to monitor your printer remotely with a camera attached to your Raspberry Pi, it can allow you to monitor your 3D printer’s temperatures remotely and many more.
2. Let’s get started! Select OS.
As a great convenience, you can use the Raspberry Pi imager to install Octoprint to your Micro SD card. If you don’t have it installed, you can download it from the official downloads page.
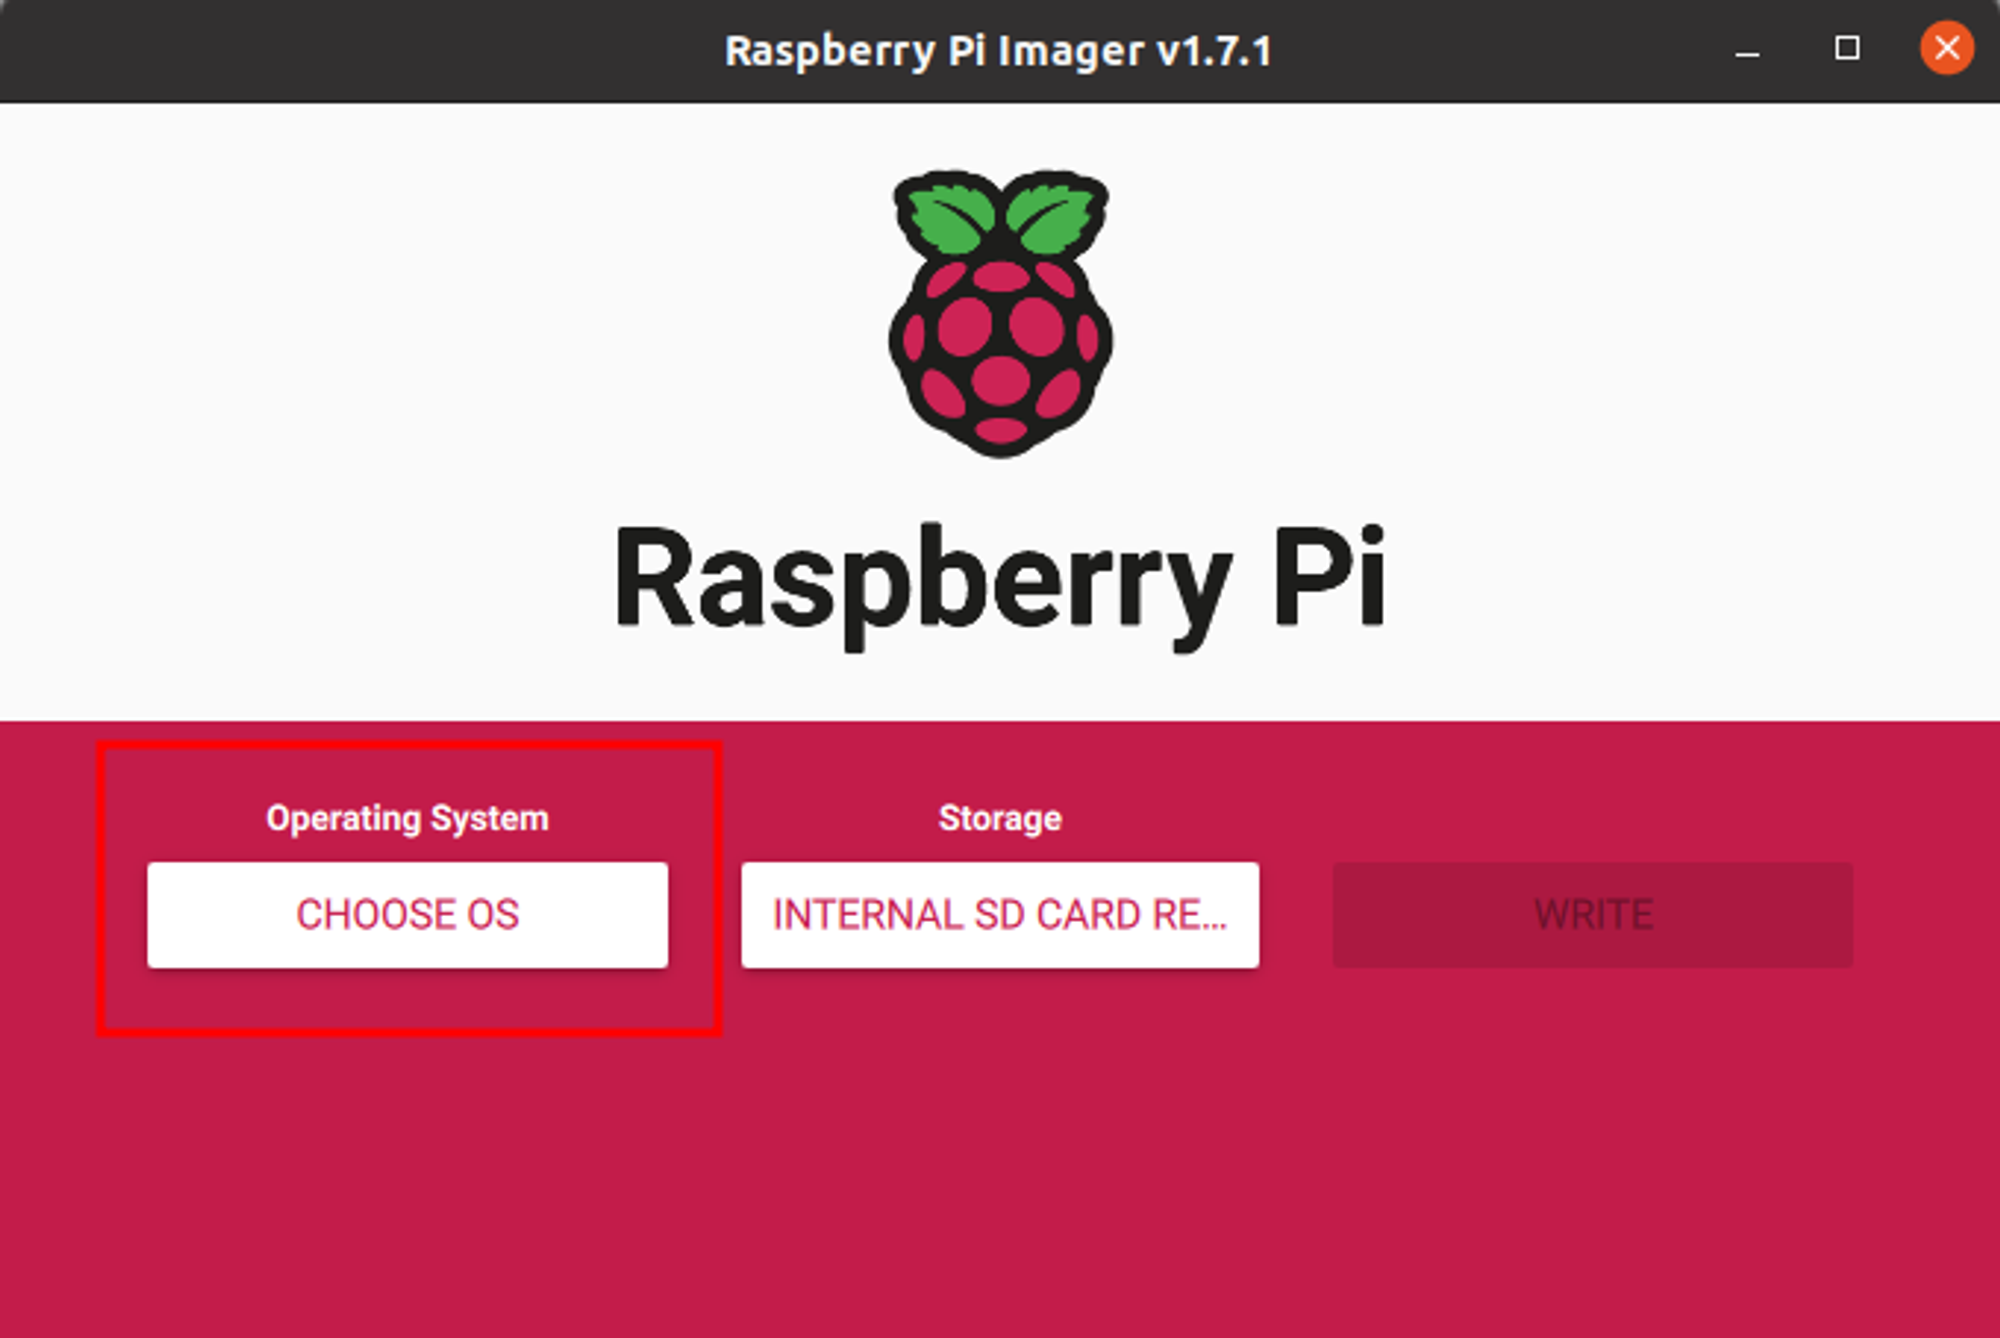
When it is installed and opened, click Choose OS.
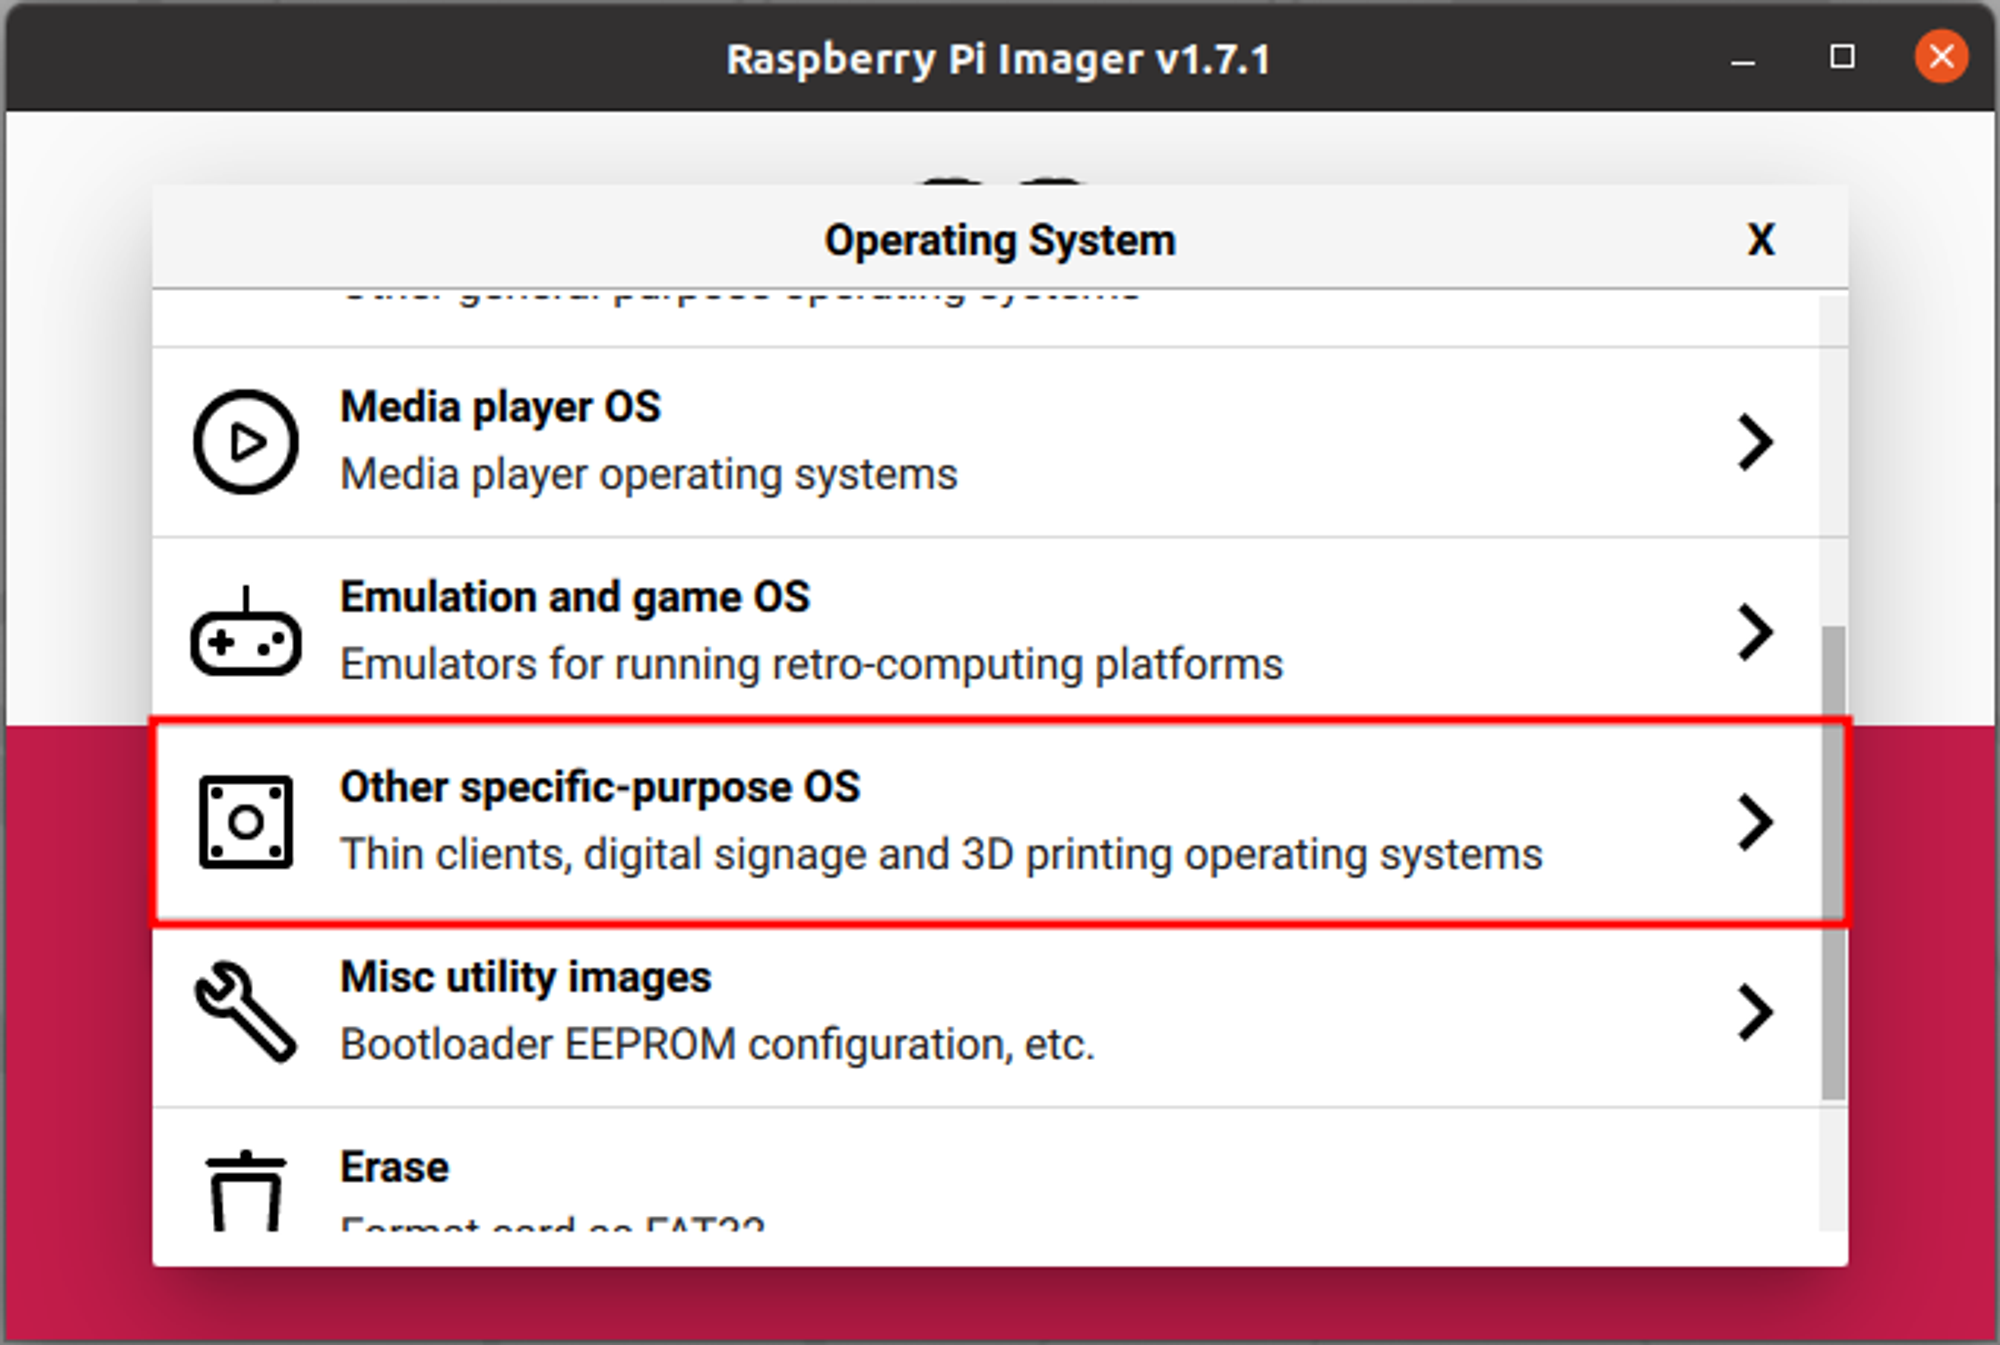
Select ‘Other, specific purpose OS’. Since the purpose of this OS image is to run Octoprint and control your 3D printer, this image is categorized as a specific purpose OS.
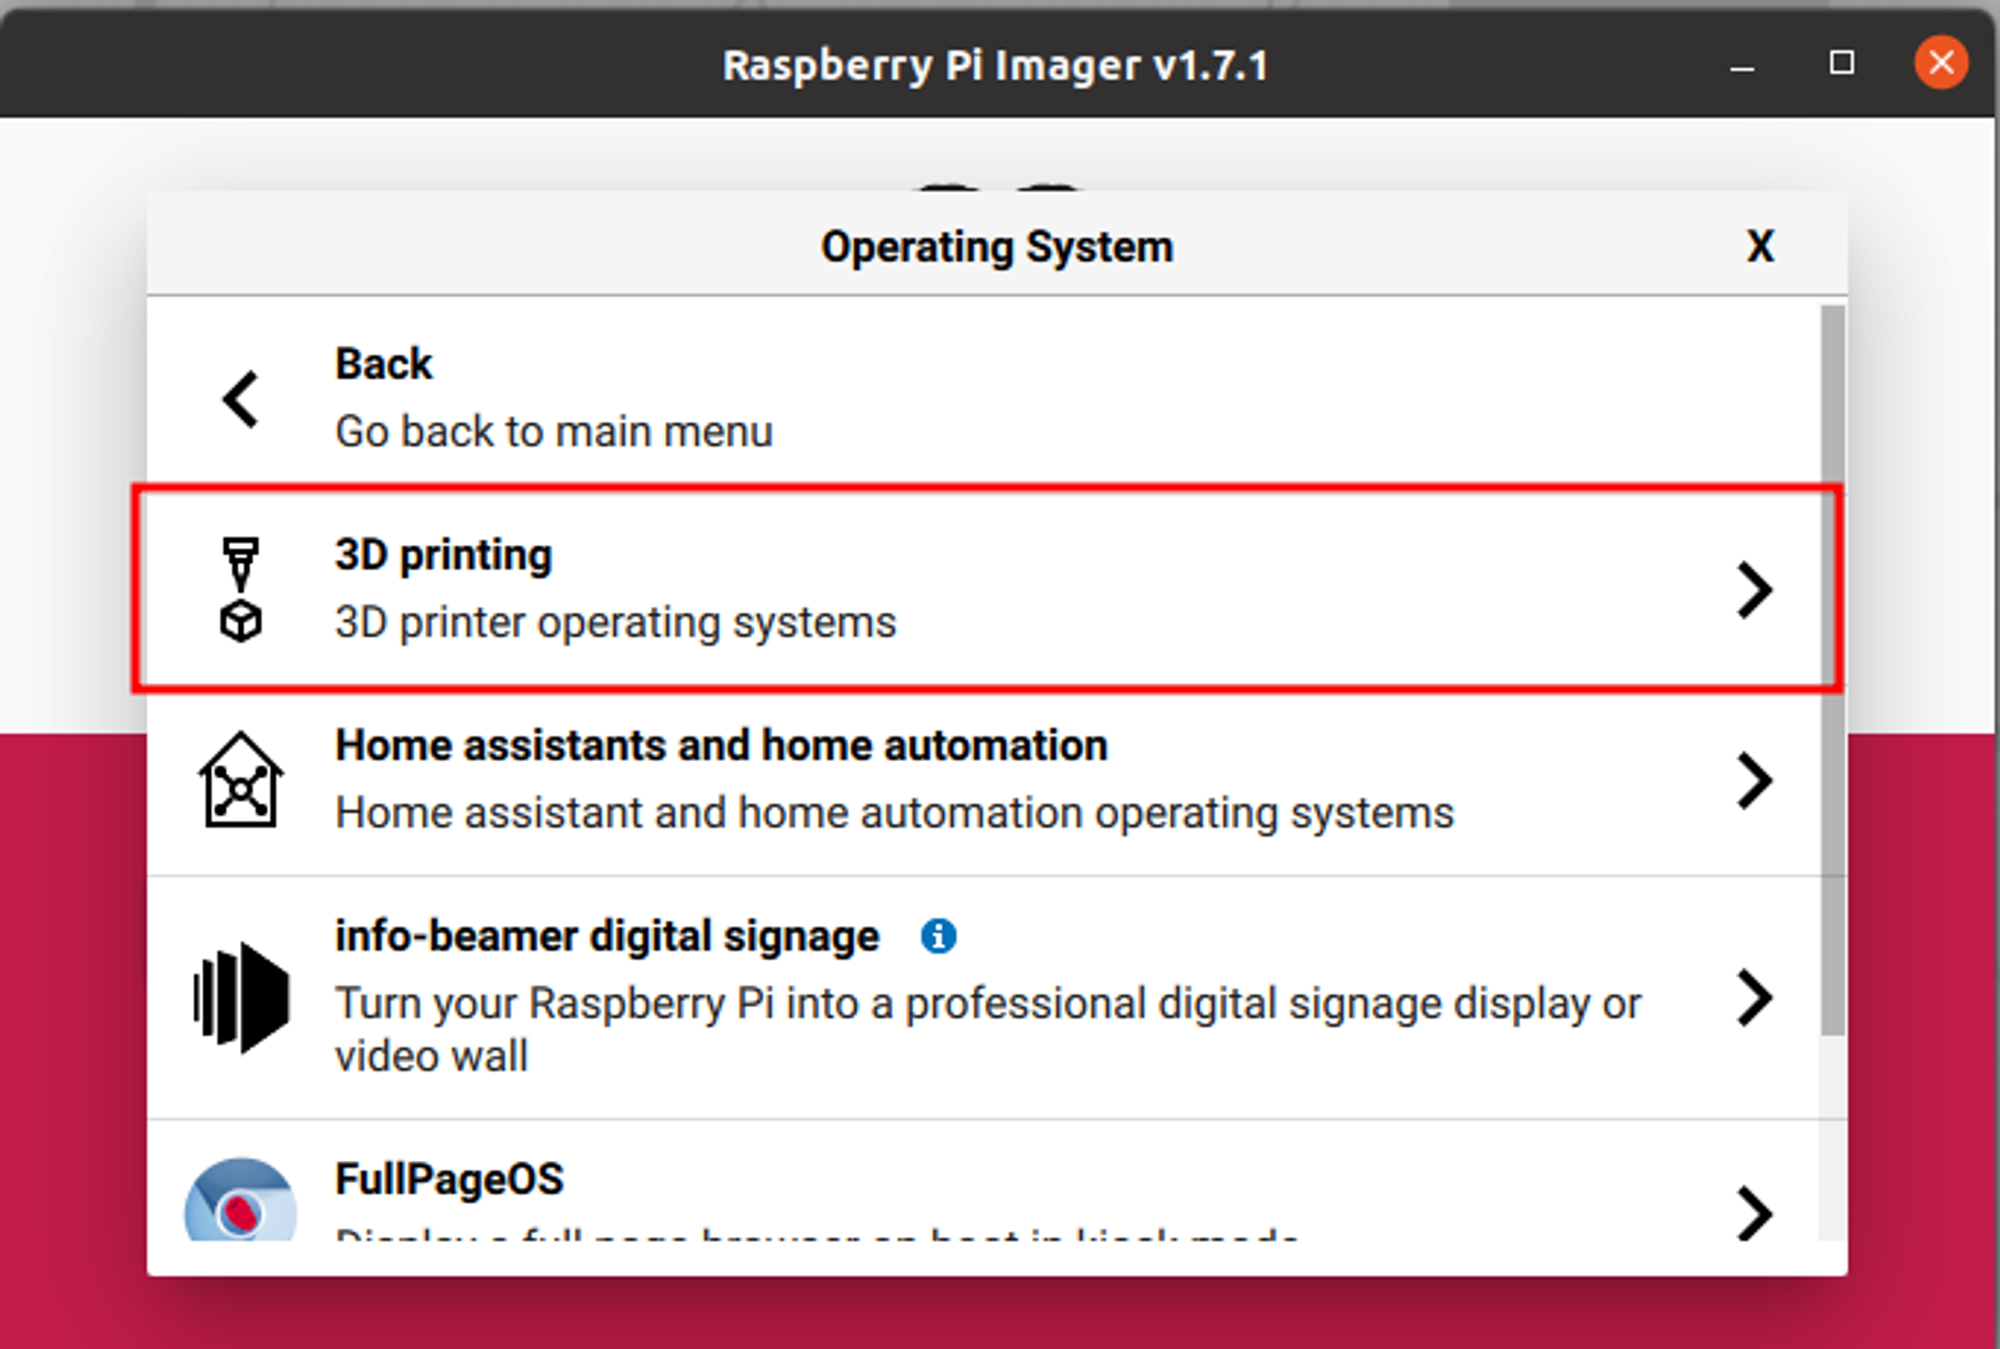
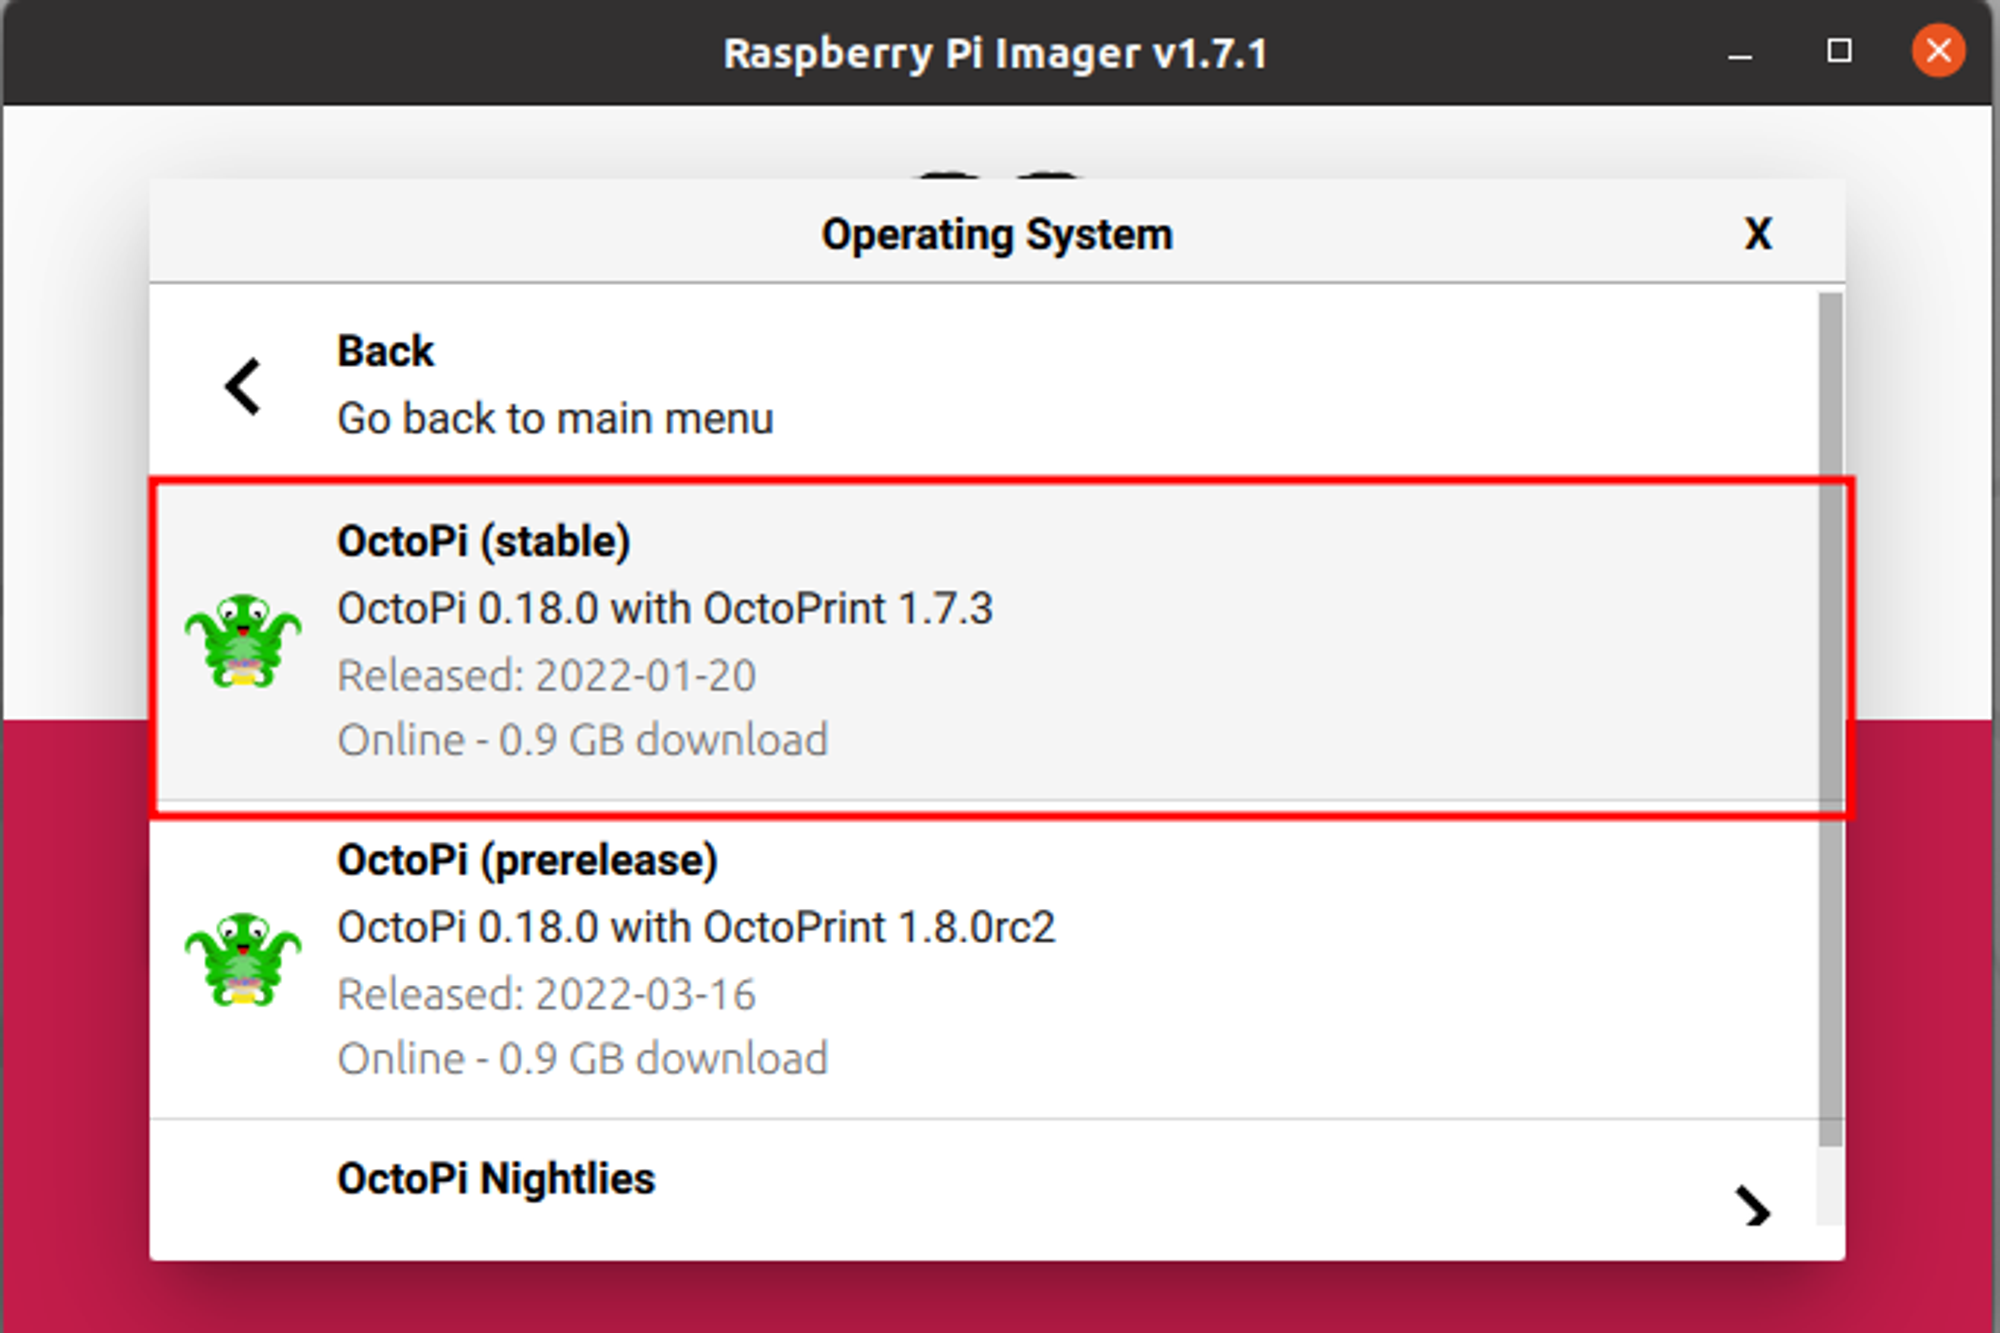
Select ‘3D Printing’
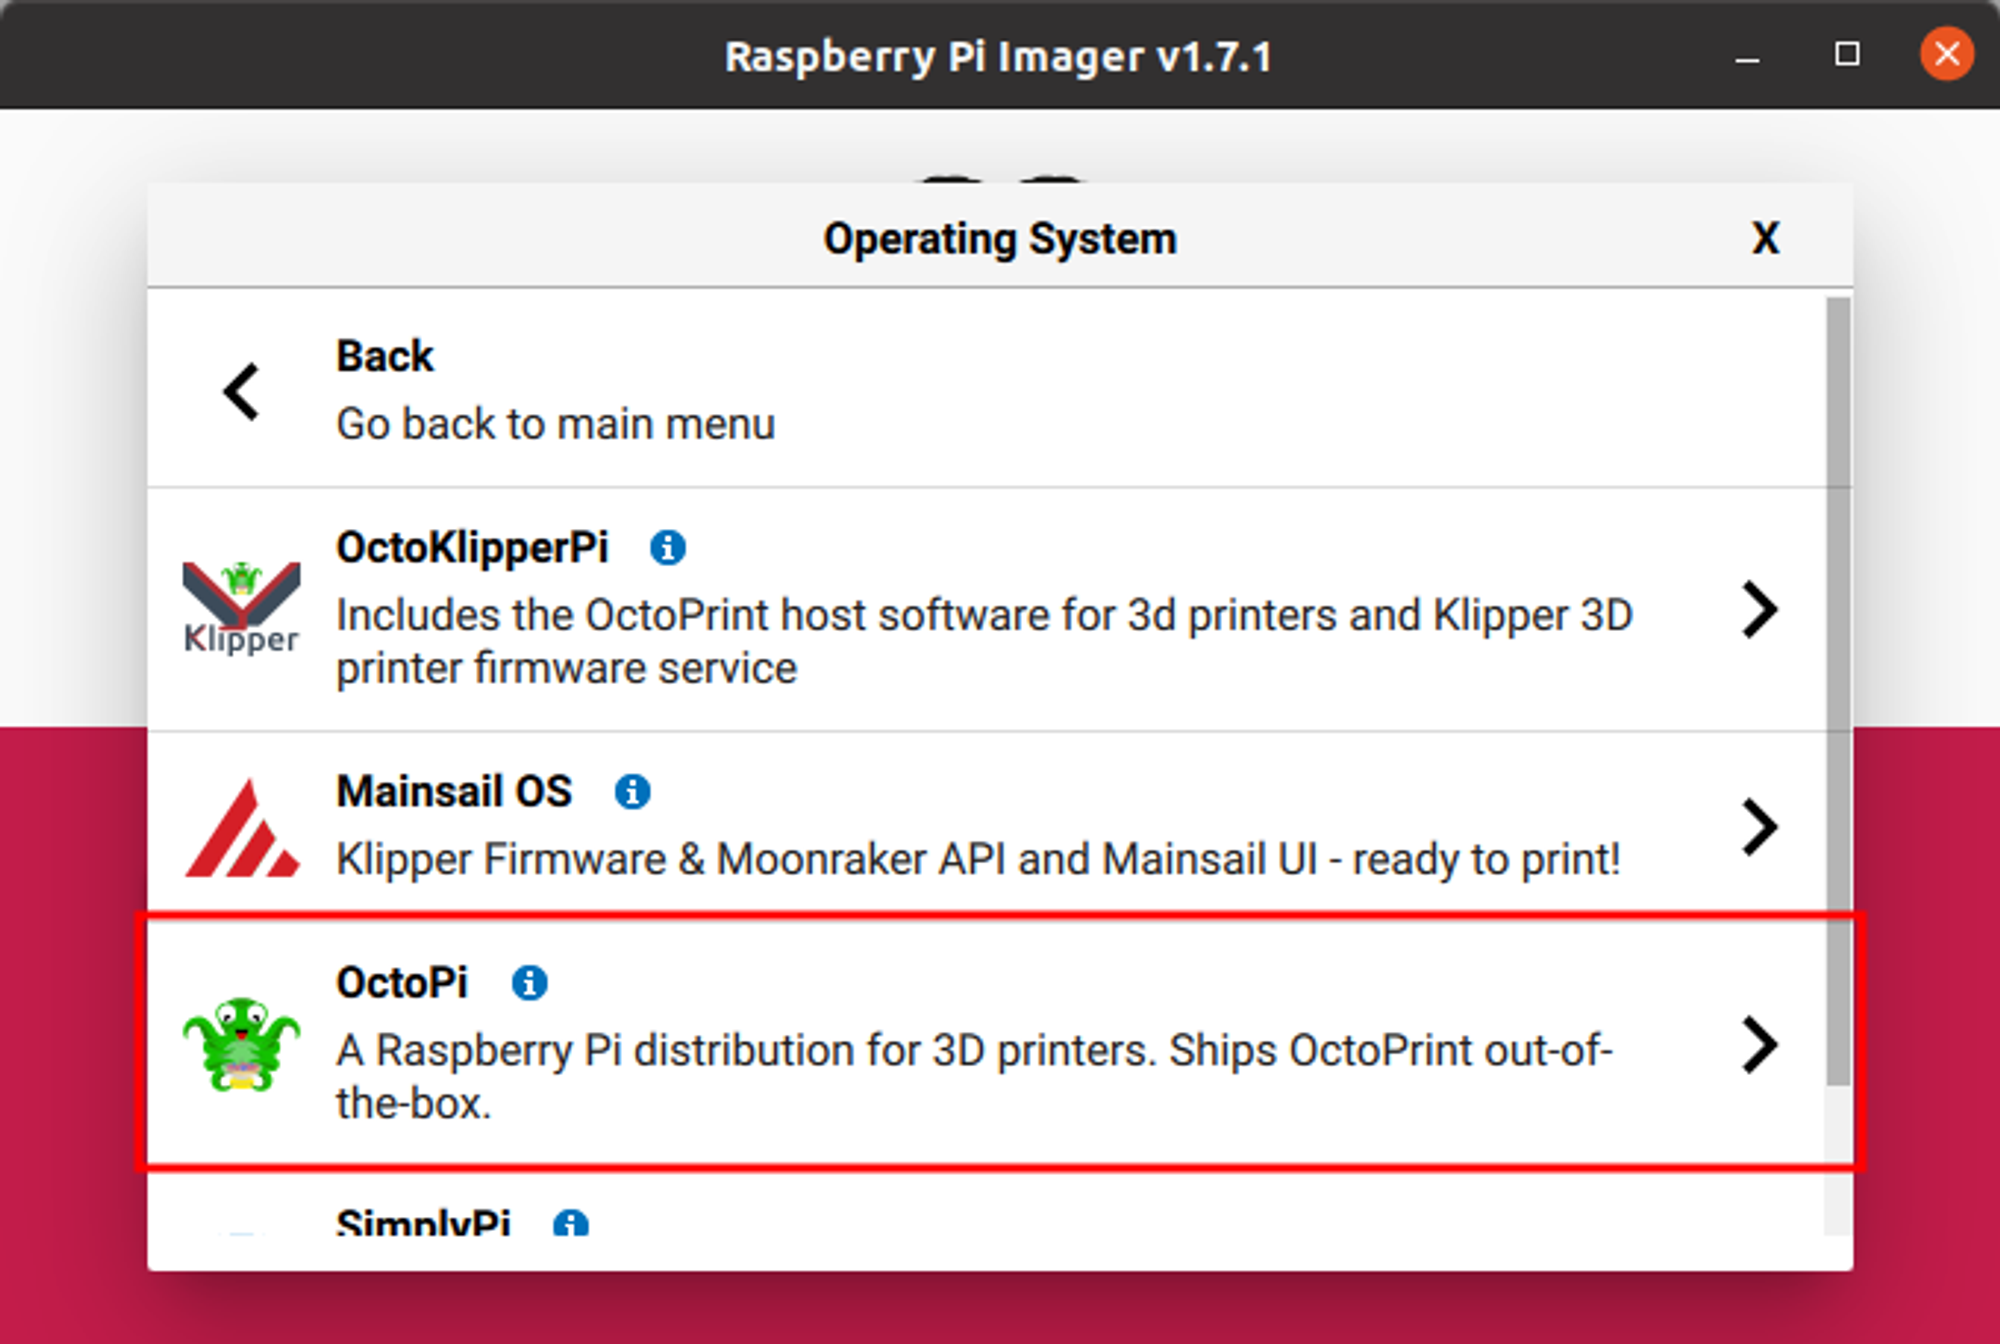
Here you can see the OctoPi, which is the OS image that ships OctoPrint installed.
Select the stable distribution.
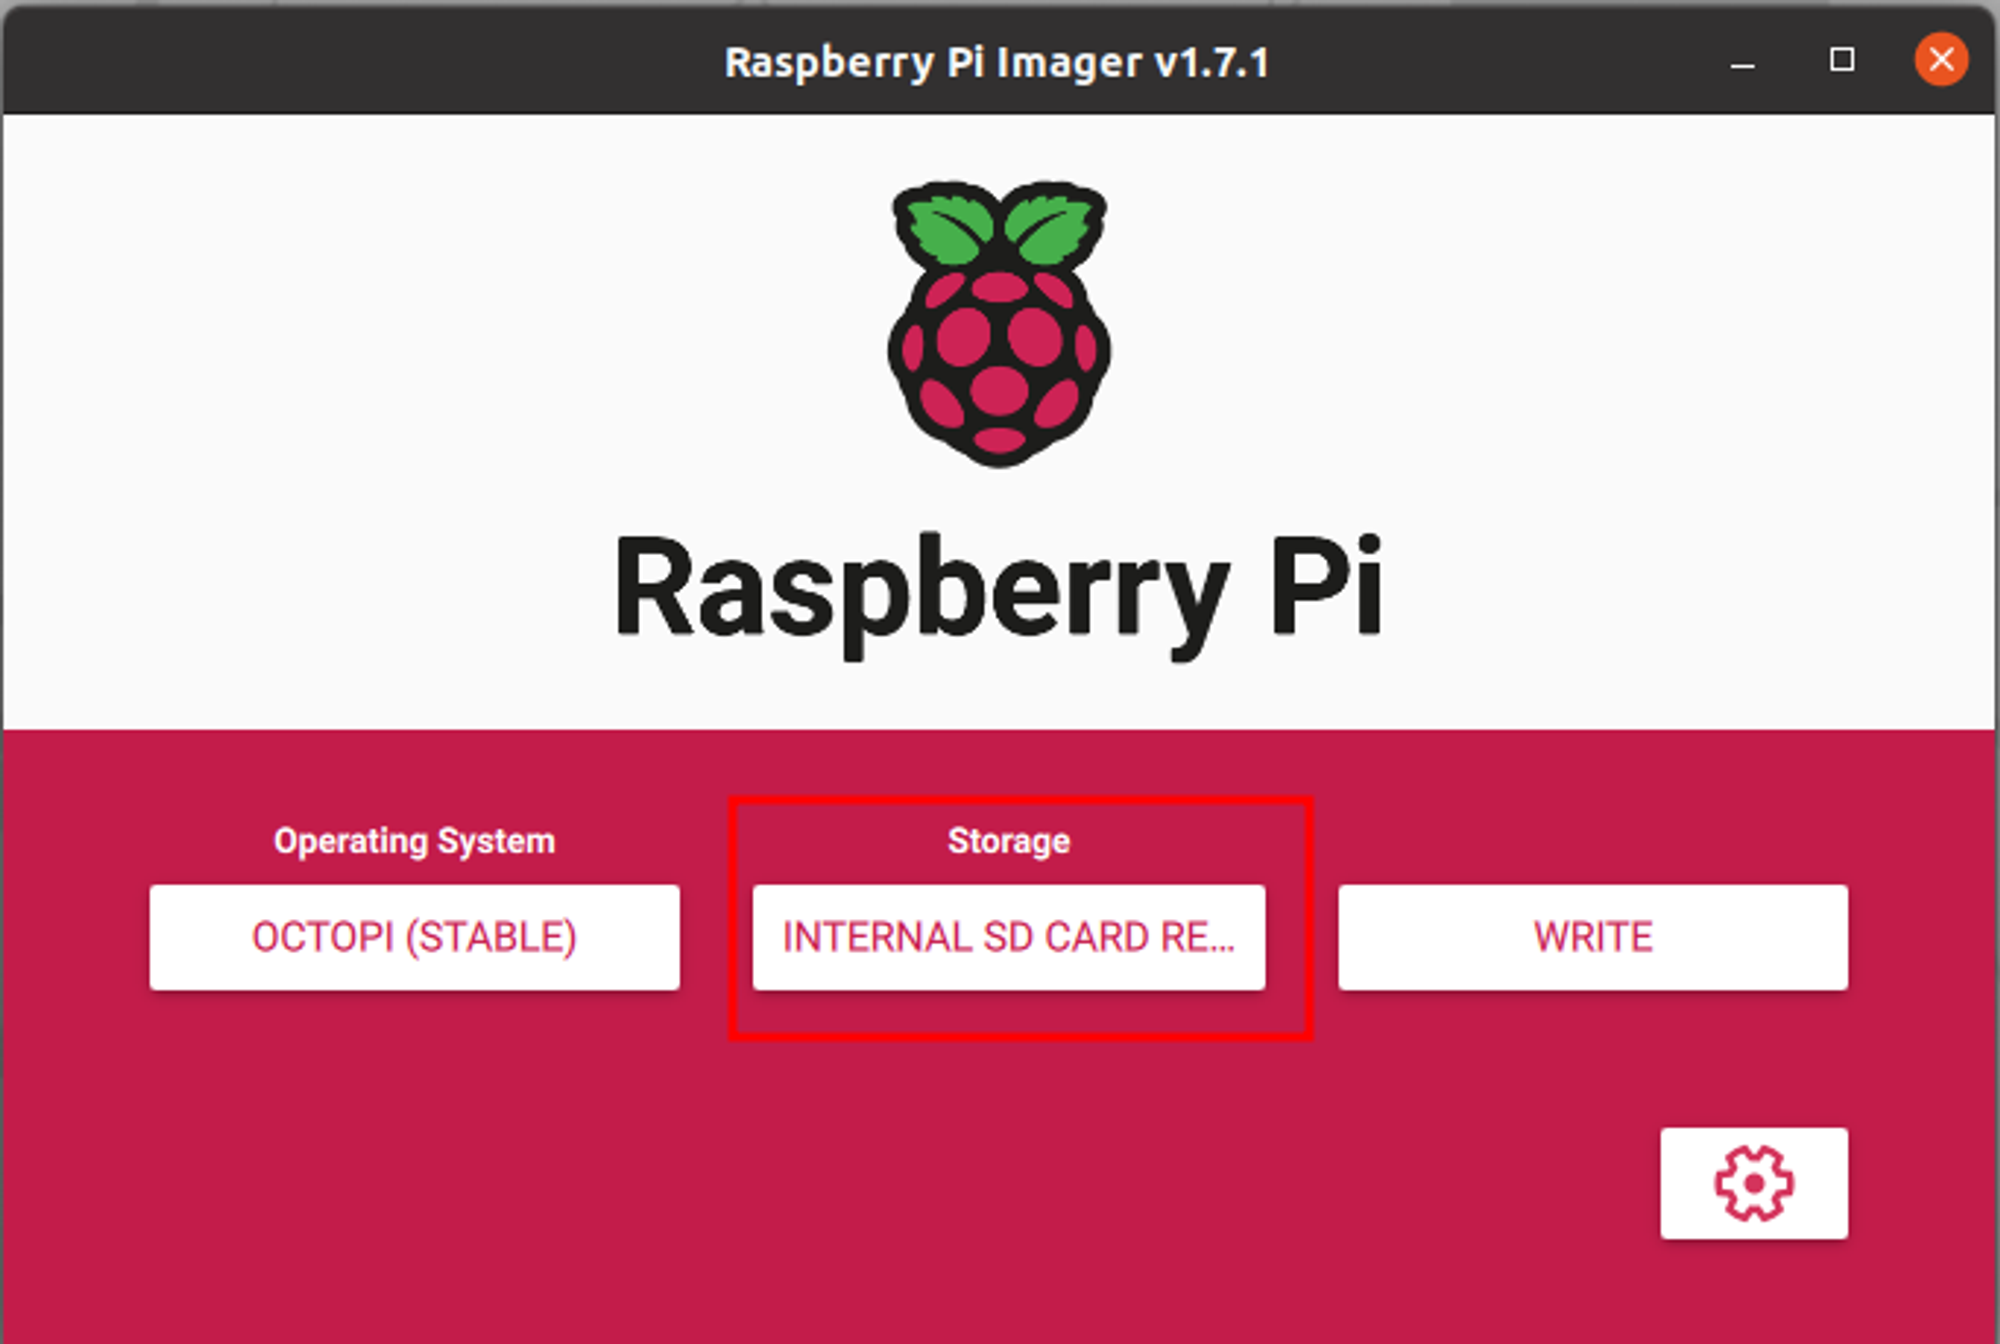
3. Select the SD card
Click to open the storage section in the imager.
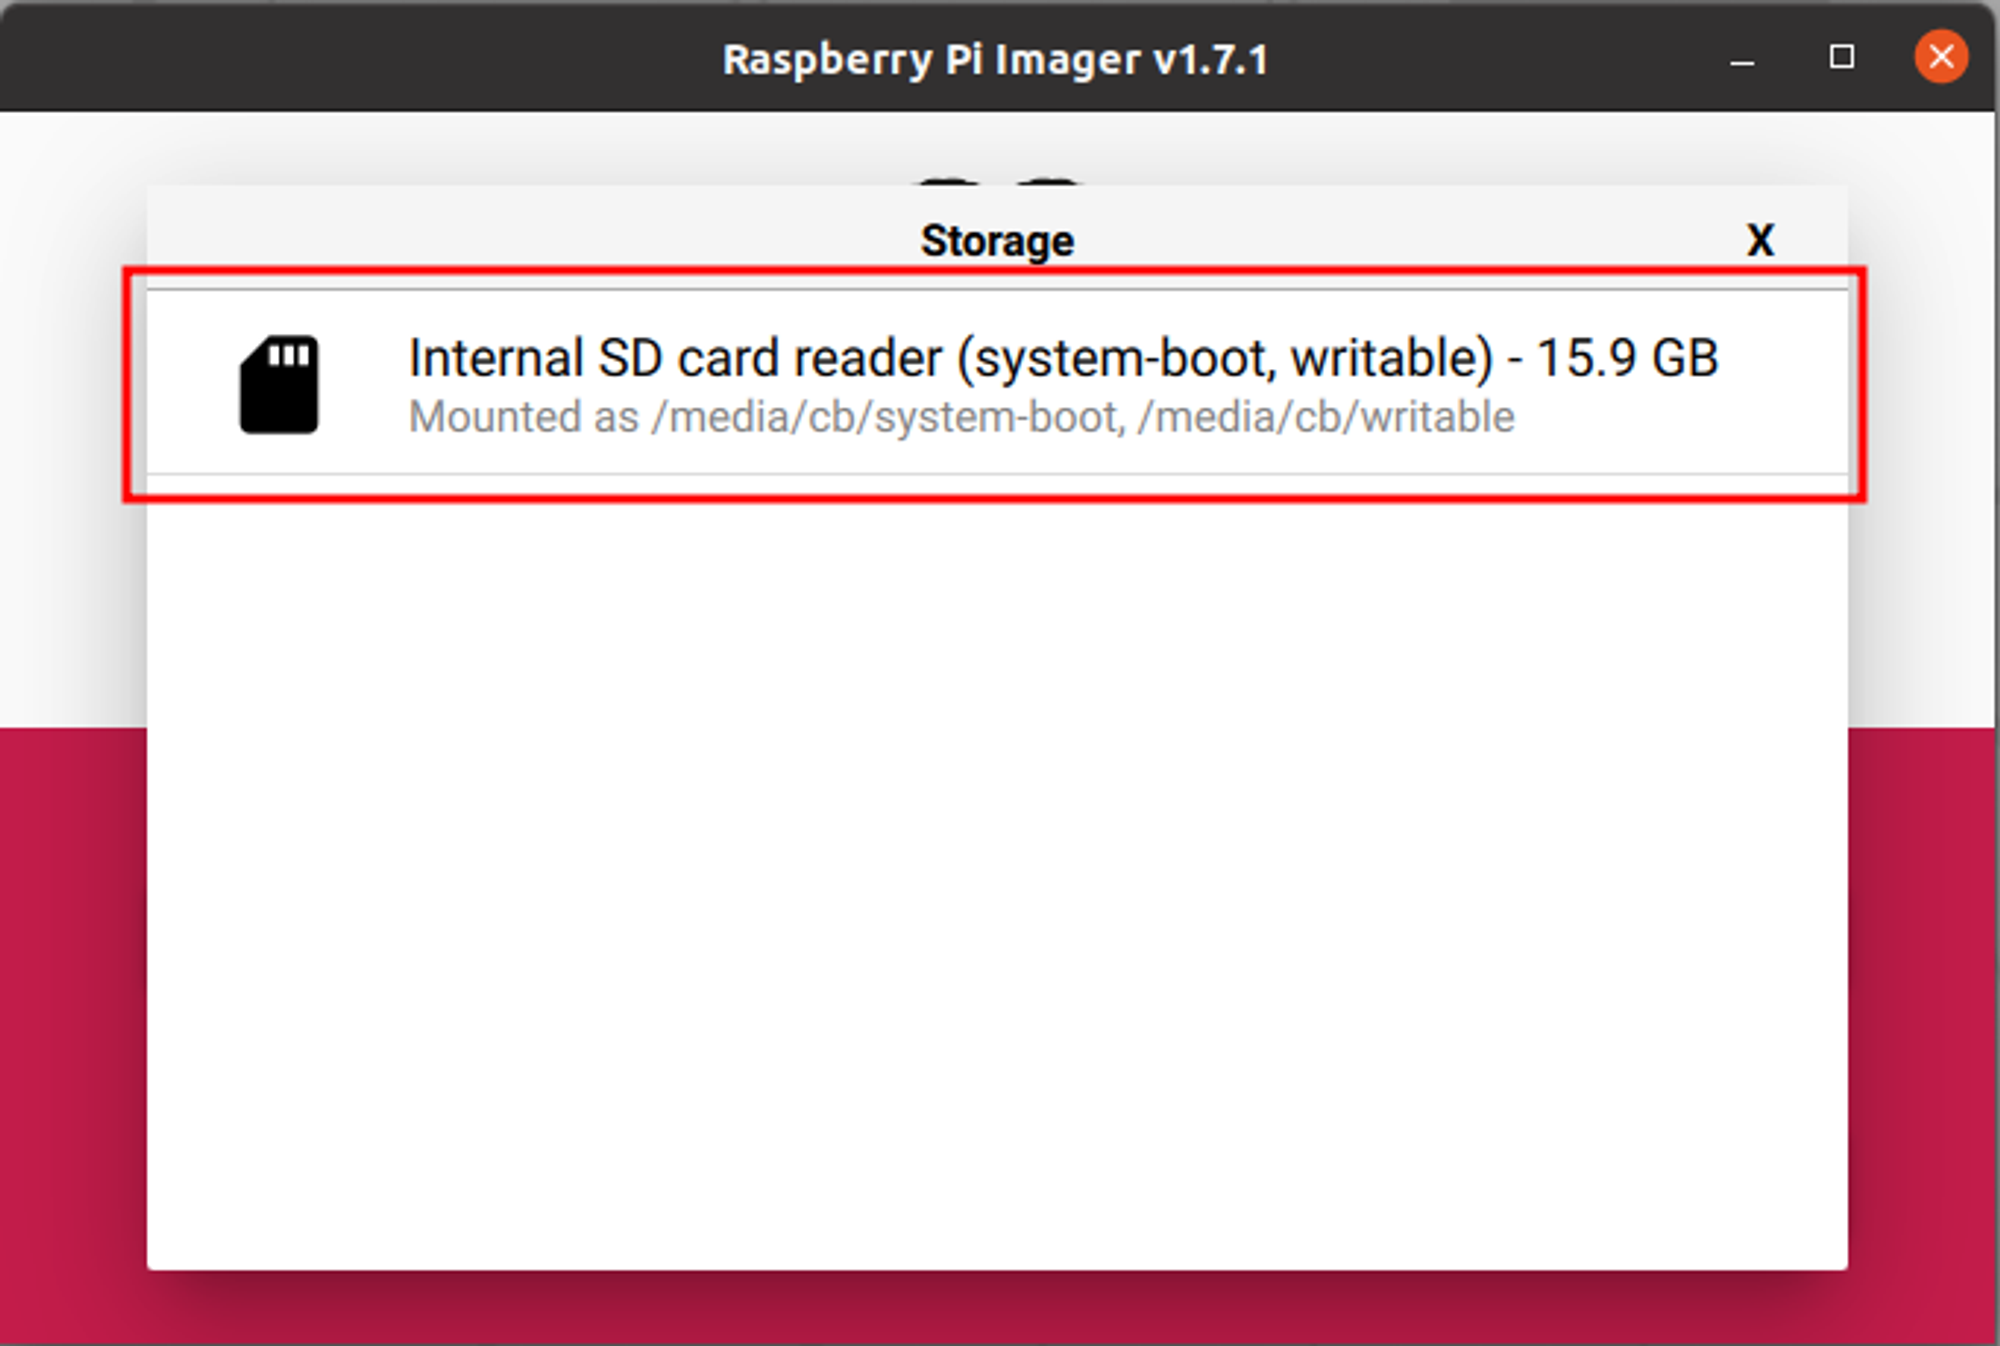
Select your attached SD card. Be careful here, be sure that you are selecting your SD card and not other partitions. It is going to be wiped to be flashed, a wrong choice can cause data losses.
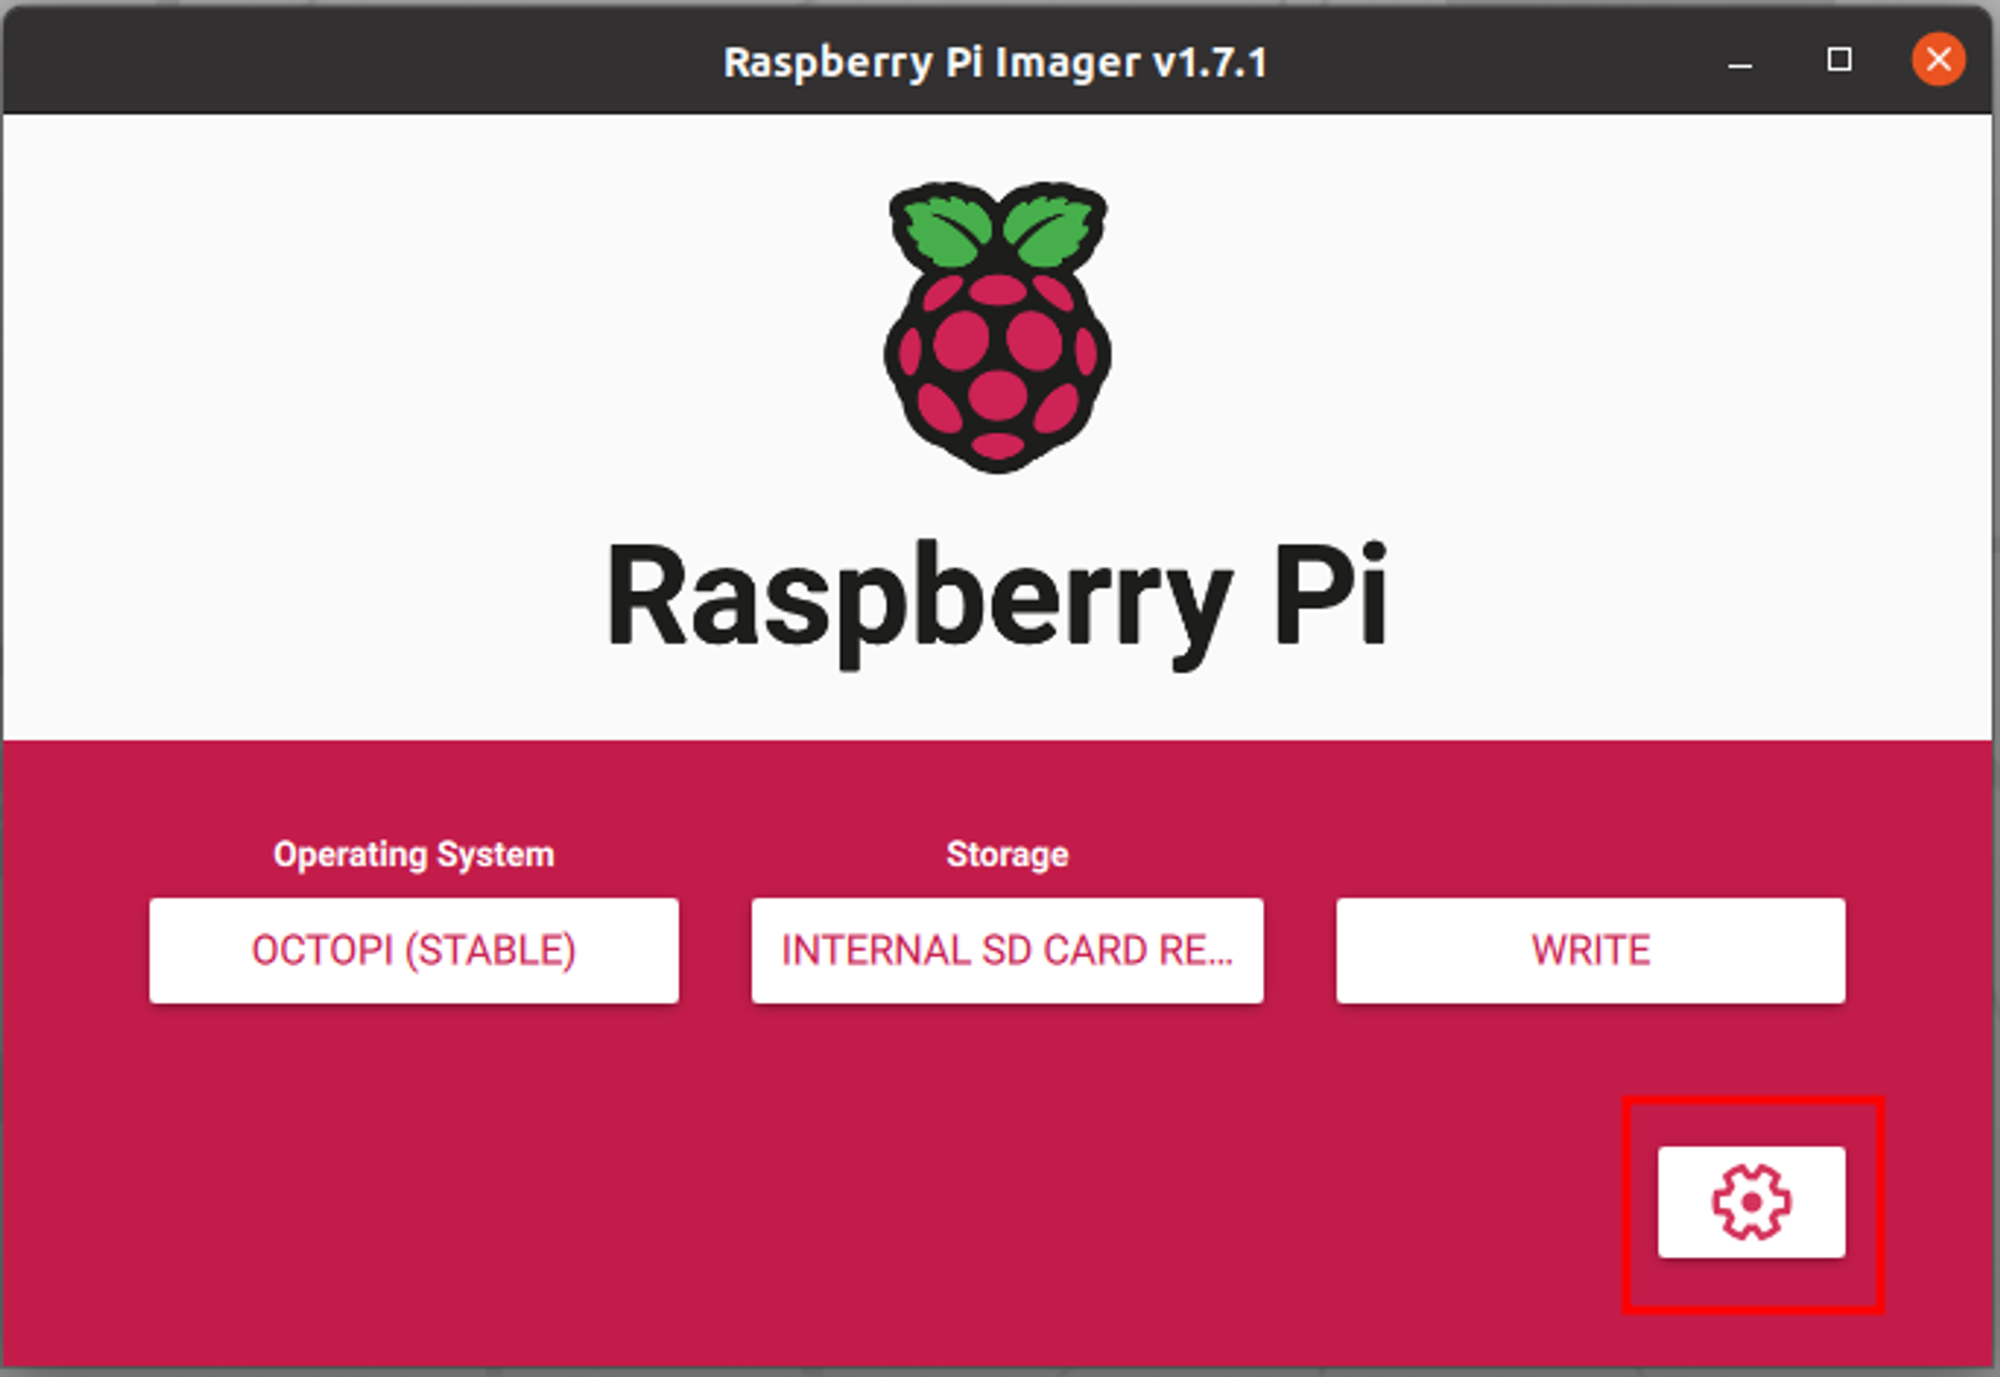
4. Customize the settings
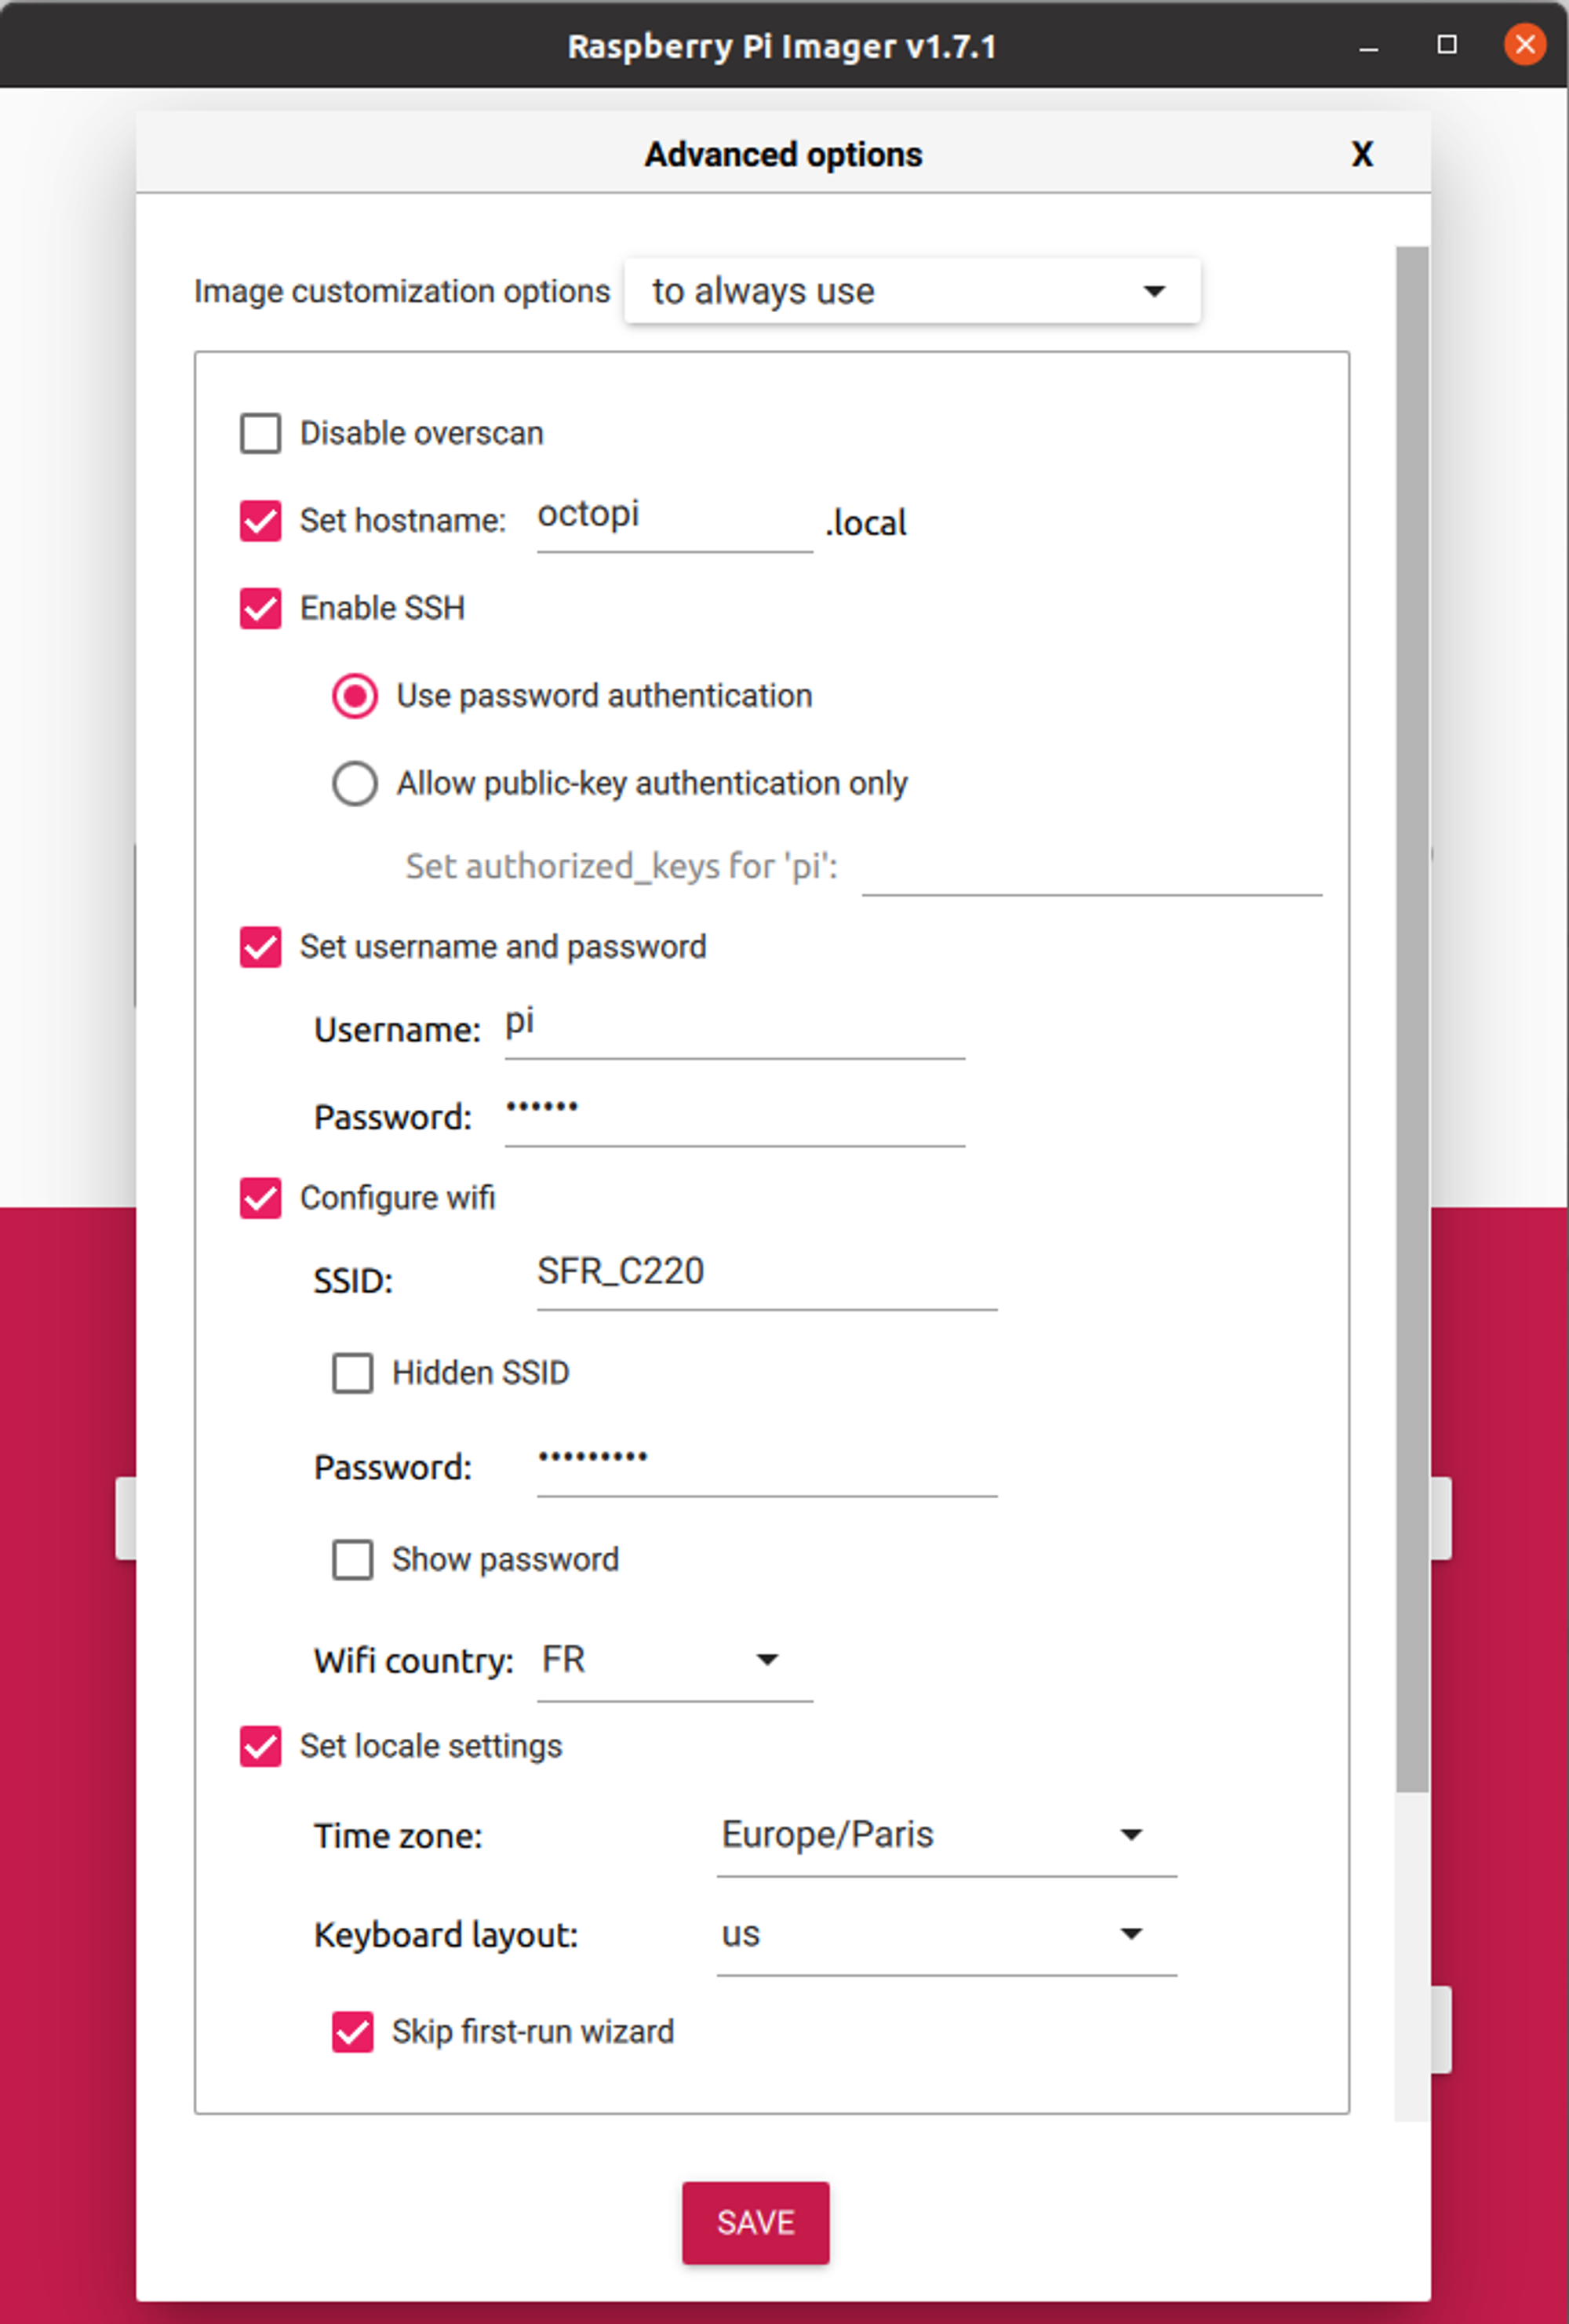
In the previous versions of the Imager, this button wasn’t here and the settings could be reached only by the shortcut ctrl+shift+x So if you don’t see the button here you can use the shortcut and I recommend you upgrade your Raspberry Pi Imager
Here I am sharing my settings with you, the wifi settings are going to be changed after the flash process so they are not critical. Do not change the ‘pi’ username, OctoPrint software is using it as default, and changing it will cause major problems. Fill the other fields according to your cases such as your country and other preferences.
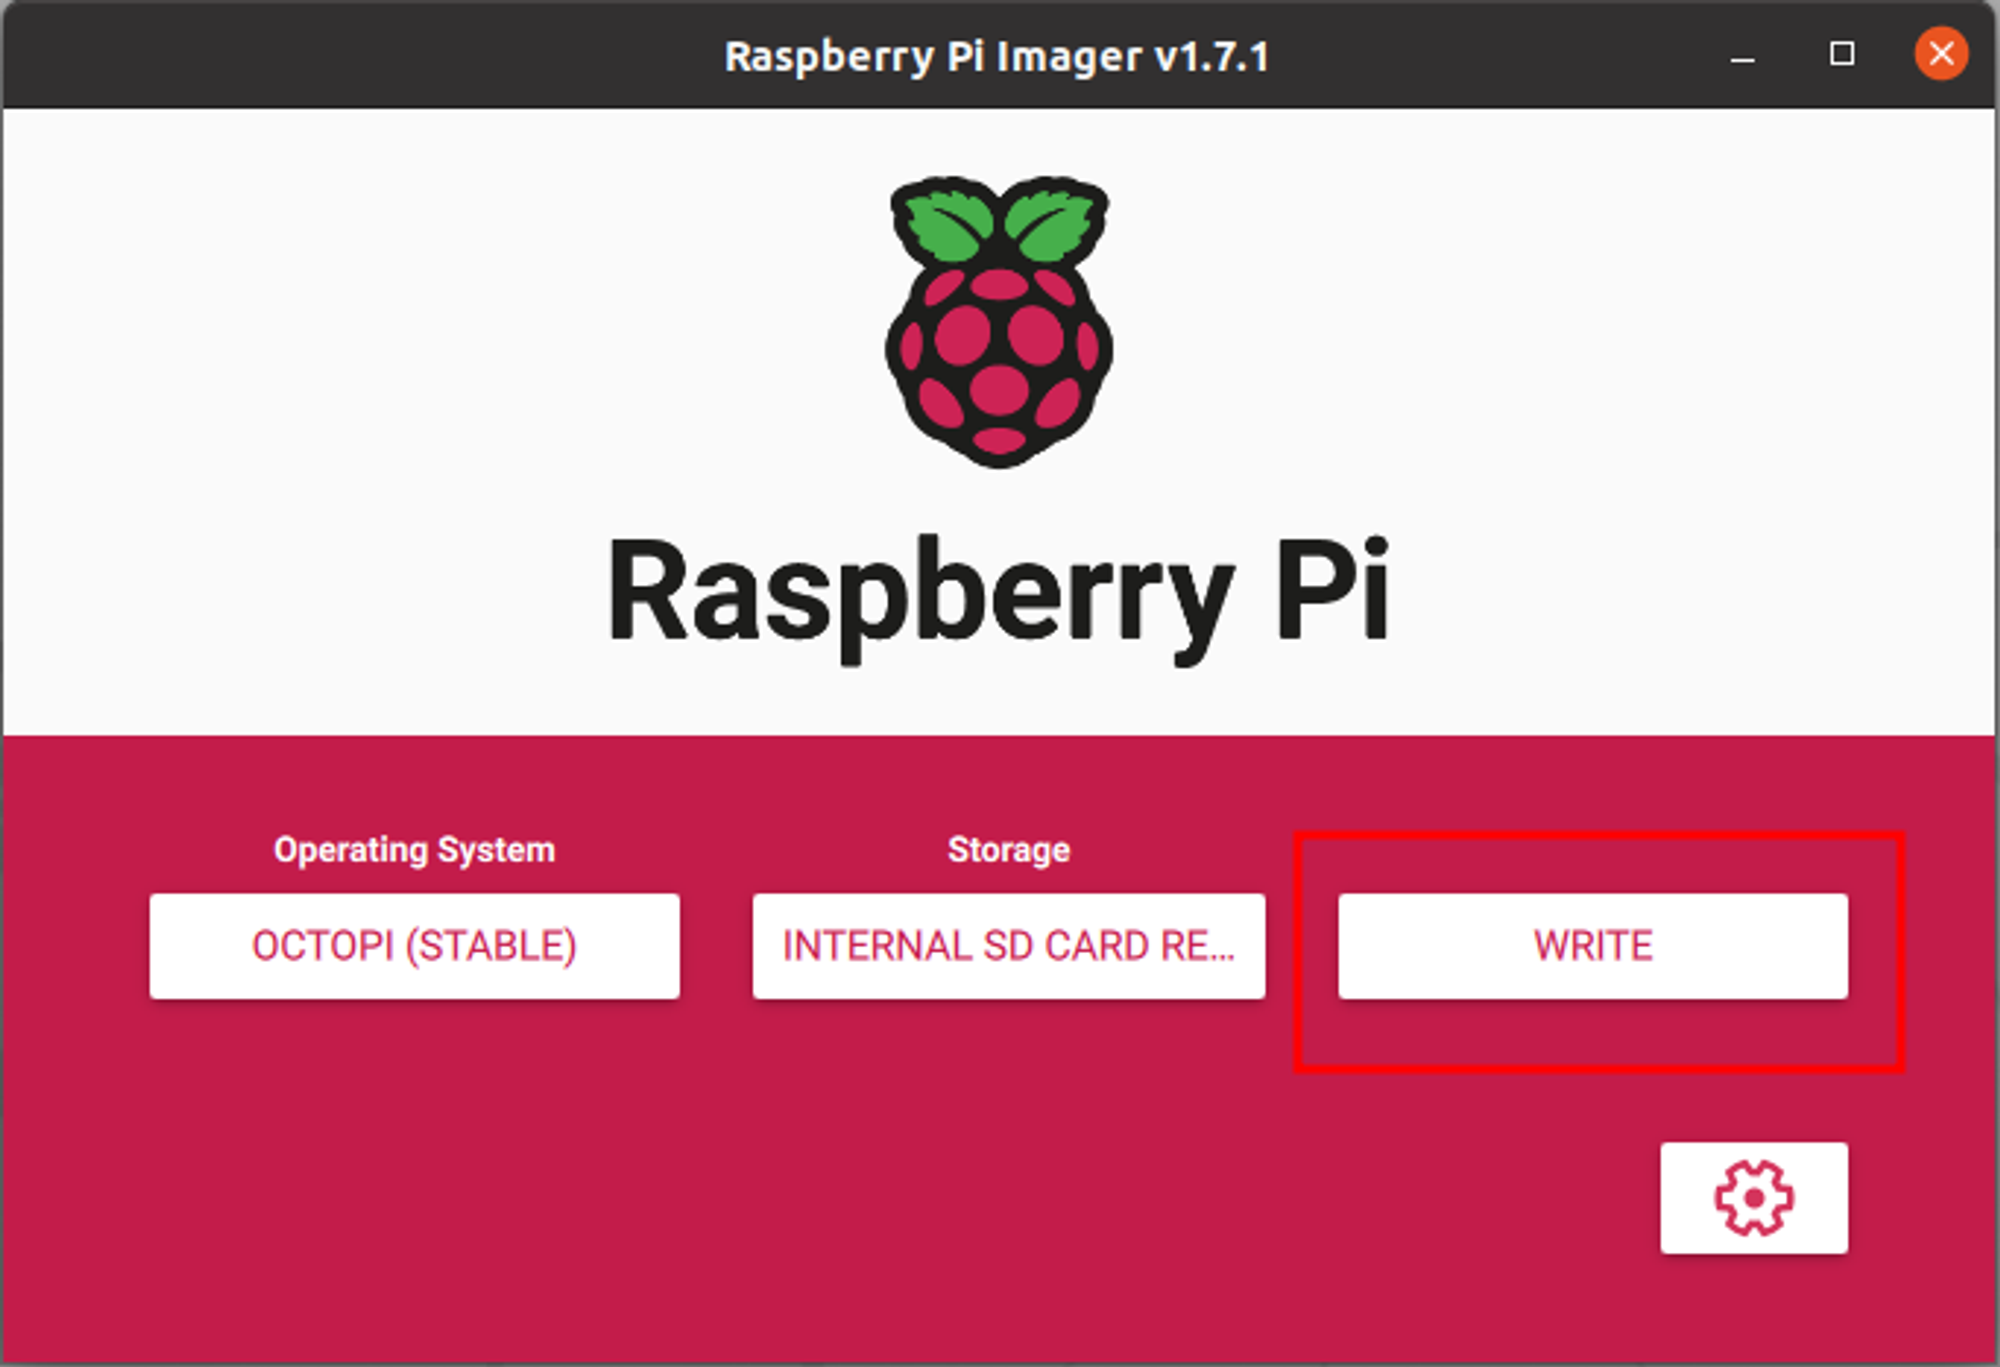
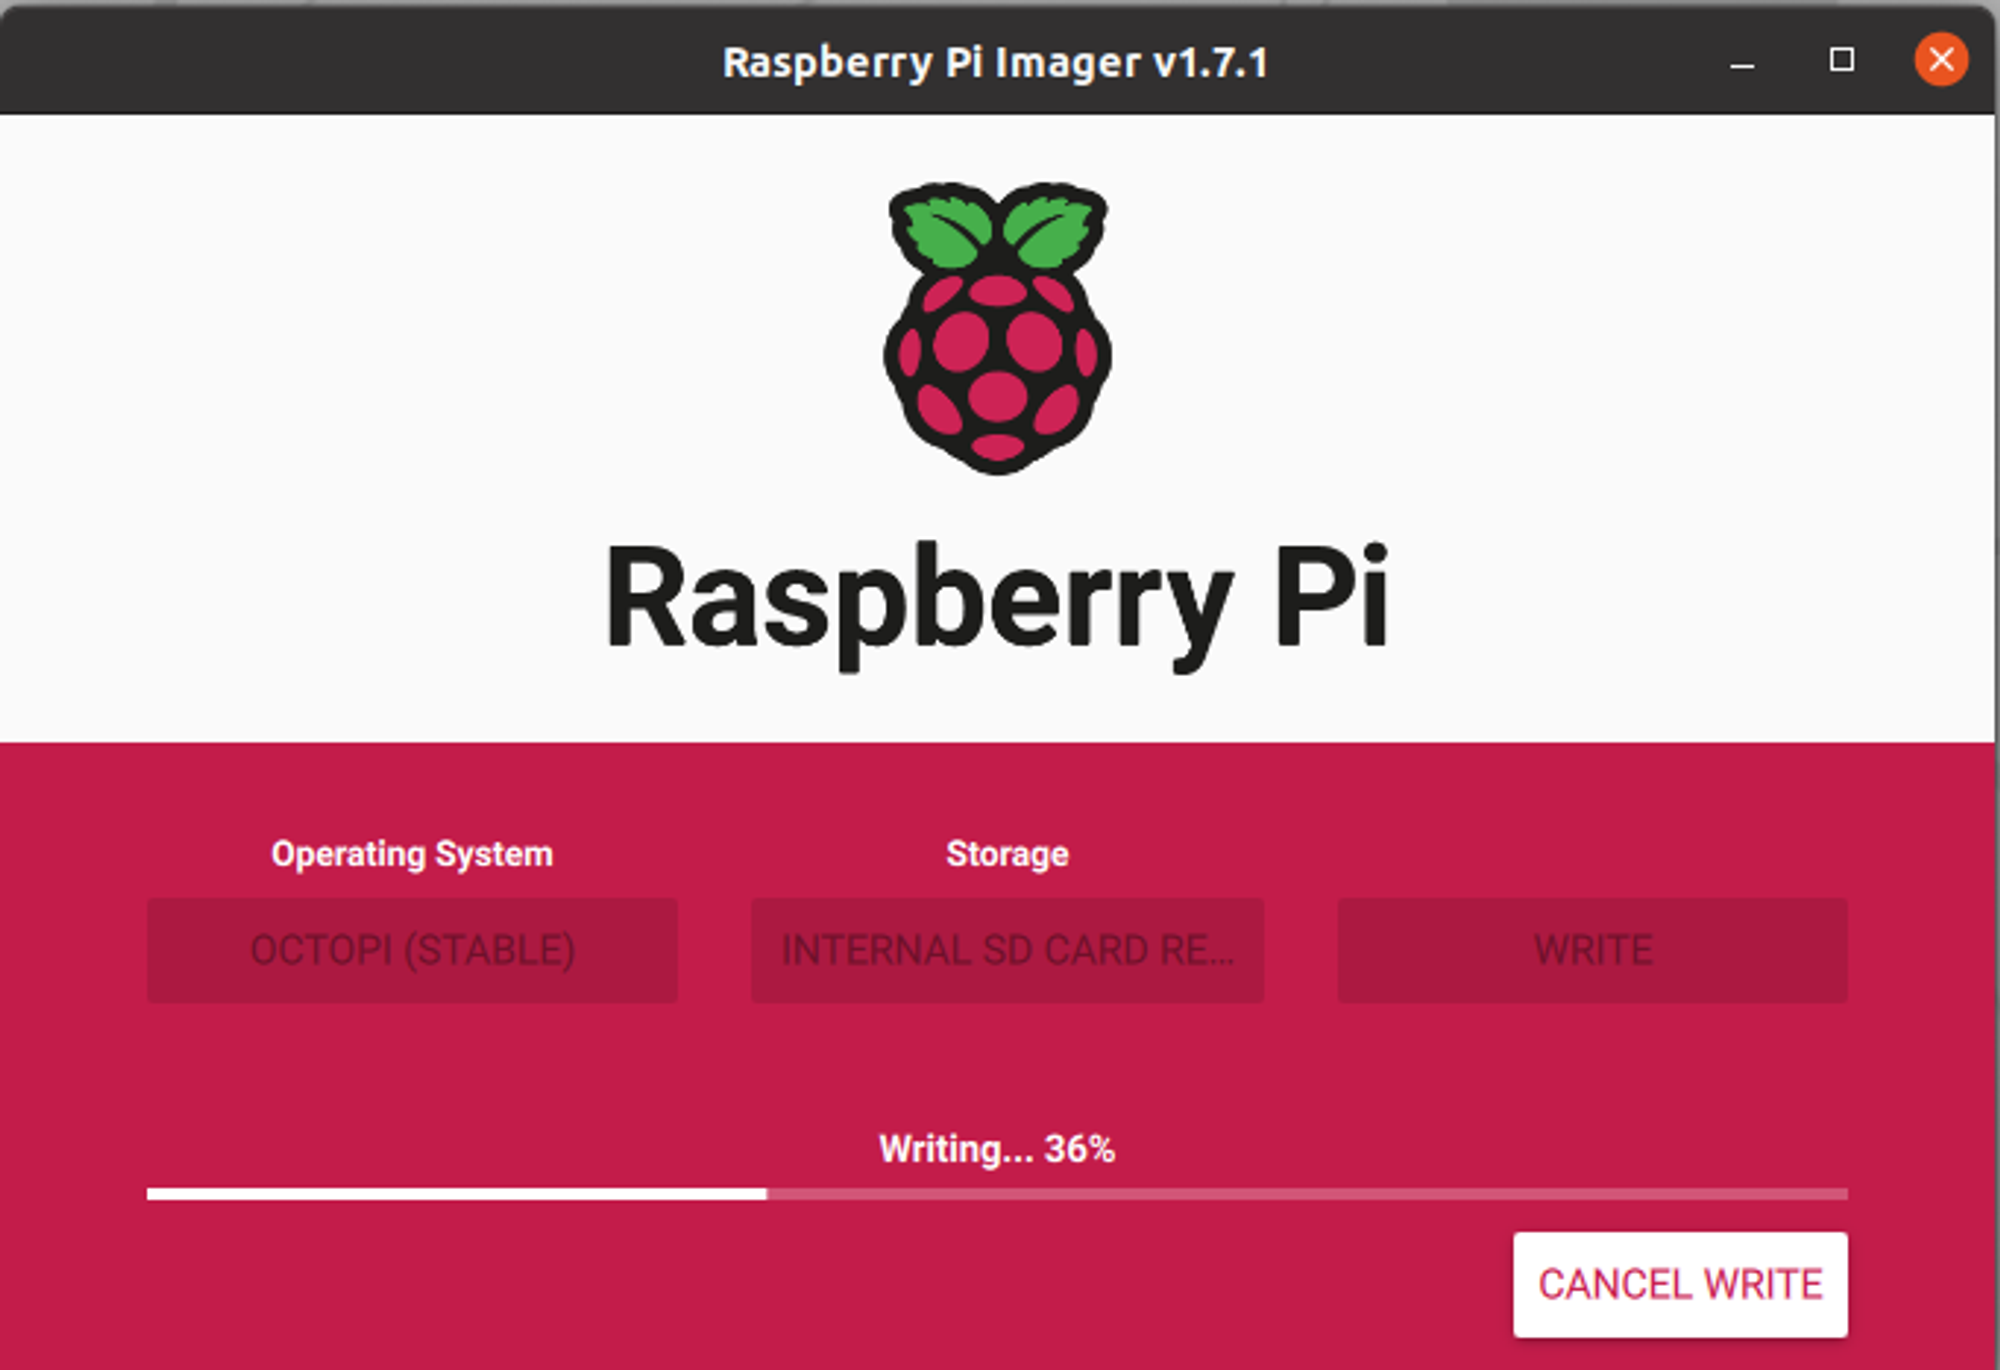
Hit ‘Write’ to start the flashing process.
5. OctoPrint wireless settings
After the flashing process is completed, the SD card will be automatically mounted to your system. If not mounted automatically, take it out from your computer and mount it back. Open the ‘boot’ partition on the SD card and find the file ‘octopi-wpa-supplicant.txt’.

Scroll down to the lines shown below.
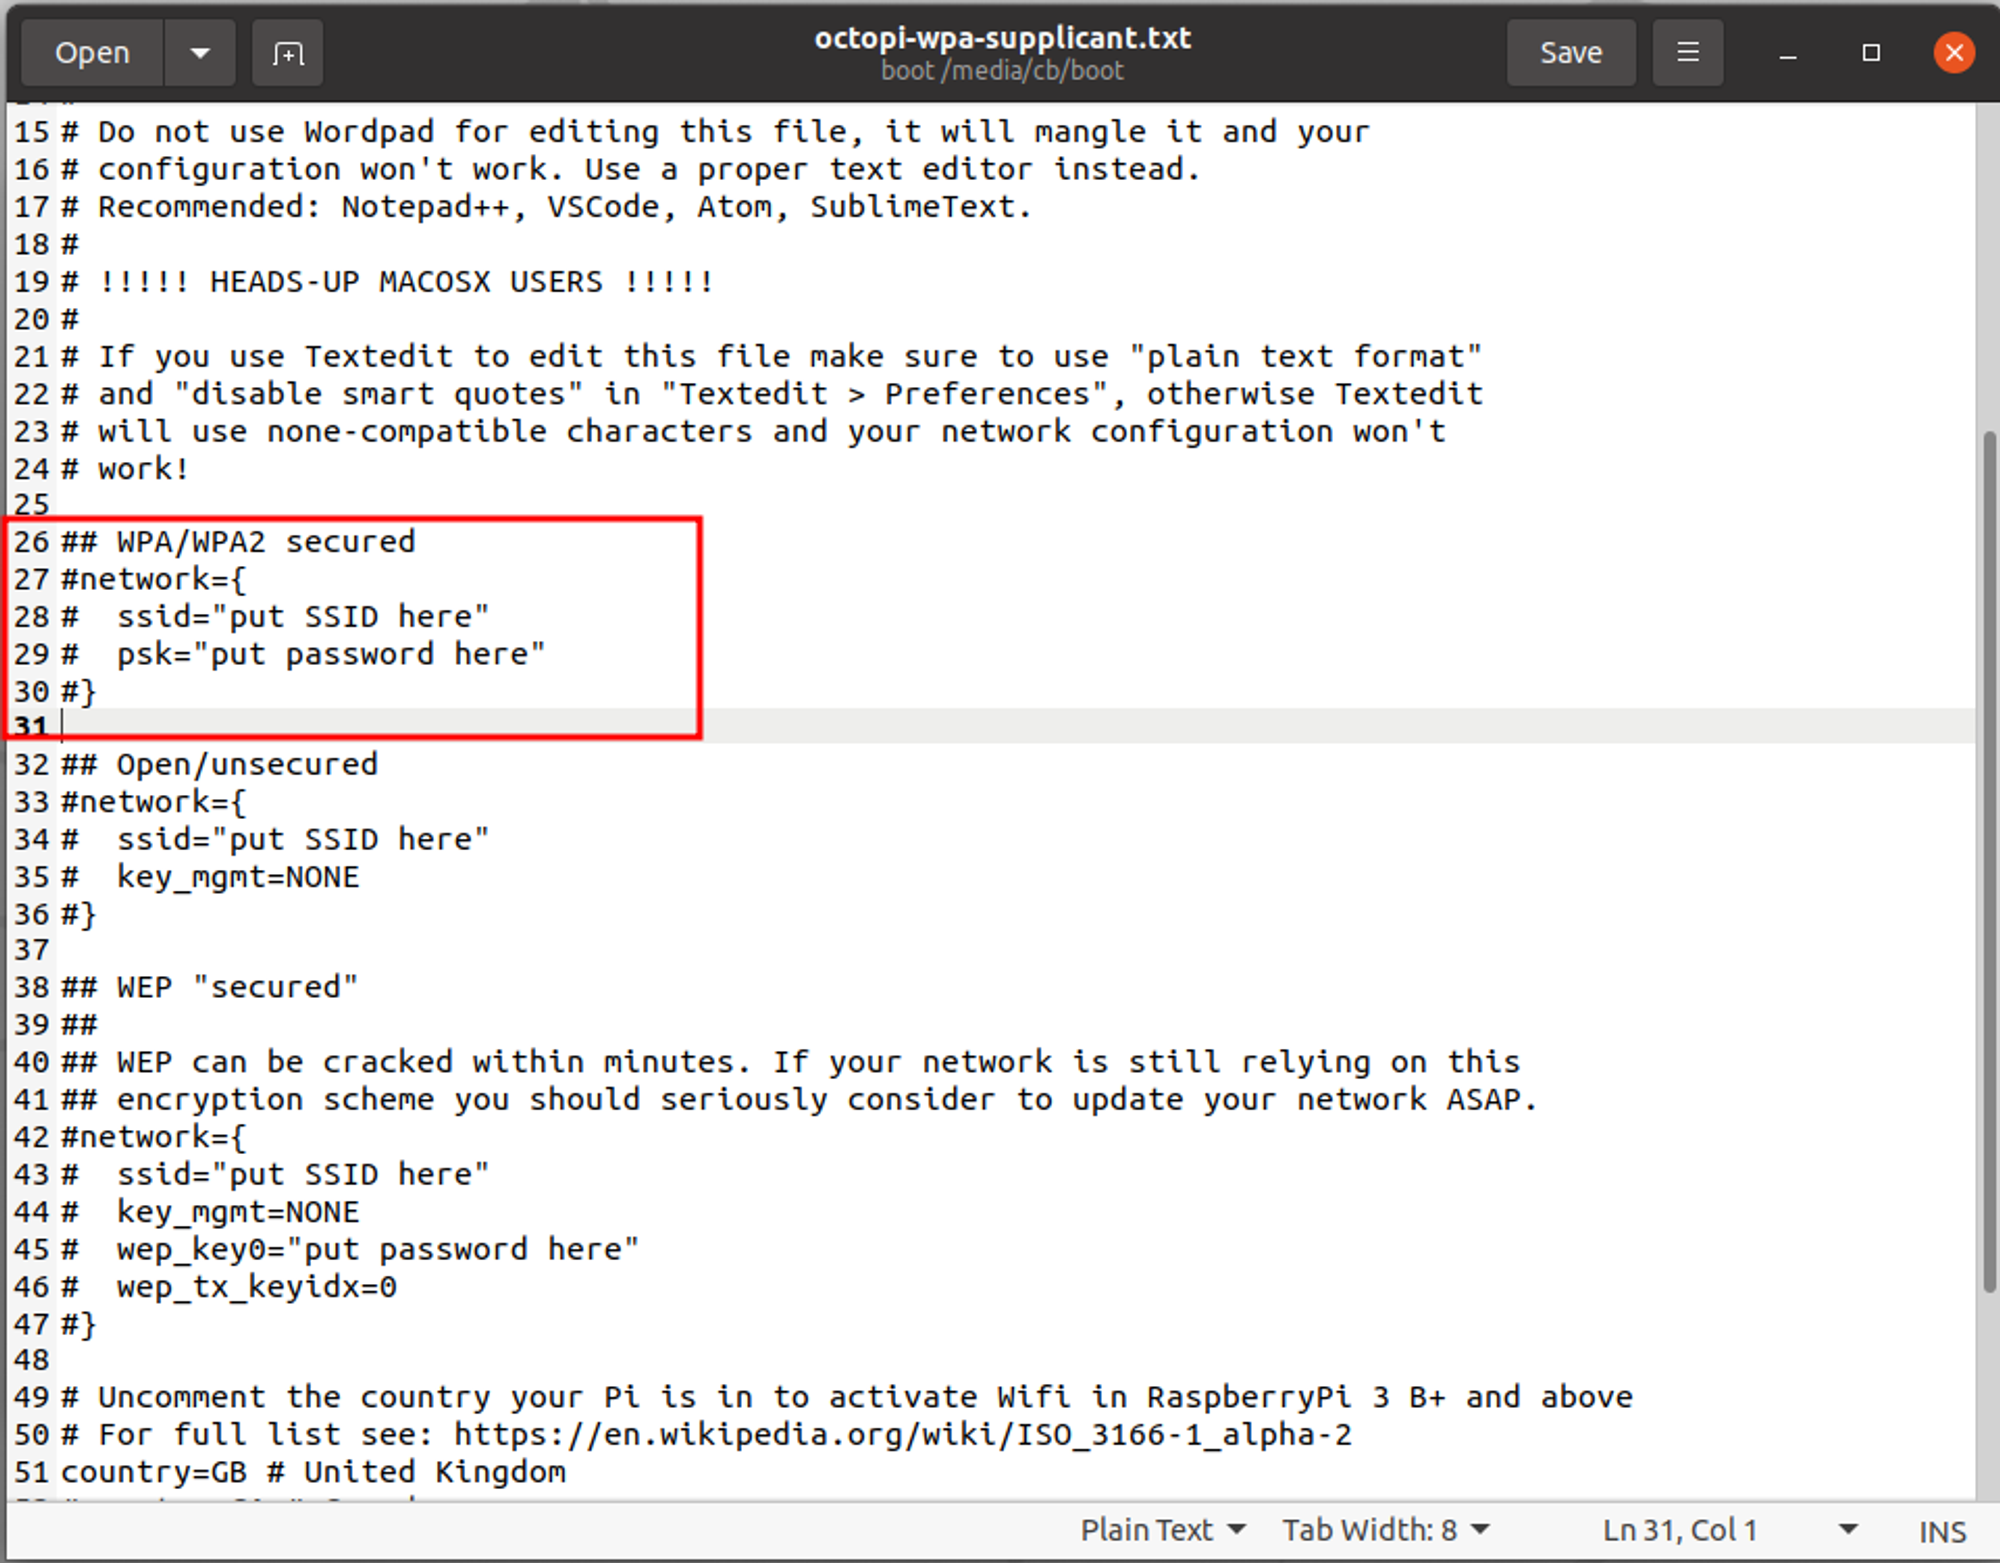
Change the related fields to your Wi-Fi network SSID and password. Save the file and close the editor. Eject the SD card properly by the eject command on your operating system and mounting it to the Raspberry Pi.

6. Connect Raspberry Pi to the 3D Printer
I used a Raspberry Pi Zero 2W for this job. I have Pi 4’s and Pi Zero W’s at home but I am not using any of those because a Pi 4 would be overkill and Pi Zero is not powerful enough to handle OctoPrint software with streaming options.
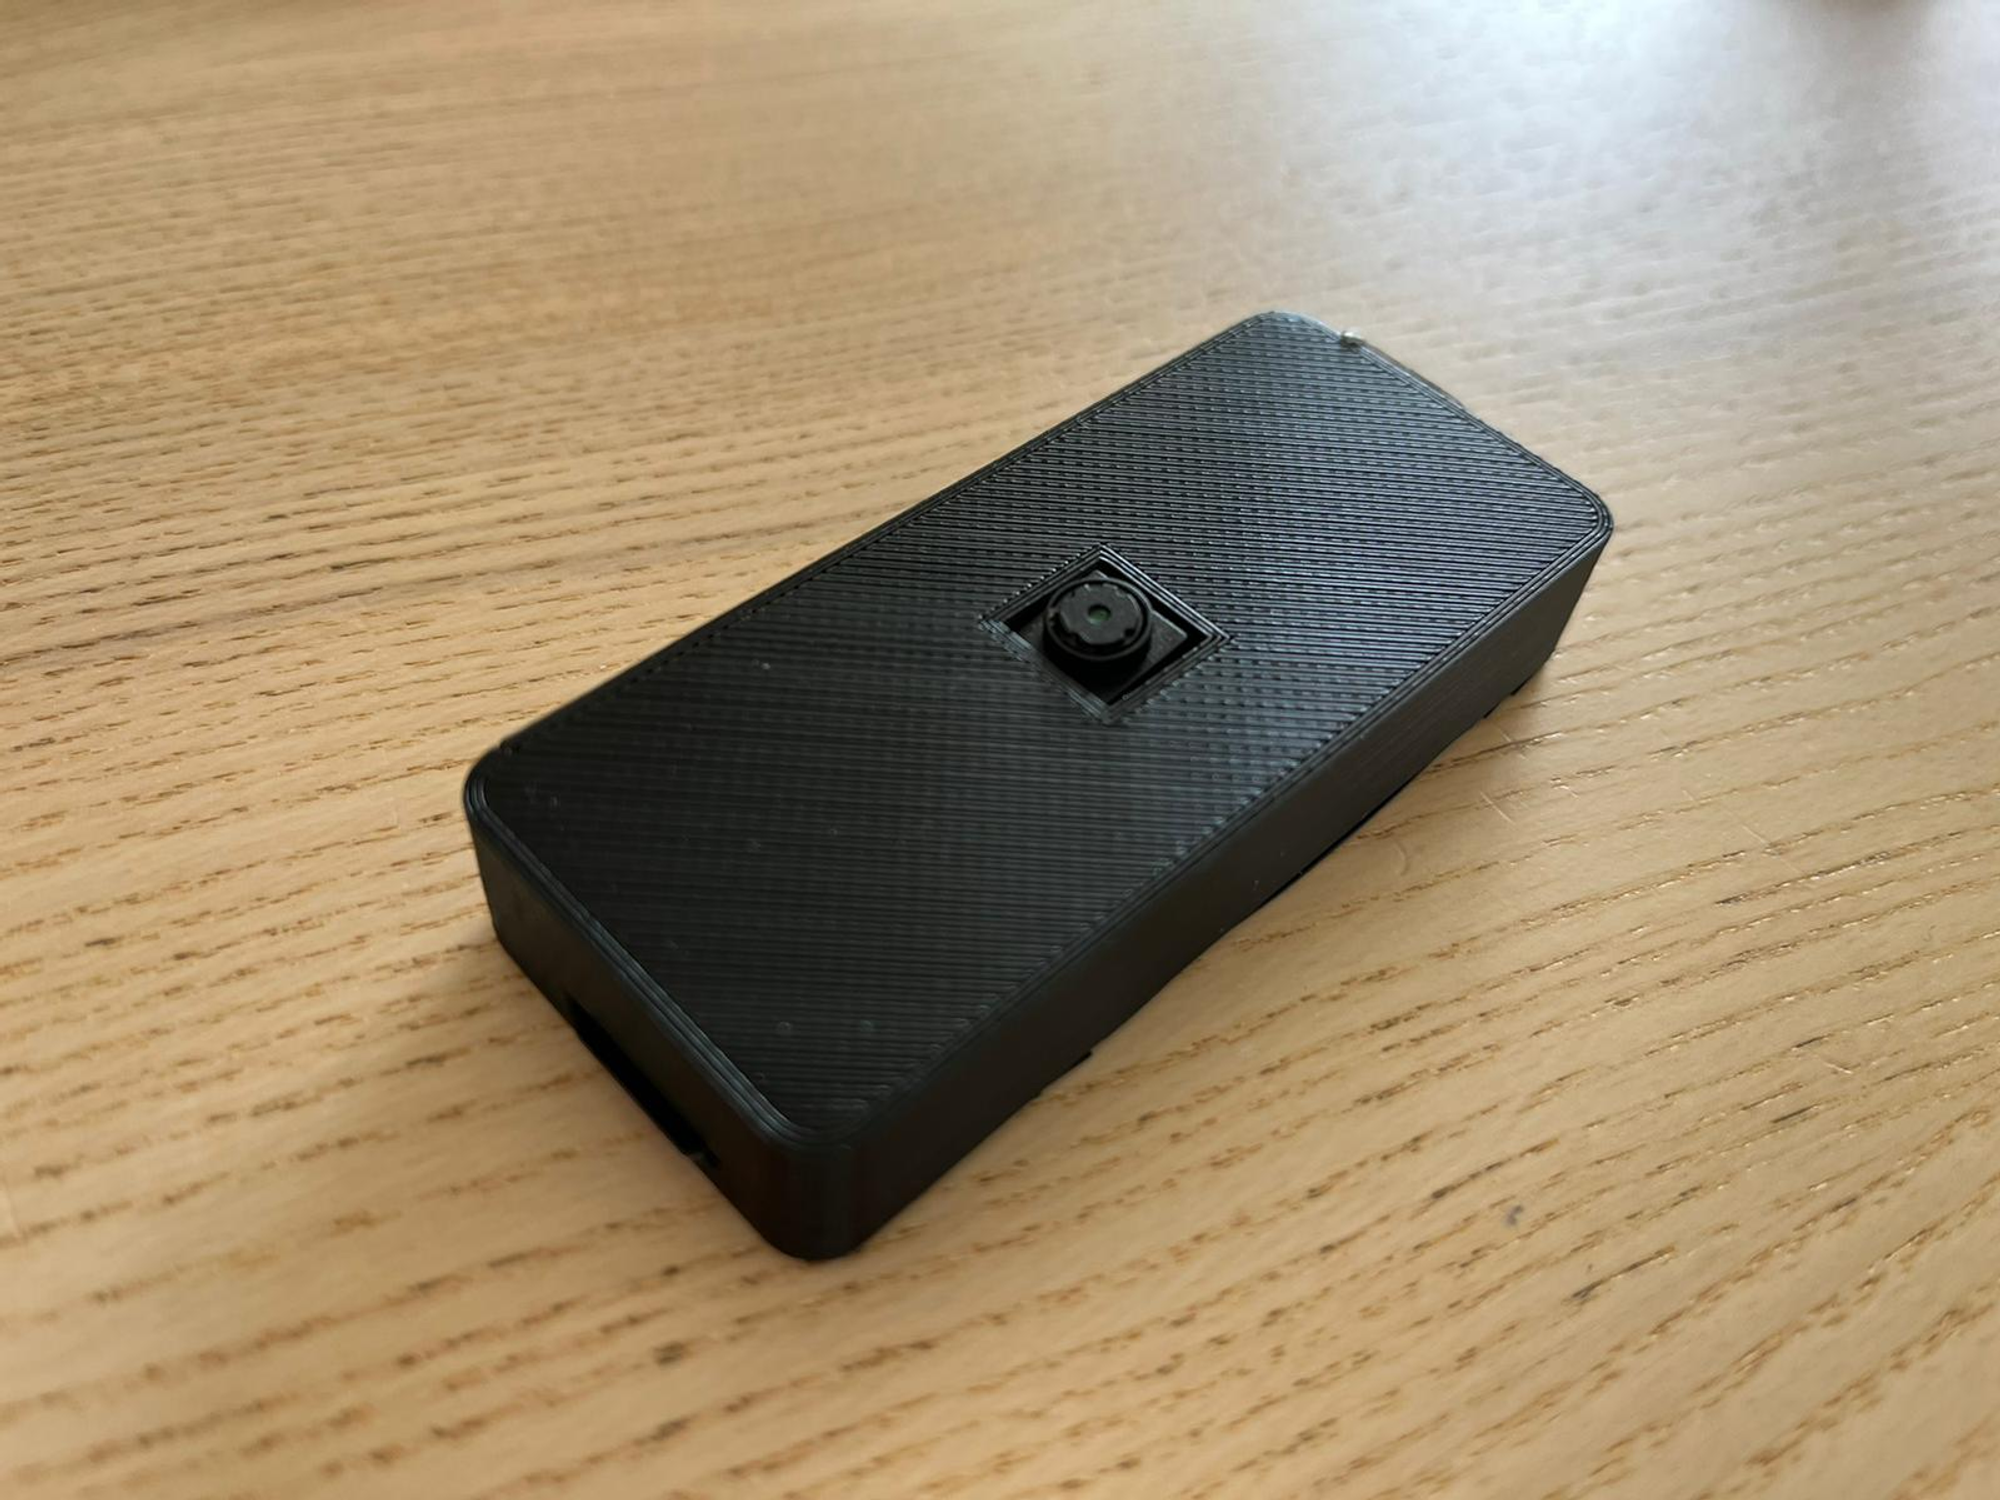
I used a 3D printed case for the Raspberry Pi Camera and the Raspberry Pi Zero 2W itself. To power the Raspberry Pi, some setups are using a voltage converter to convert the printer’s internal 24V to Raspberry Pi’s operating voltage (5.1V). Instead of it, I am using a wall adapter to power the Raspberry Pi. Both of them are connected to a cable extender so cutting the power of the system directly from the cable extender’s switch would power off the printer and the Raspberry Pi at the same time.
For the connection, in this type of setup, you would need two micro USB cables and an OTG cable. Connect one of the USB cables to the power adapter and give it to the power port of the Raspberry Pi Zero 2W. Plug the OTG converter into the Raspberry Pi’s USB port and connect the USB A to your printer with the other micro USB cable. Putting the OTG cable on the printer’s side wouldn’t work, it should be on the Raspberry Pi’s side.
I used some double-sided tape as a temporary solution to fix the Raspberry Pi on the printer.
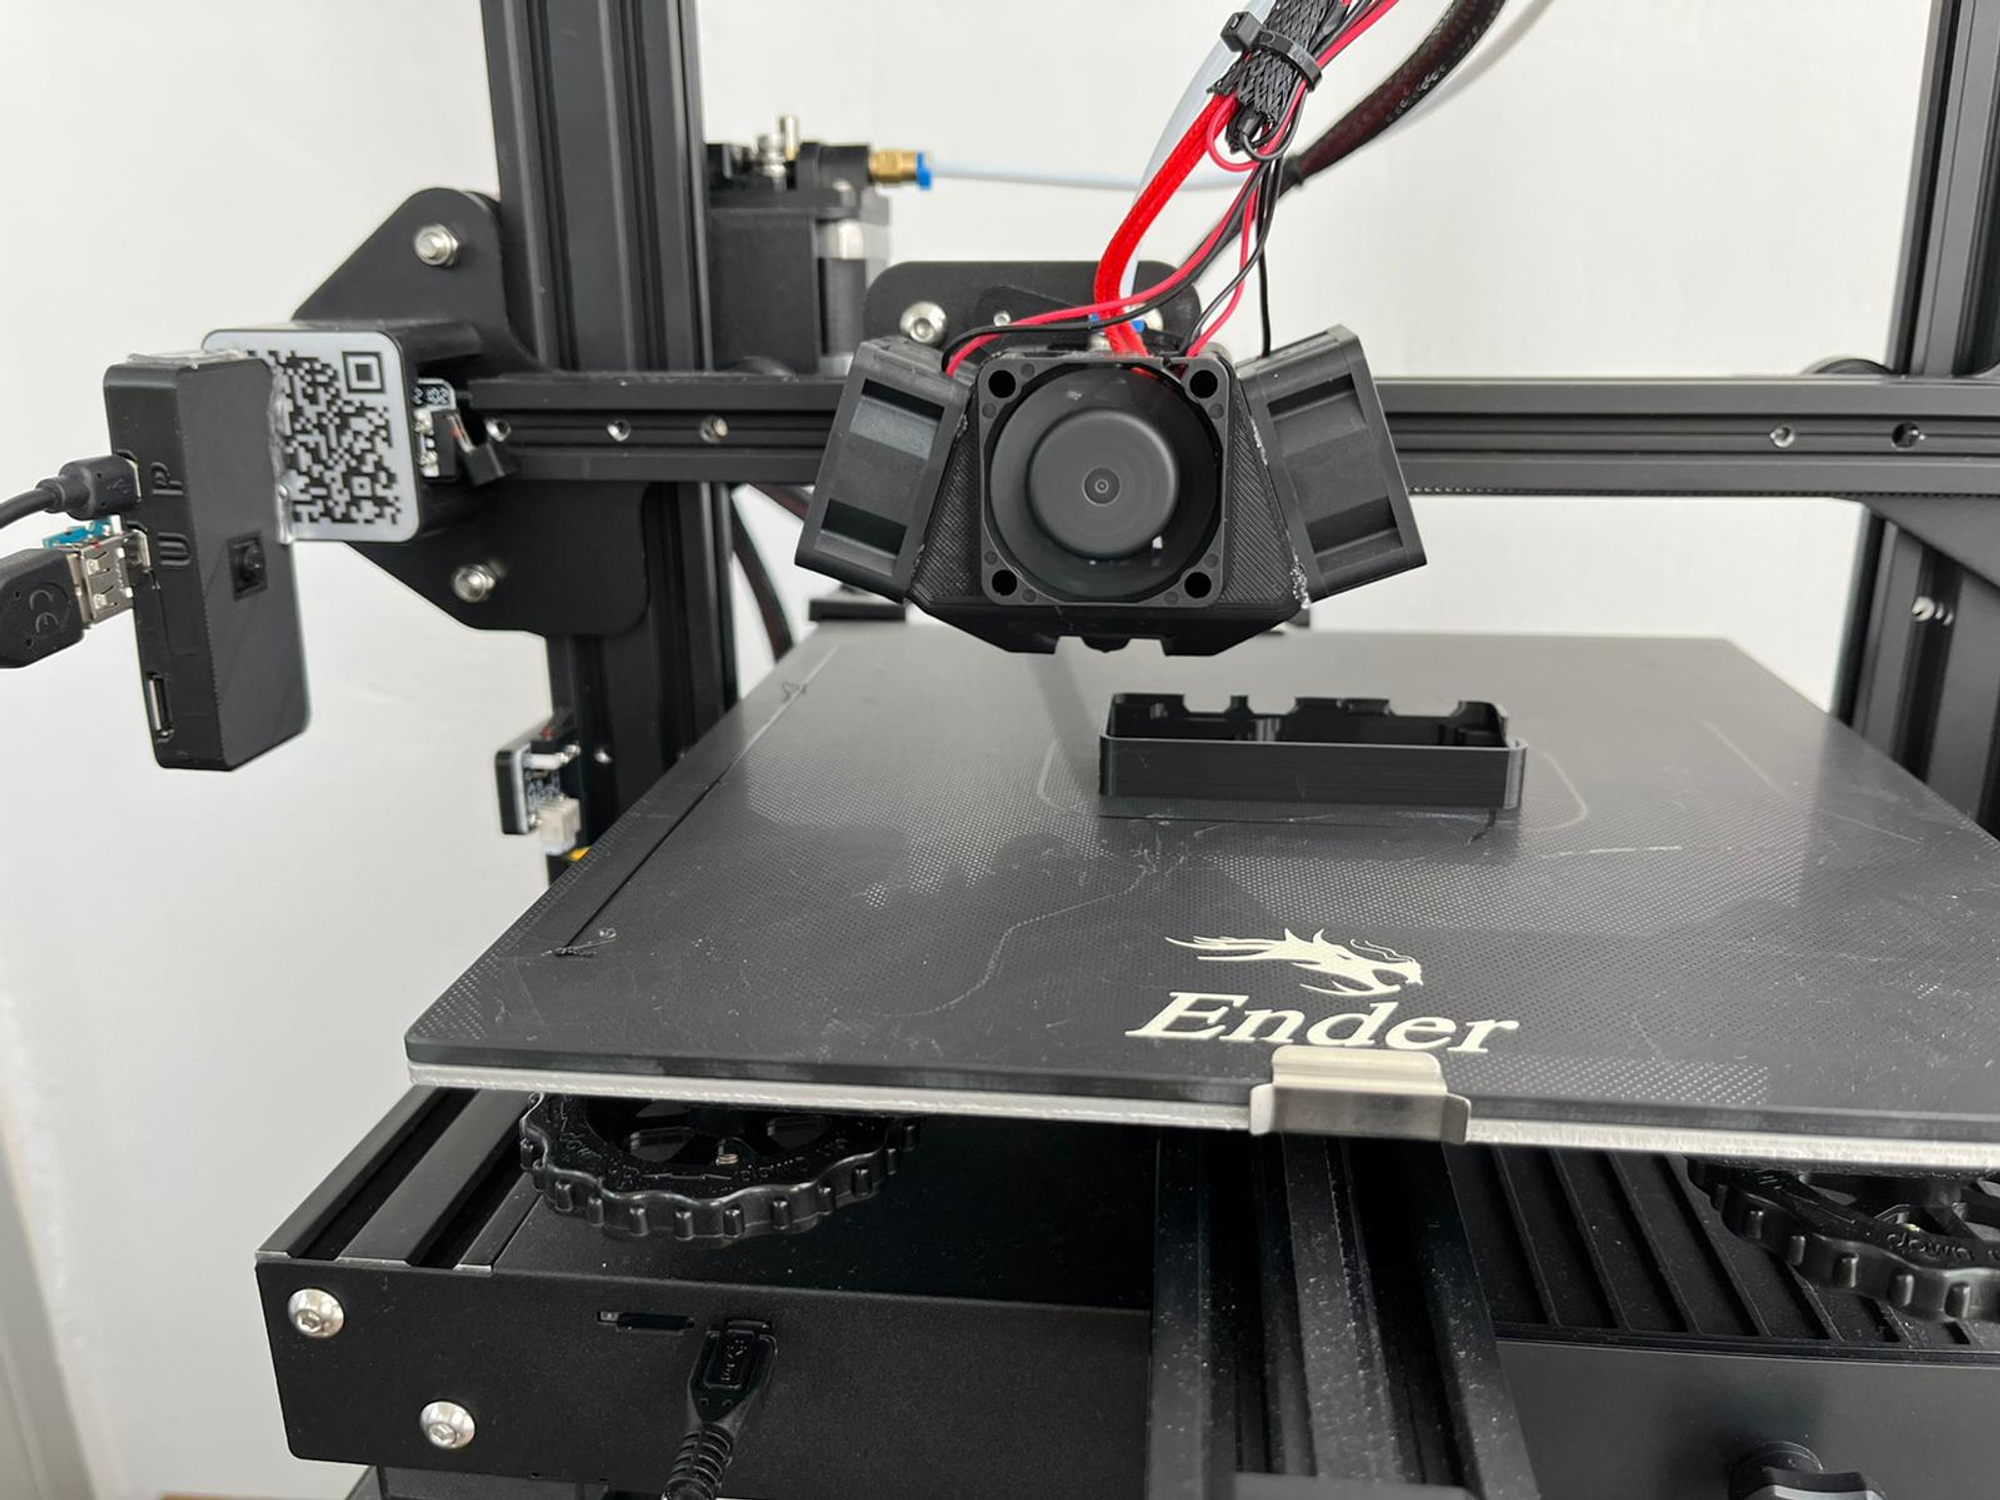
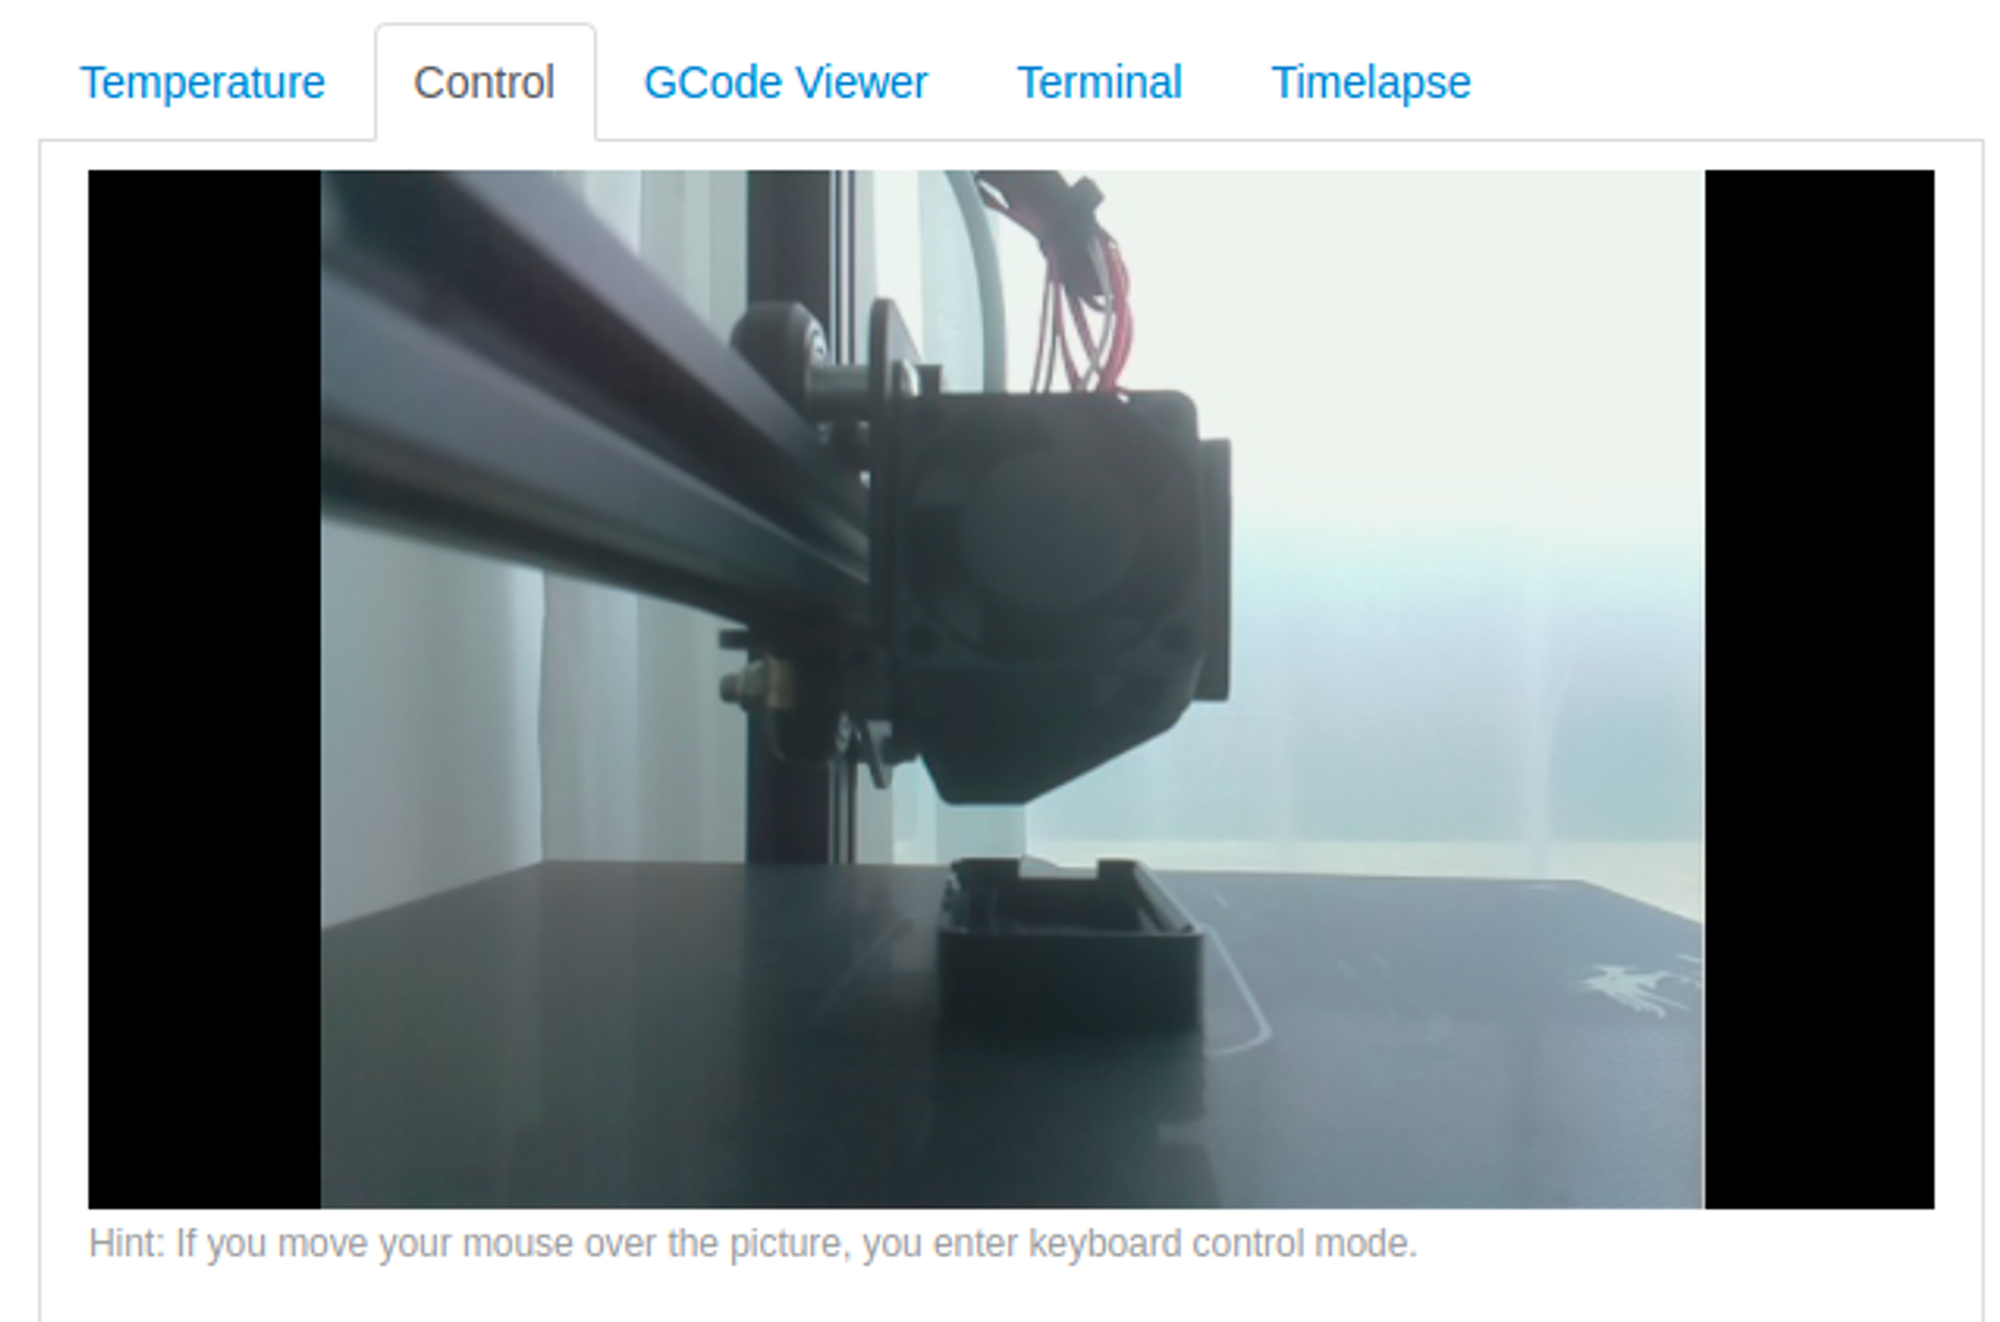
You can see the actual view of the Raspberry Pi below when the printer is operational.
7. Access the OctoPrint
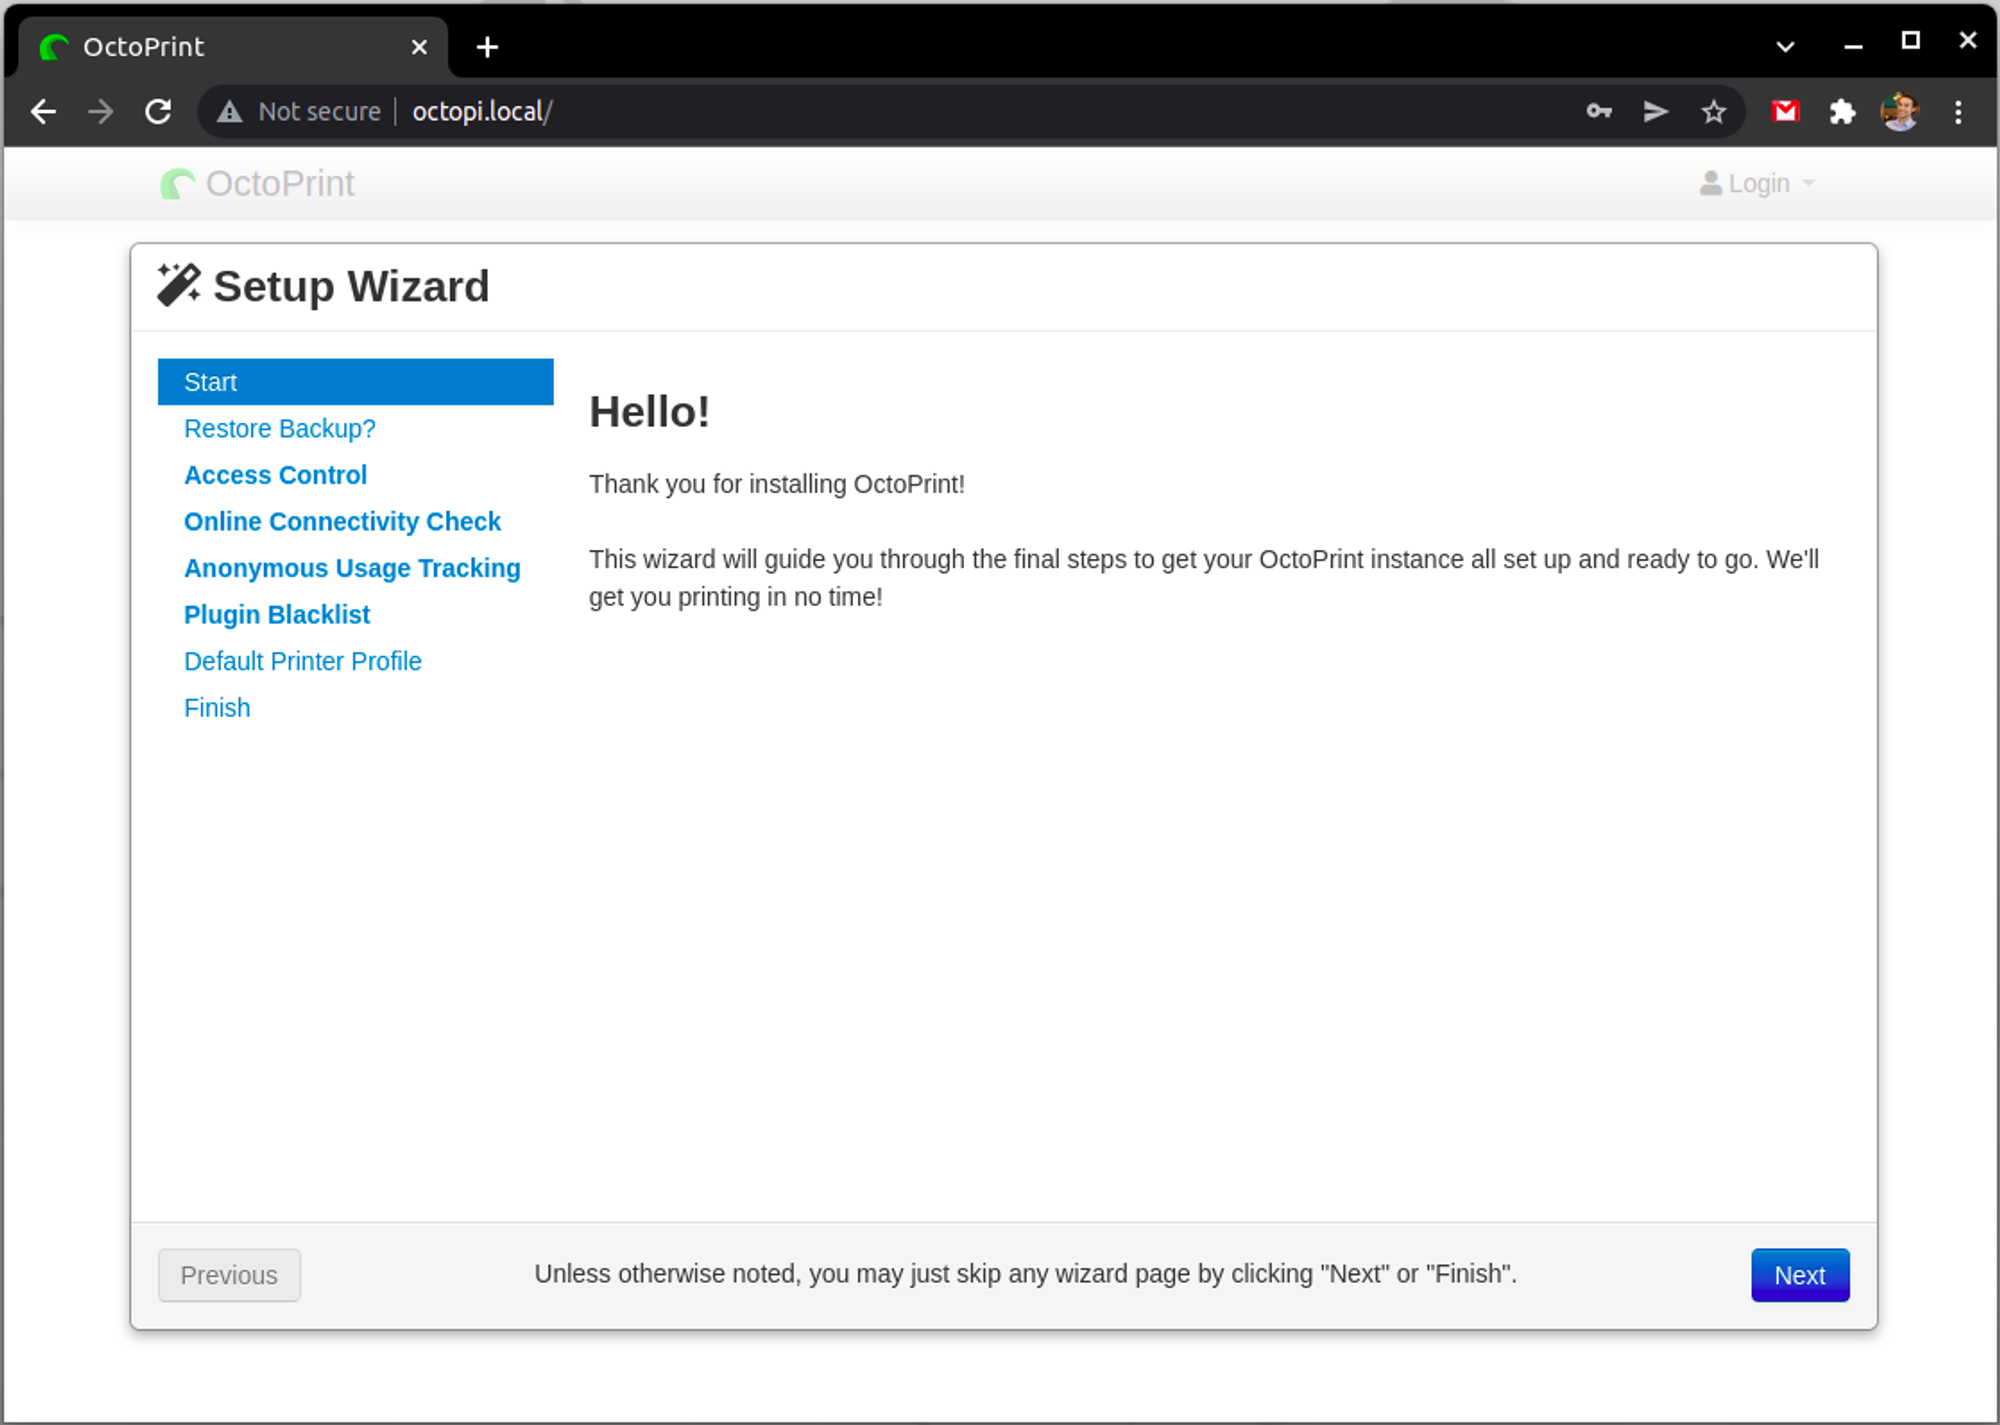
After powering up everything, wait for a couple of minutes to allow the OctoPrint to start and open a new browser tab. Go to the octopi.local address. You should see a setup wizard if it is not reachable;
- Check the Pi if it is powering up by looking at the LEDs on it. If the red LED is on that means it has power and if the green LED is blinking, that means it is accessing the disk for booting up or for other operations
- Check if the Raspberry Pi is able to connect to the network, it might be out of your home Wi-Fi range, or you might be entered the Wi-Fi credentials wrong.
- If you are sure the Raspberry Pi is connected to the network, try to reach it with its IP Address in
http://123.234.123.234format. You can find out the IP address of the connected devices by using an IP Scanner or from your router’s web interface.
In the Setup Wizard, the OctoPrint interface is explaining everything and gives external links for further information when it is available. Follow the instructions and make your settings.
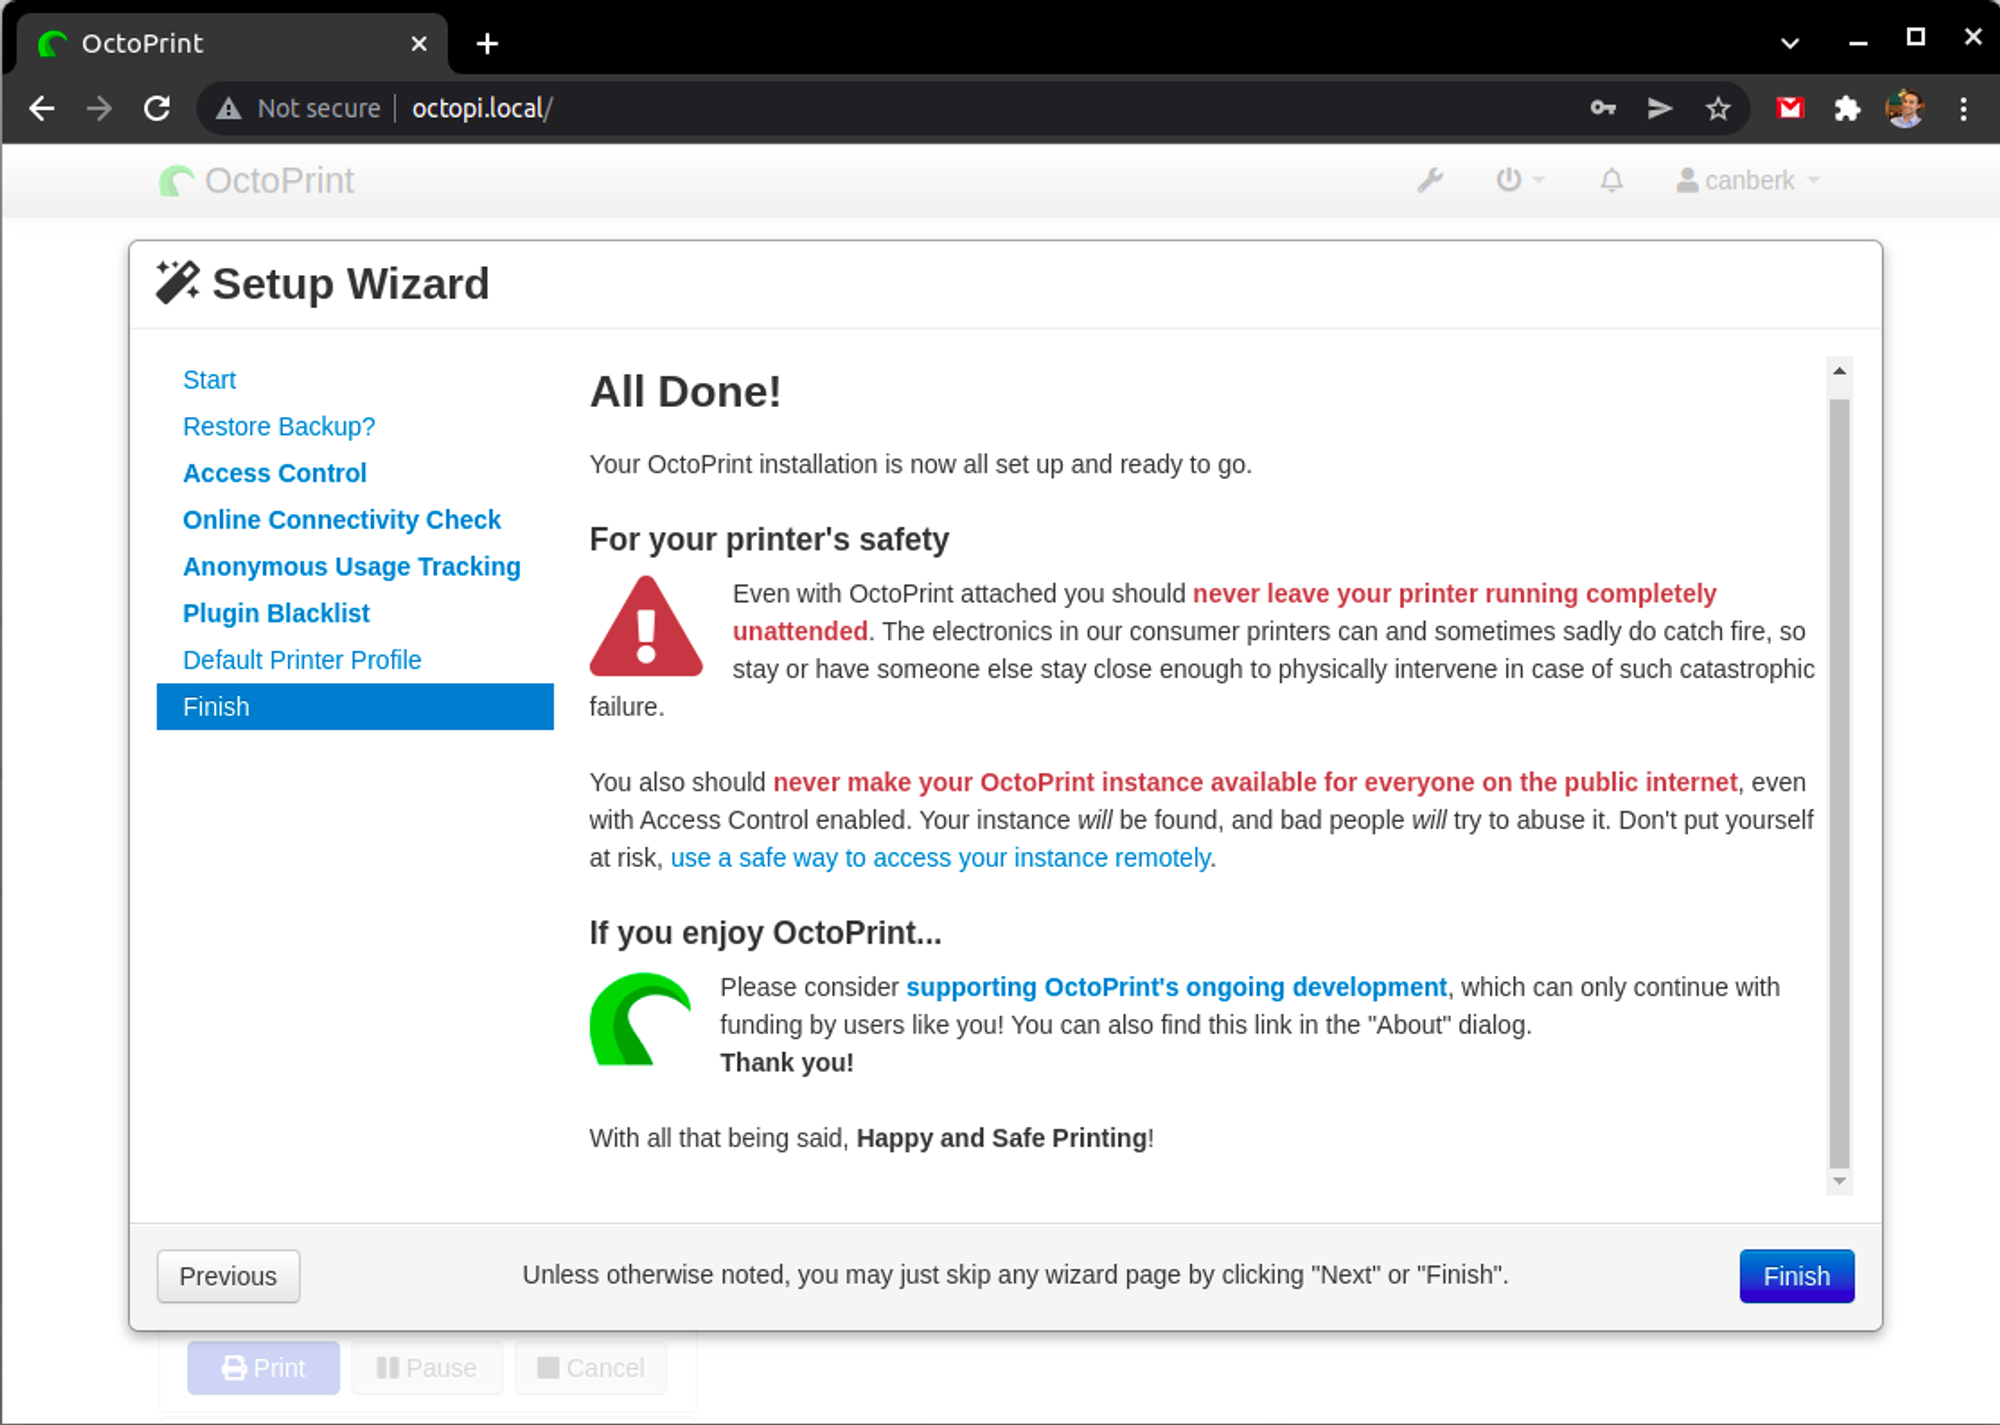
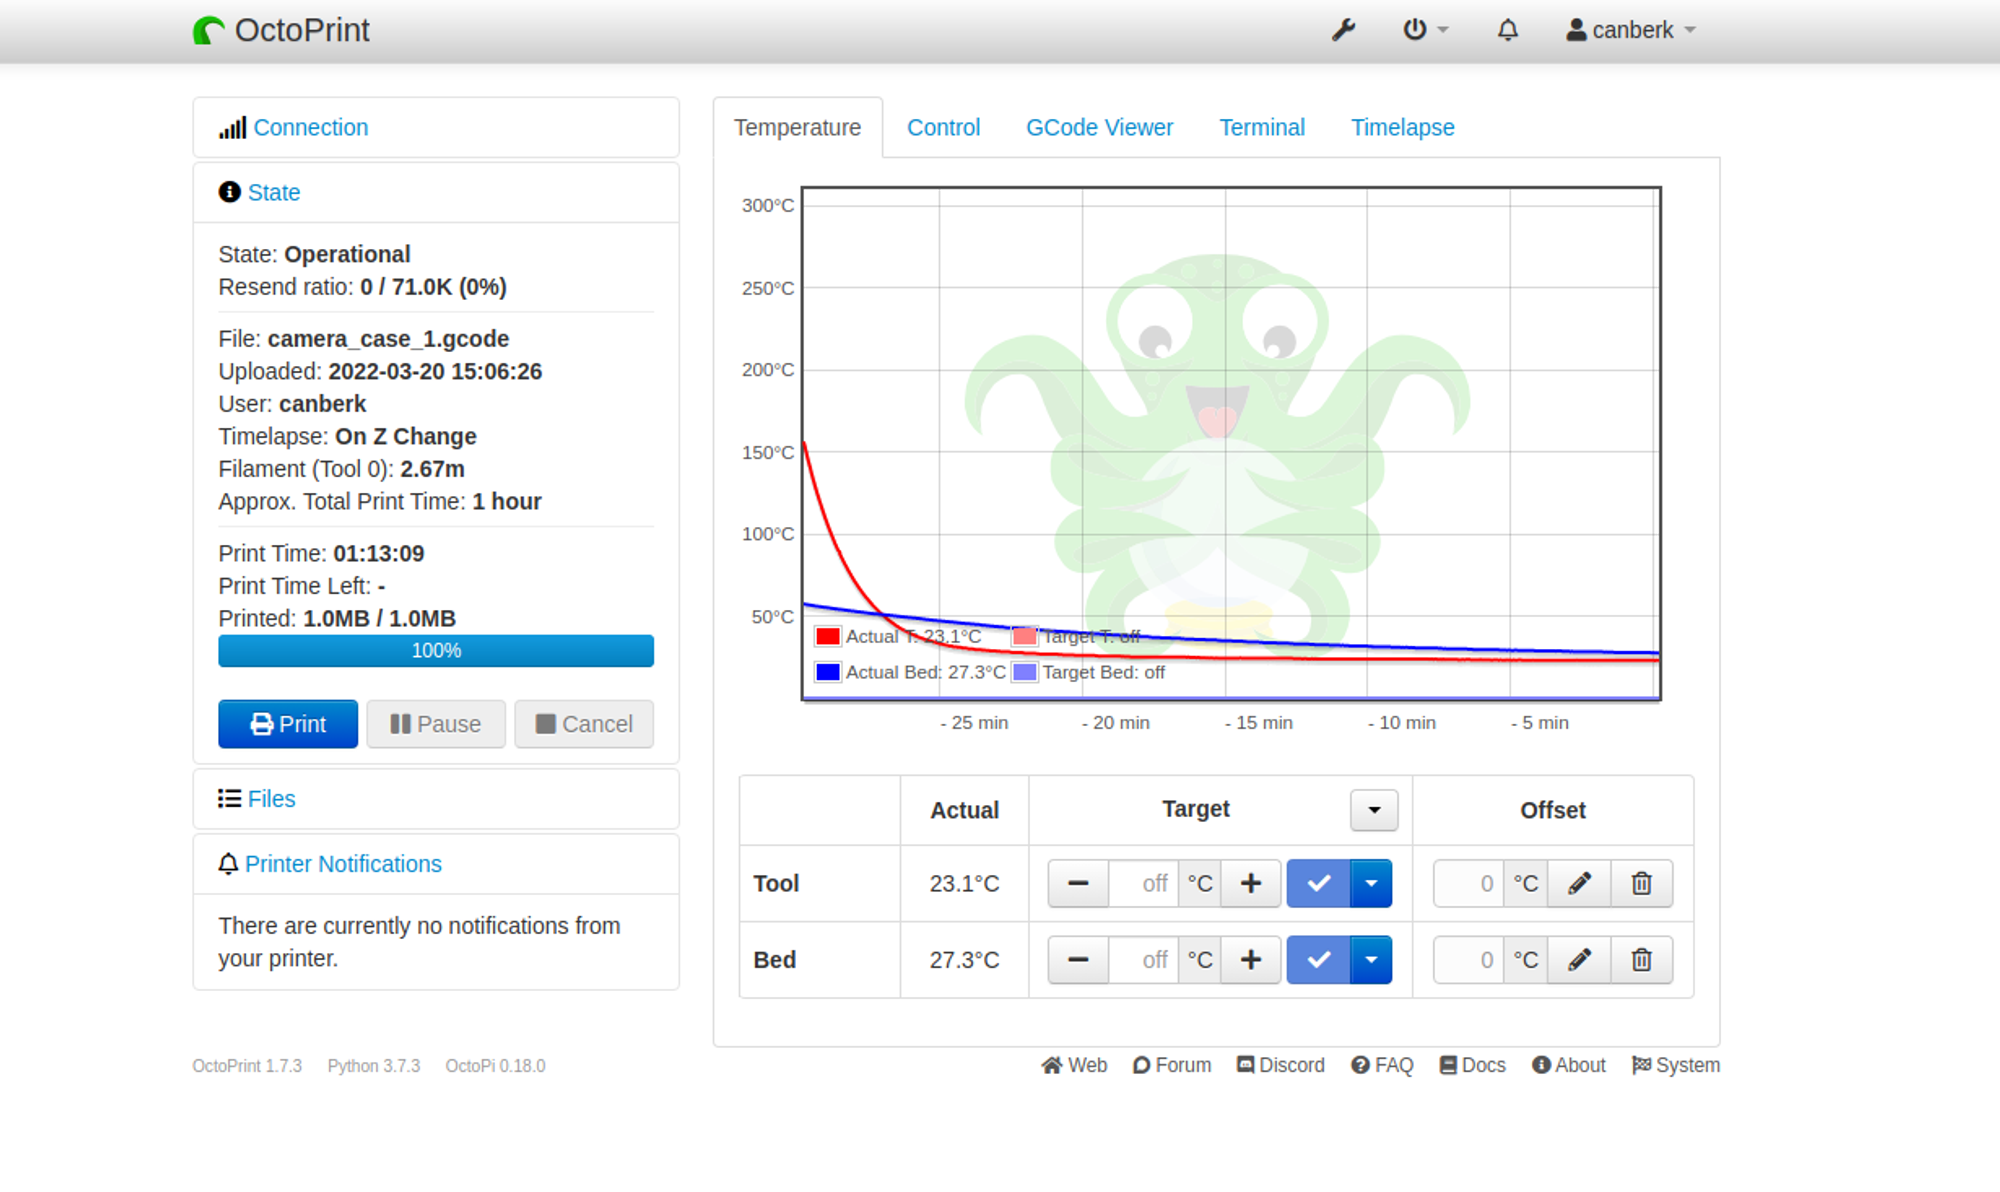
After finishing up the Setup Wizard, everything should be up and running as below:
8. Conclusion
OctoPrint has endless abilities with your Raspberry Pi and 3D Printer, it wouldn’t be possible to cover them all in this post. For everything you are curious about, I would recommend the official OctoPrint website: https://octoprint.org/
Have fun!