Install openmediavault on Raspberry Pi
1. First things first, what is openmediavault?
According to the openmediavault official website:
“openmediavault is the next generation network attached storage (NAS) solution based on Debian Linux. It contains services like SSH, (S)FTP, SMB/CIFS, DAAP media server, RSync, BitTorrent client and many more. Thanks to the modular design of the framework it can be enhanced via plugins.
openmediavault is primarily designed to be used in small offices or home offices but is not limited to those scenarios. It is a simple and easy-to-use out-of-the-box solution that will allow everyone to install and administrate a Network Attached Storage without deeper knowledge.”
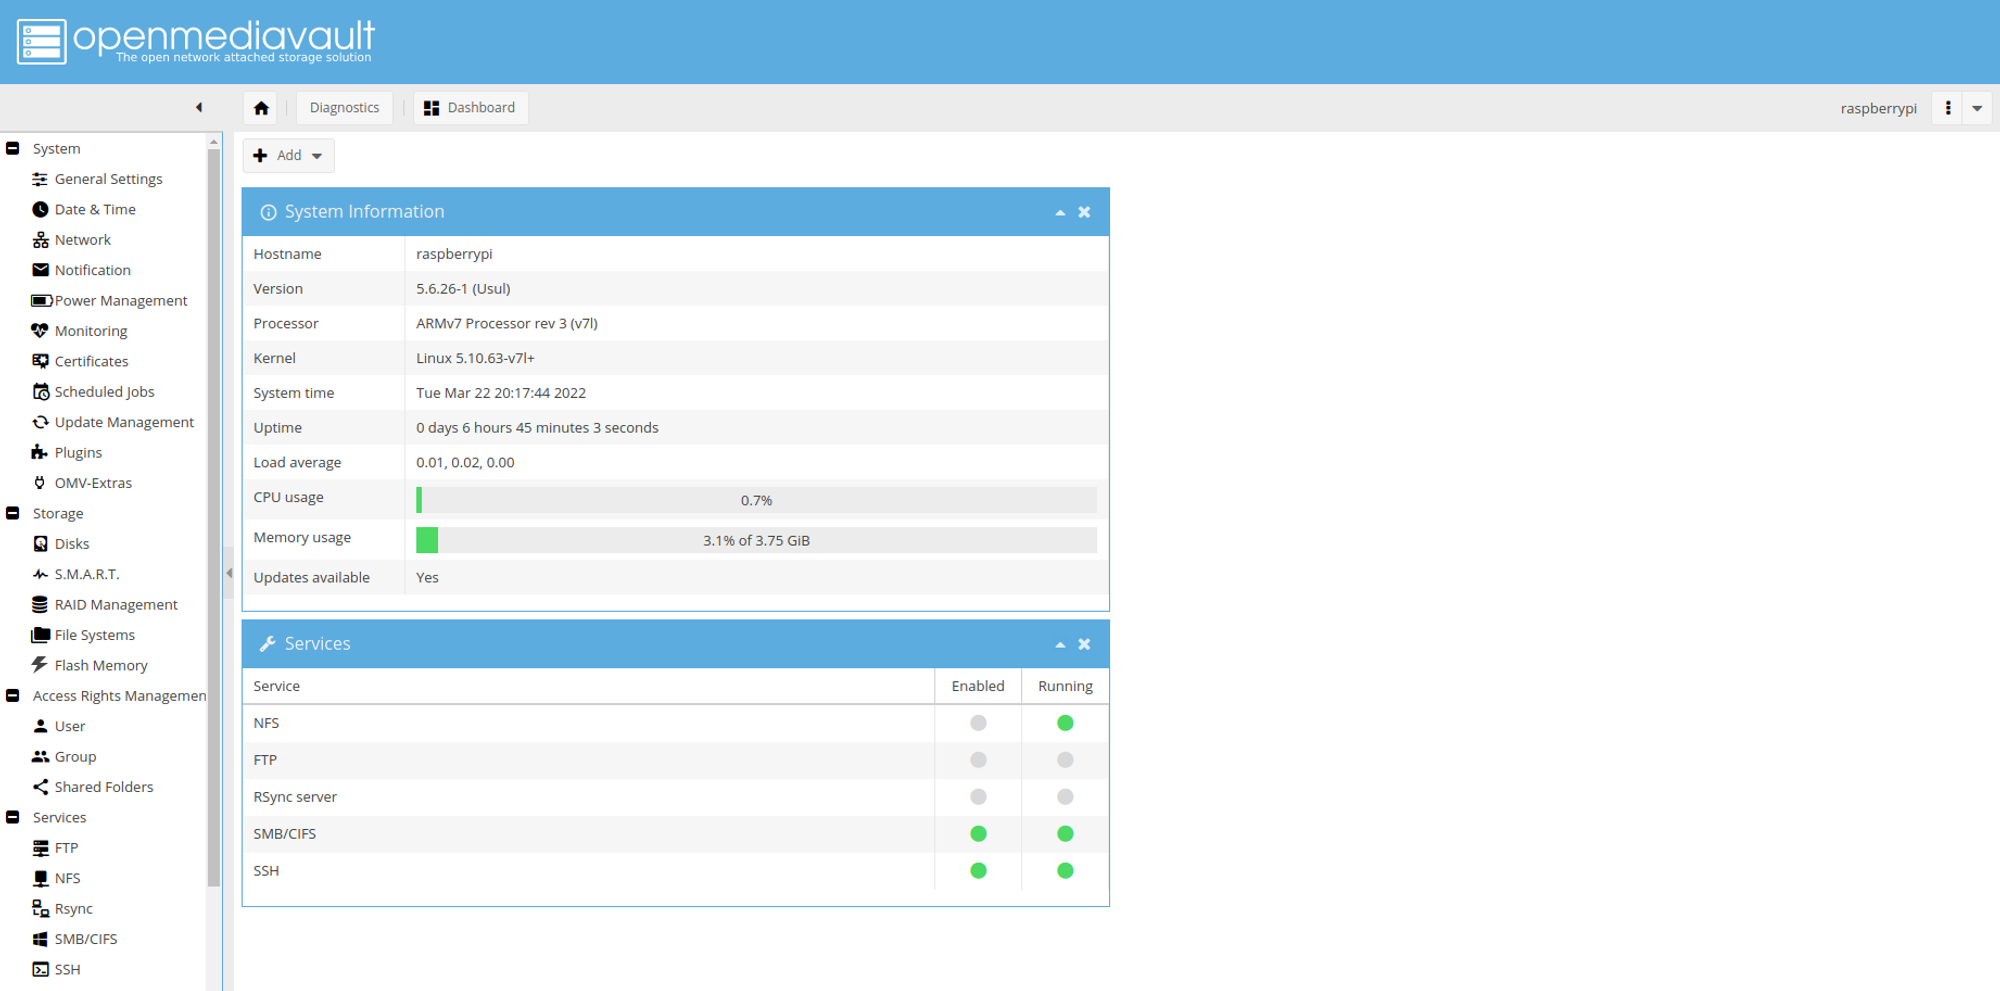
So this is a perfect solution for people who wants to make some storage available across the local network and easy to install and manage infrastructure around it. Raspberry Pi is the perfect platform to run it, thanks to its Ethernet and USB 3.0 interfaces. I will be using a Raspberry Pi 4 Model B 4GB RAM model but this is probably too much for this task and I probably will be changing it with a lot less memory. Currently, only 3.1% of the memory is being used over 4GB.
2. Let’s get started, install the Raspberry Pi
Follow this post to install Raspberry Pi. Use Raspberry Pi OS ‘Lite’, this is very important because openmediavault won’t work on Raspberry Pi with a desktop environment installed (even if it is disabled).
Do not forget to attach the hard disk or another storage unit to your Raspberry Pi after the installation.
3. Download the installer script, make it executable and run!
After the initial installation, ssh into the Raspberry Pi and use the command below to download the installer script.
wget https://github.com/OpenMediaVault-Plugin-Developers/installScript/raw/master/install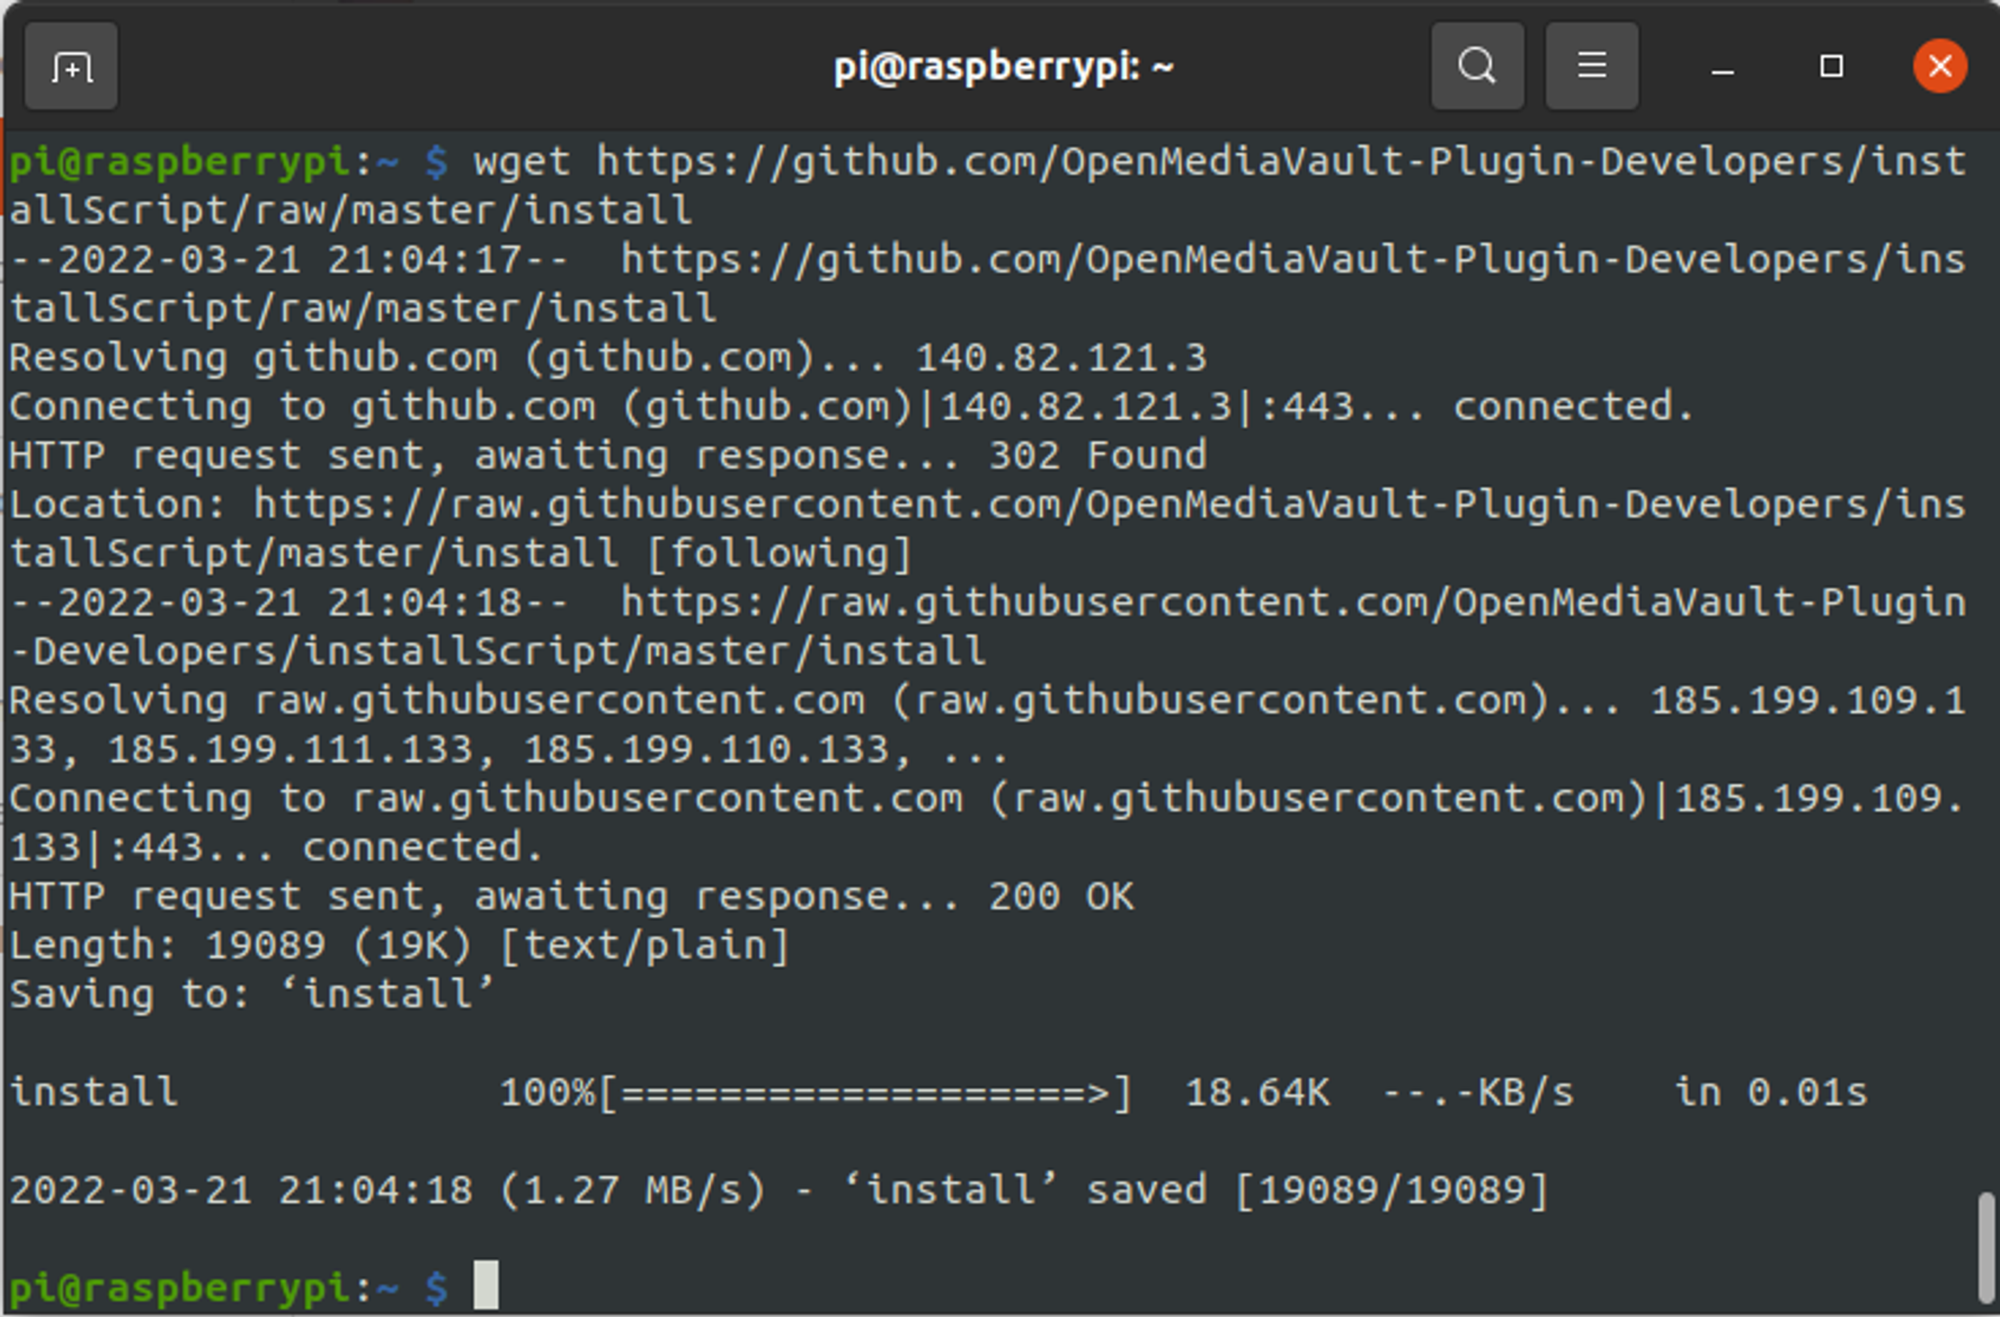
When the installer script is downloaded, you need to make it executable by running this command:
chmod +x install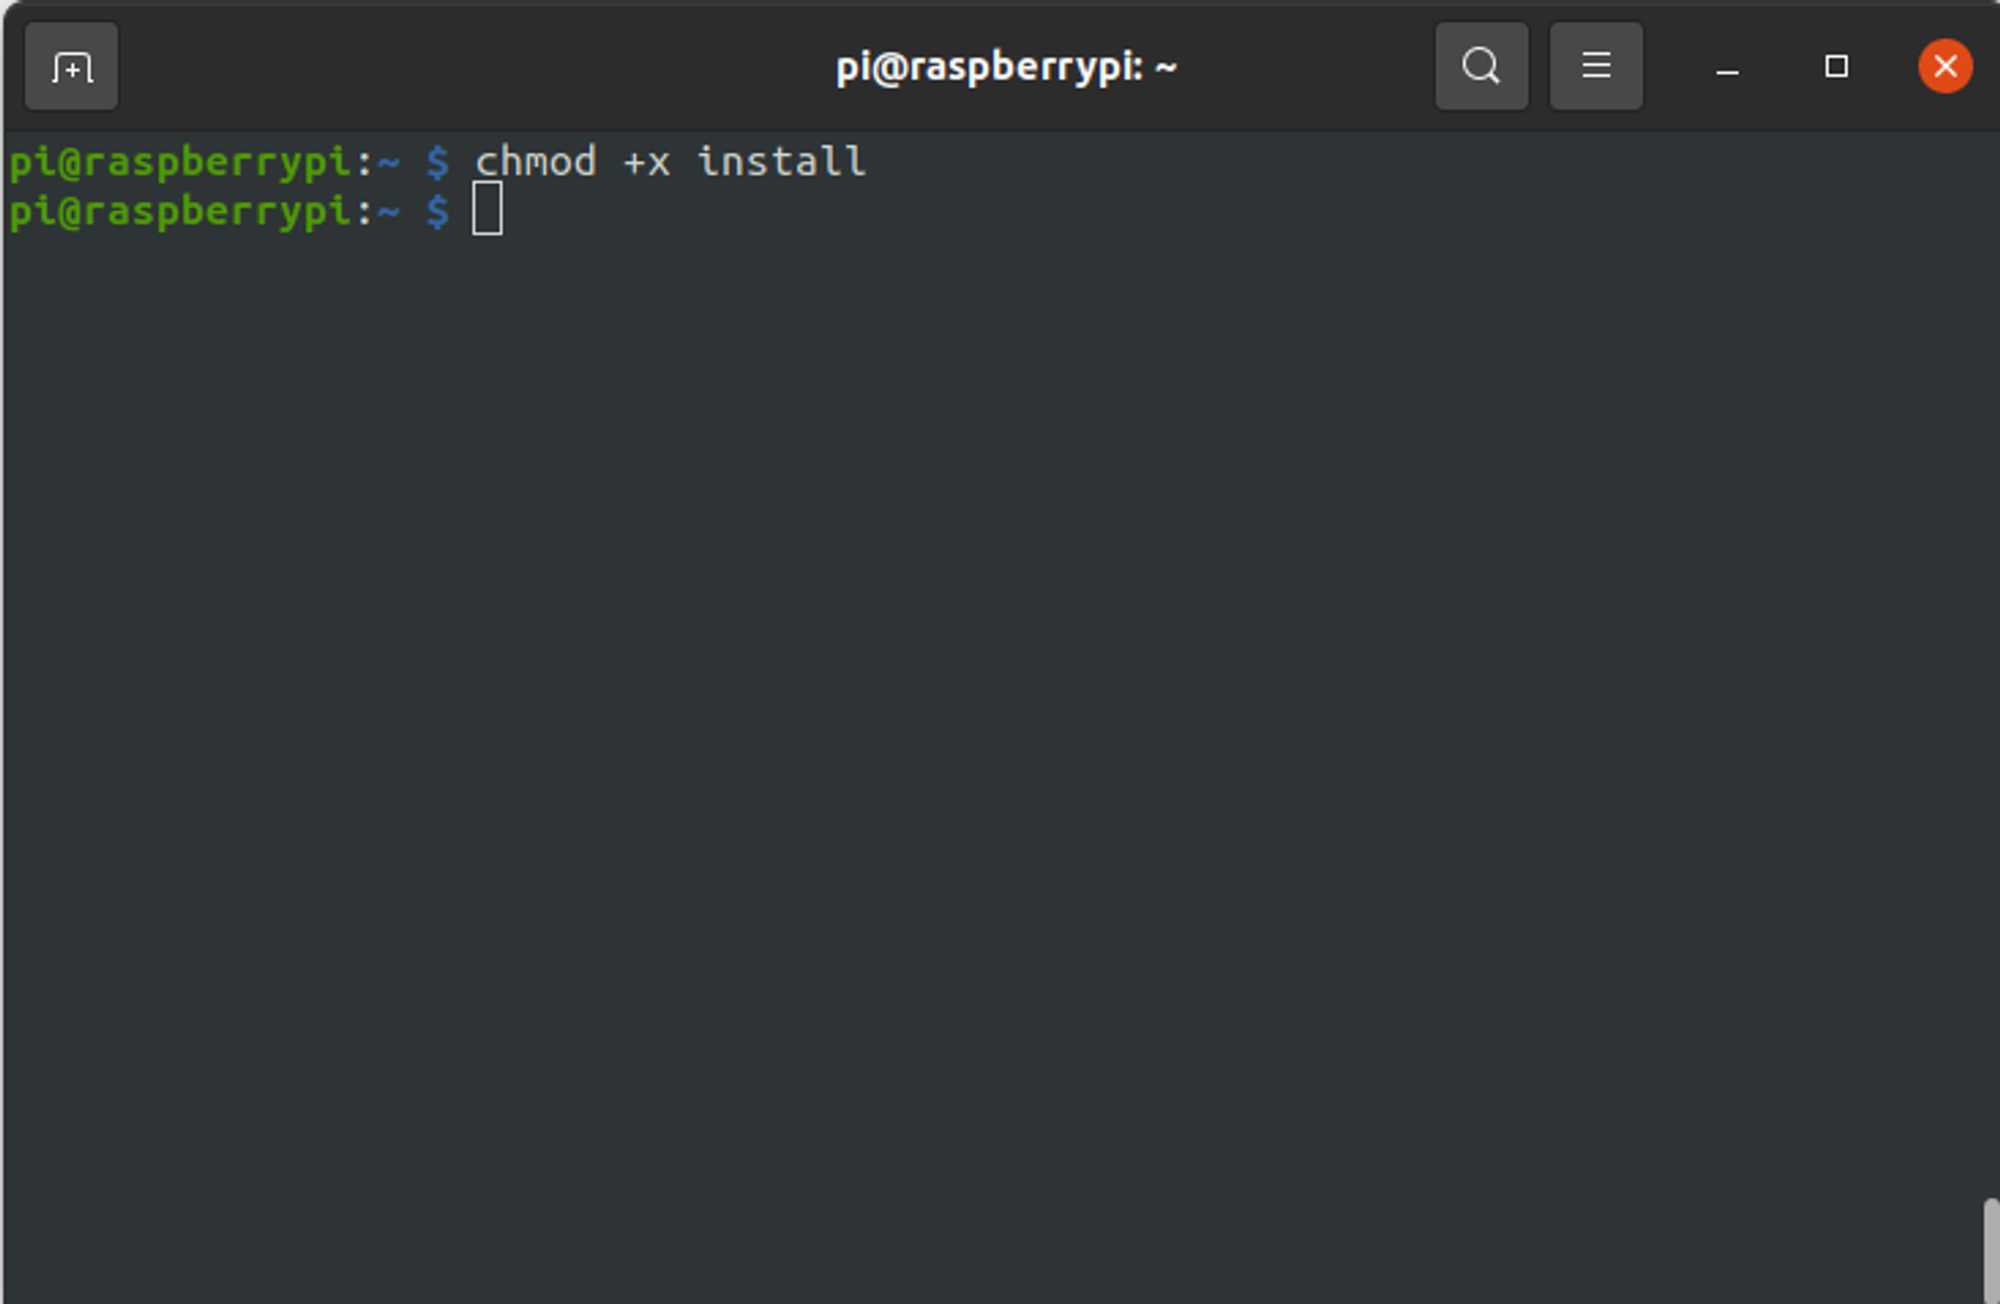
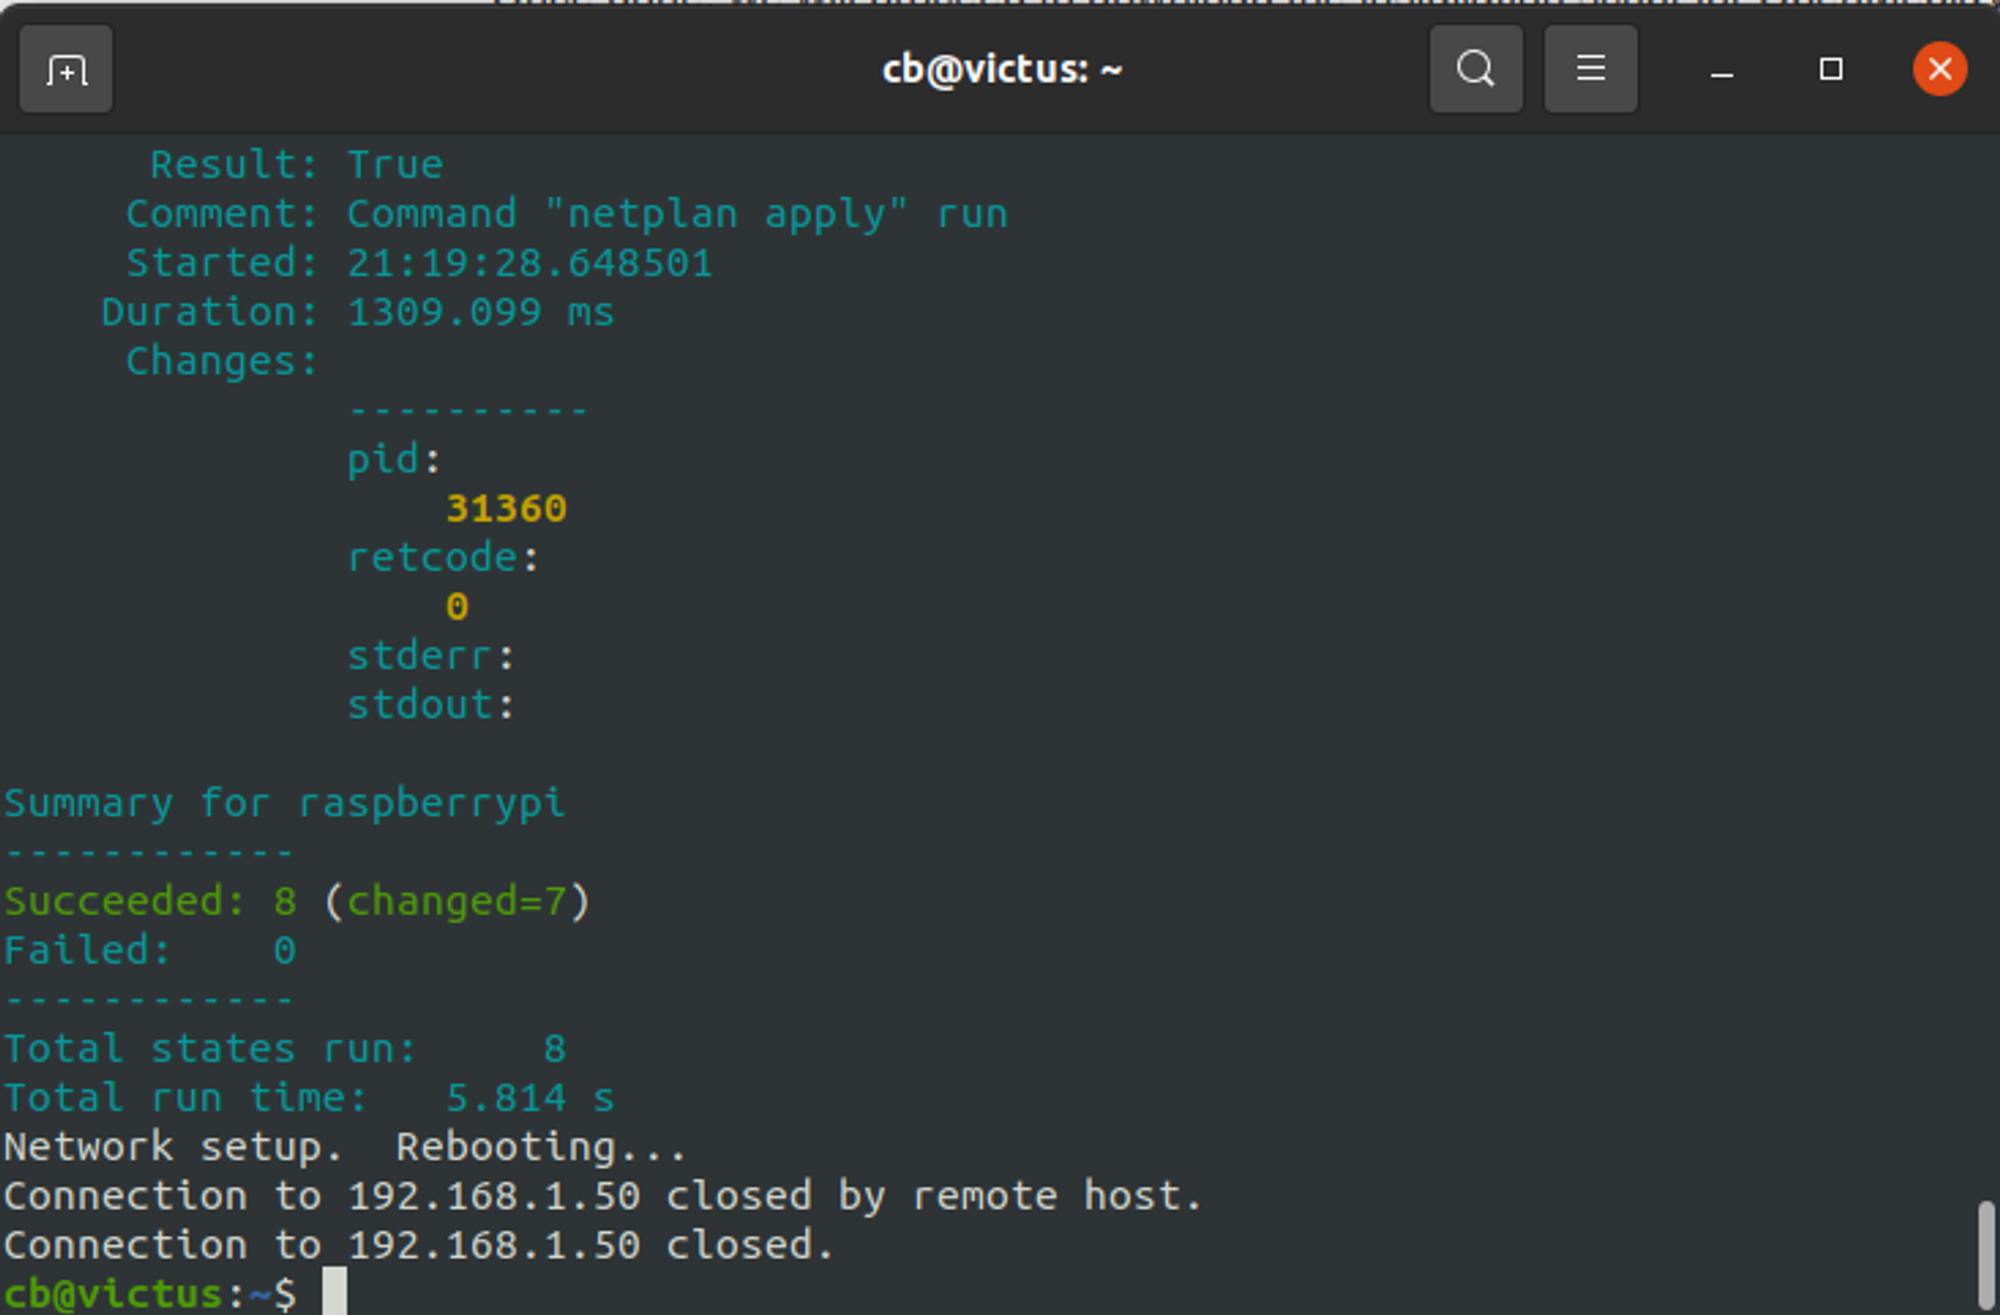
Then run the executable file with sudo privileges. If you are controlling your Raspberry Pi over a wireless network, the ‘-n’ flag is important. The flag makes the installer skip the network configuration which disables the wifi interface after the reboot.
sudo ./install -nThe installation will take a while depending on your network speed, after the installation the Raspberry Pi will be automatically restarted.
4. Connect to the Raspberry Pi
After Raspberry Pi boots up, open your browser and go to Raspberry Pi’s IP address. The default credentials are below:
admin
openmediavault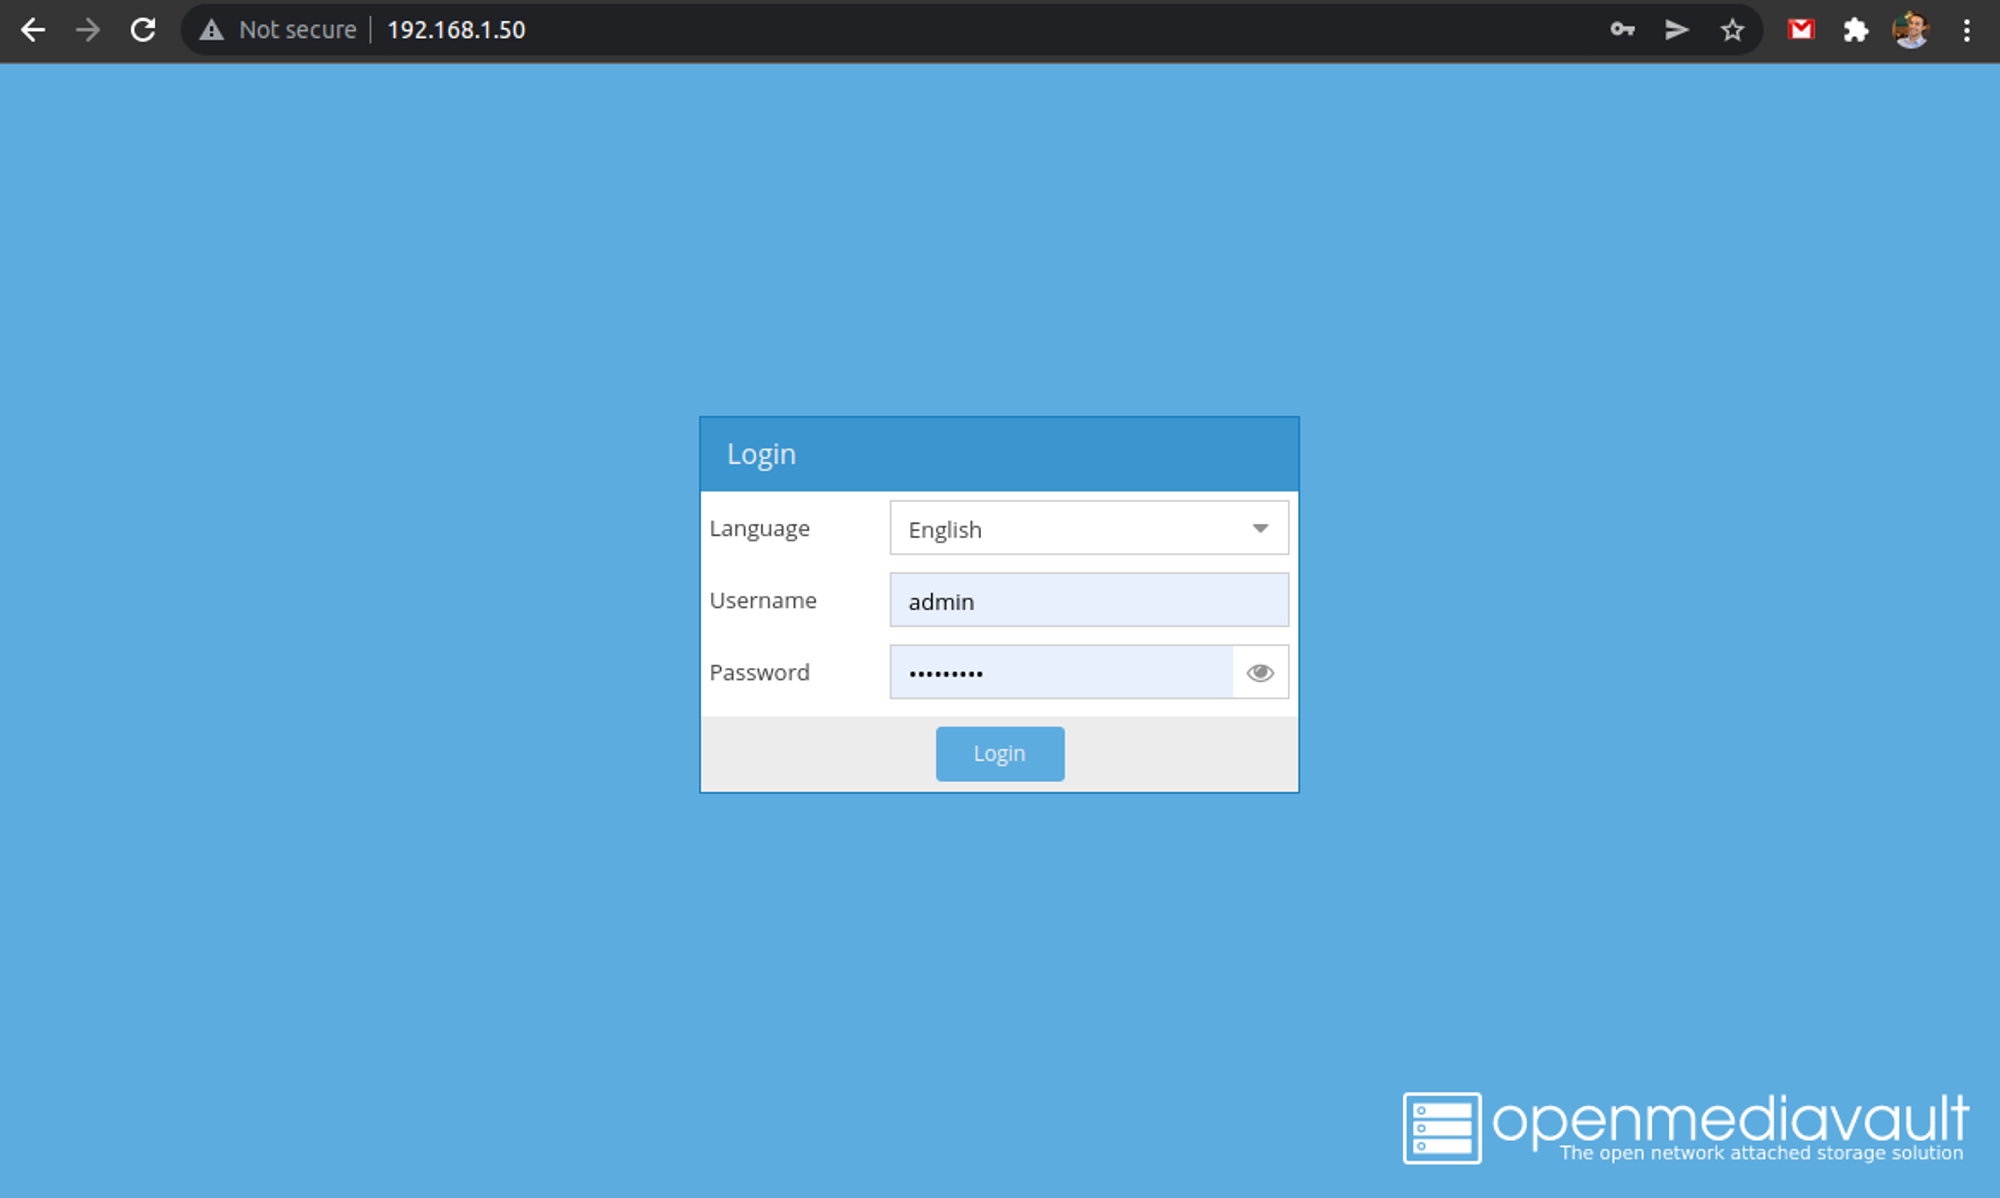
After login, you should be able to access your OMV dashboard. This is the place where you will manage the services, users, and sharing settings.
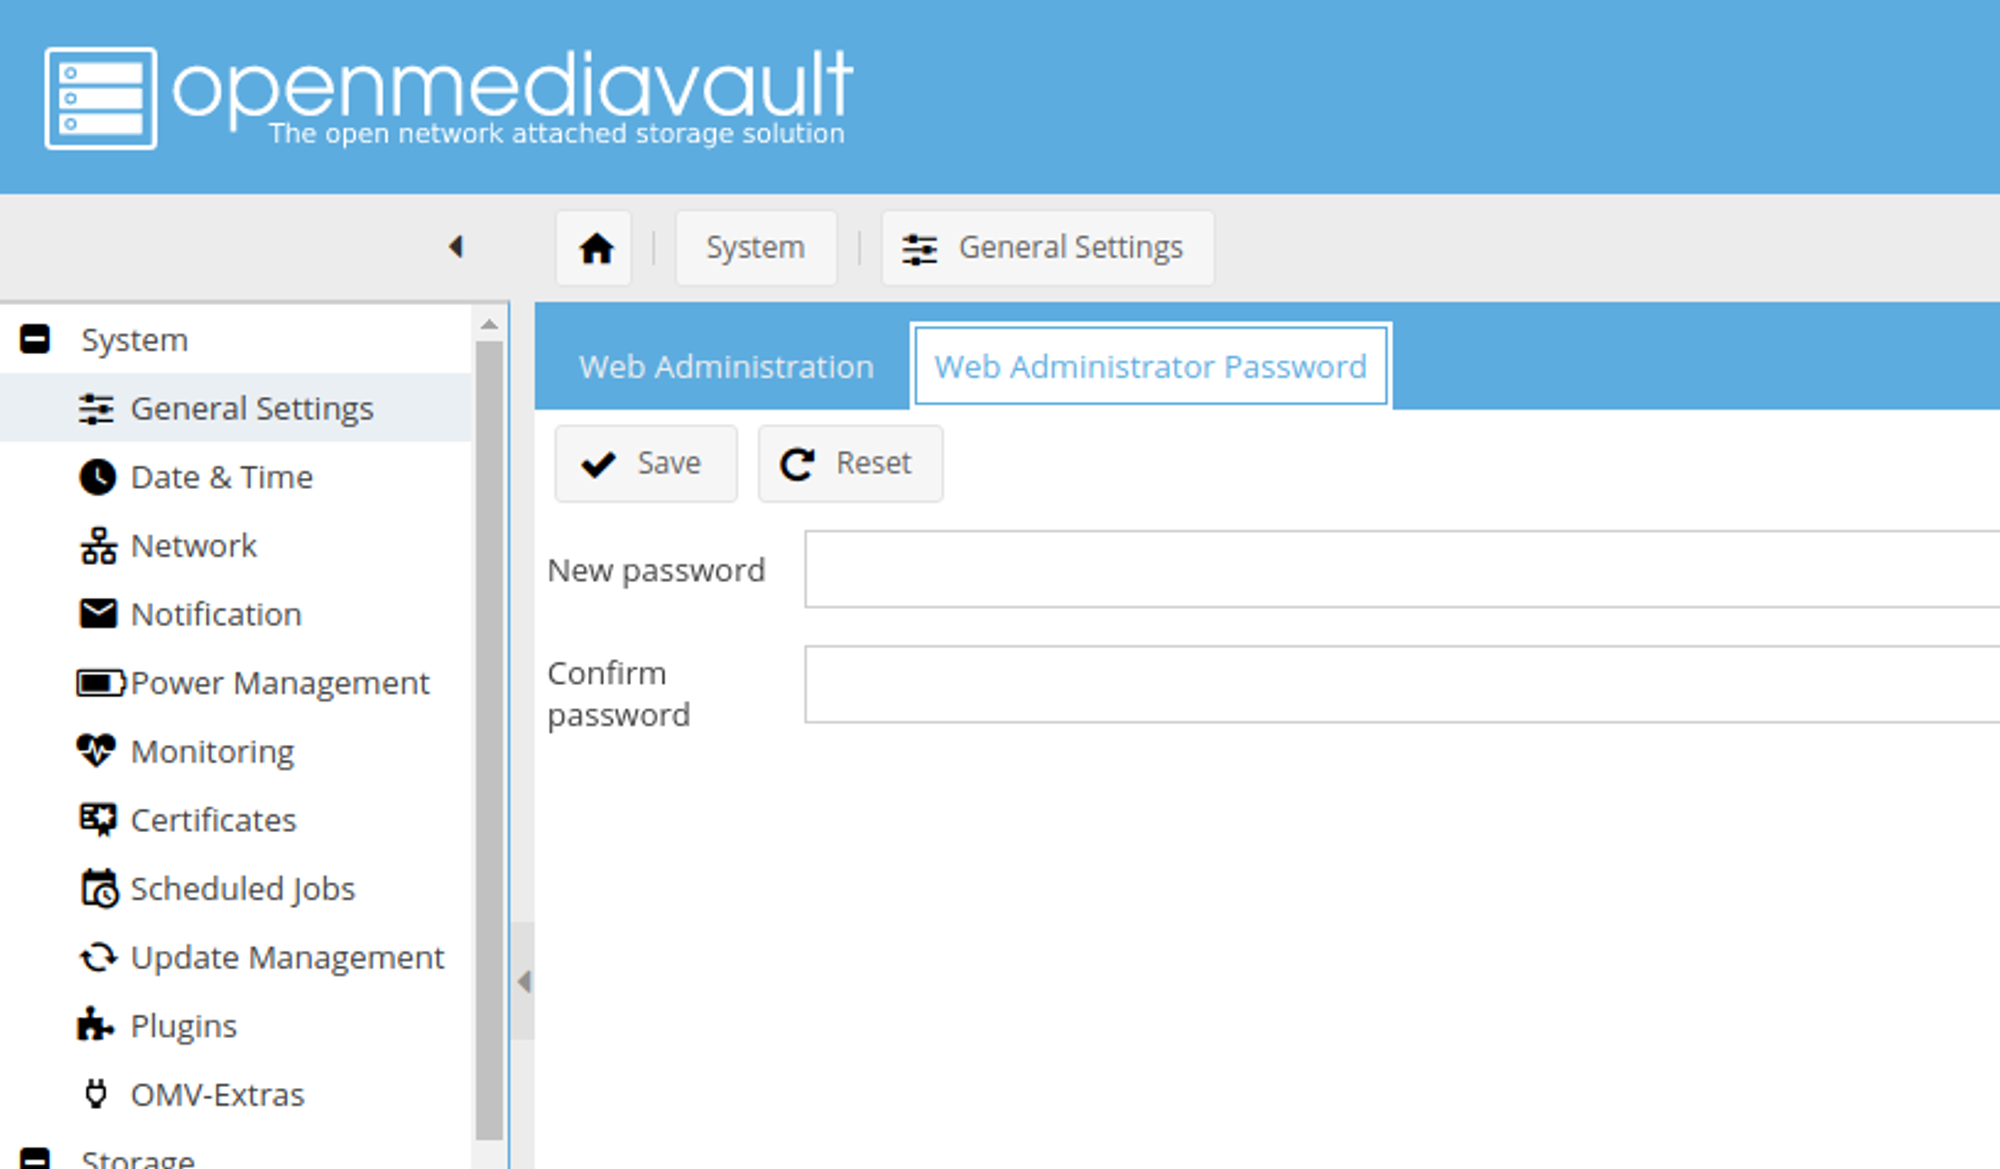
5. Security first
Go to the System -> General Settings and switch to the Your administrator password tab. Change the default password.
6. Sharing the storage
I would recommend you follow the up-to-date OMV documentation for these changes because it would differ for your infrastructure and your client-side expectations but I will briefly explain how to share your storage.
- First, you should go to
Storage -> File Systemsand mount the relative storage partitions to your Raspberry Pi - Then you should go to
Access Rights Management -> Userand add a new user - Then you should go to
Access Rights Management -> Shared Foldersand add shared folders for those partitions, if you give only ’/’ for the path, it will use the partition root as the shared folder. - After the Shared Folders are created, click once on the Shared folder you want and click on
Privilegesand give your user read and write privileges by checking the checkboxes. - If you are going to access your storage through FTP, go to
Services -> FTPand enable it. You should know that Finder in macOS supports FTP connections read-only, if you want to read and write the files, you should use another protocol like SMB or you should install a third-party client to write your storage. After enabling the FTP, go to theSharestab in there and add your Shared Folders to be shared over FTP. - If you are going to use SMB, go to
Services -> SMBand enable it. After enabling it you should add your shared folders in theSharestab just like in the FTP section.
7. Accessing the storage
When you are done with setting up FTP/SMB, you can use your computer to access your storage over the network. If you don’t have how to do it I would recommend searching it on Google in the form of ‘Connecting to SMB server with MacOS’. Since there are multiple client platforms and multiple services, the combination would be big enough not to cover in this post.
Have fun with your Network Attached Storage!