Install Ubuntu Server on Raspberry Pi
In this blog post, we will be installing Ubuntu 20.04 LTS Server to the Raspberry Pi. This operating system offers a wide range of use cases, and we will be taking advantage of it in future posts.
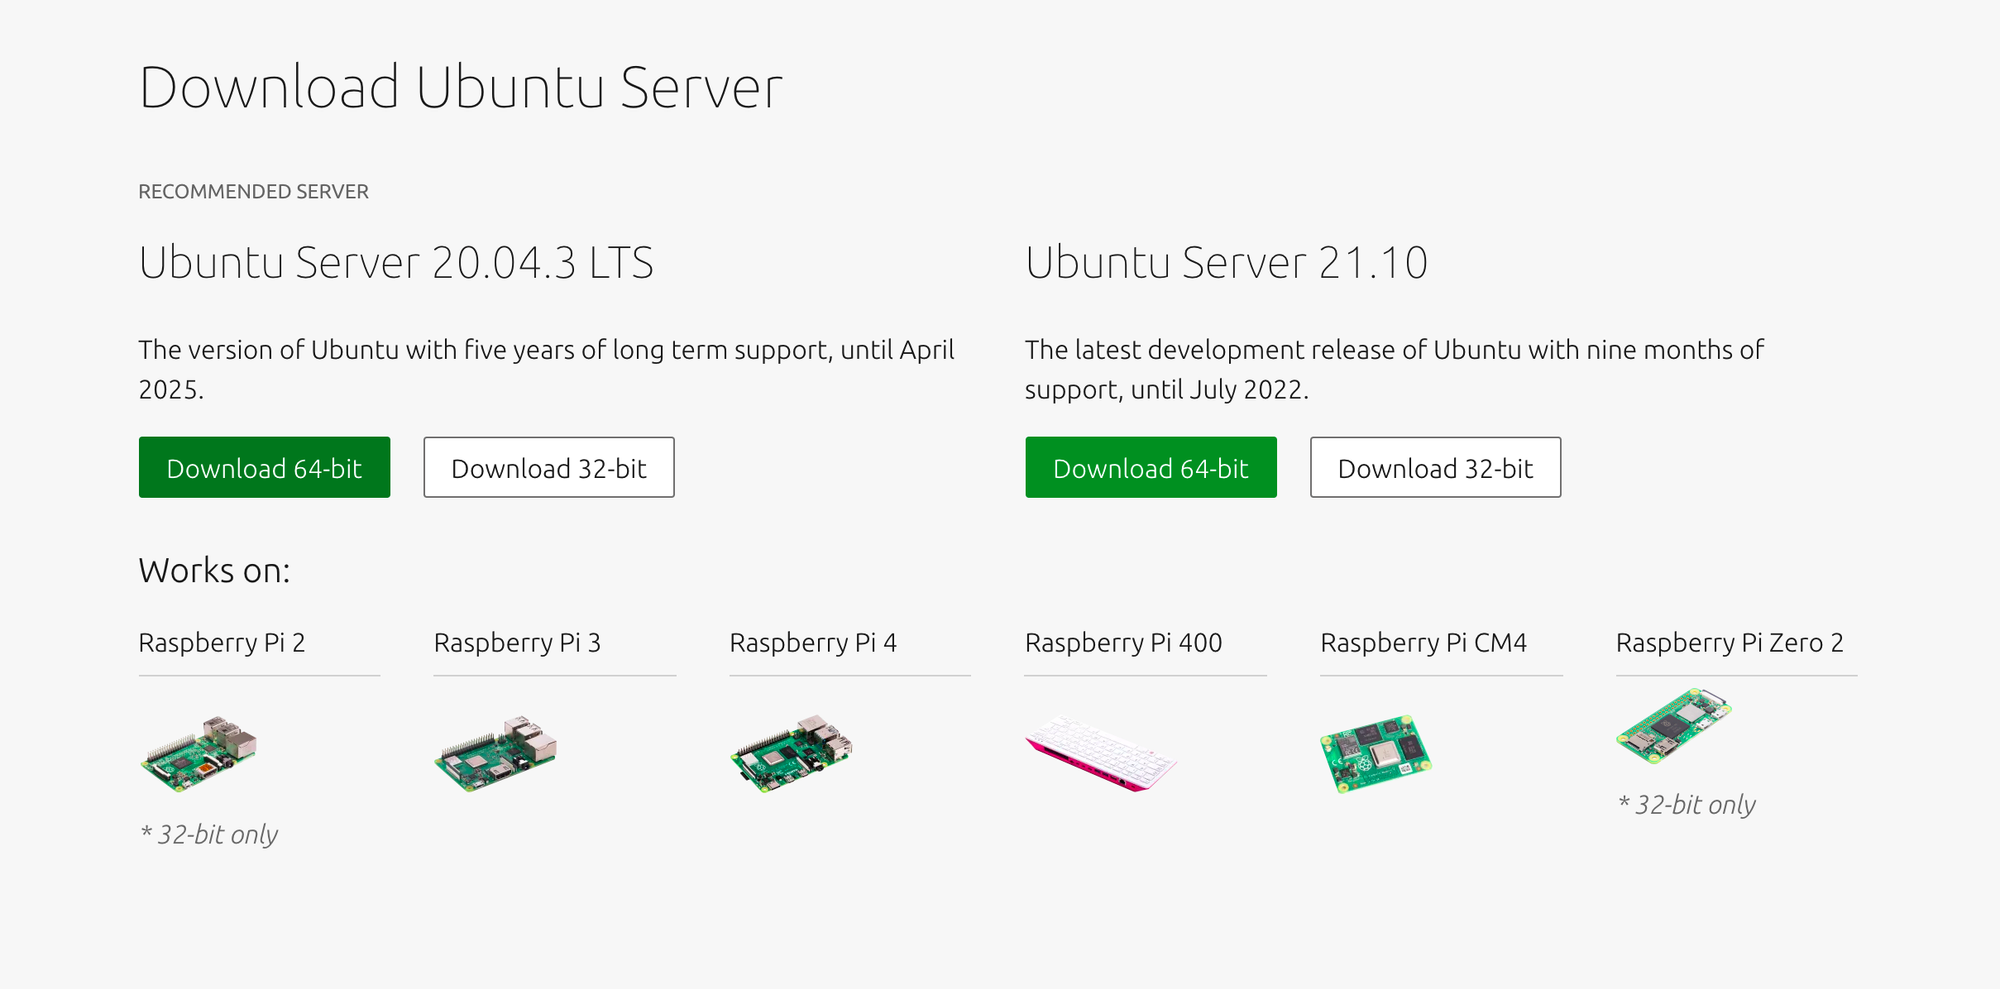
1. Download the Ubuntu Server 20.04 LTS
Go to the Raspberry Pi section of the Ubuntu downloads and download the 20.04 LTS 64-bit version.
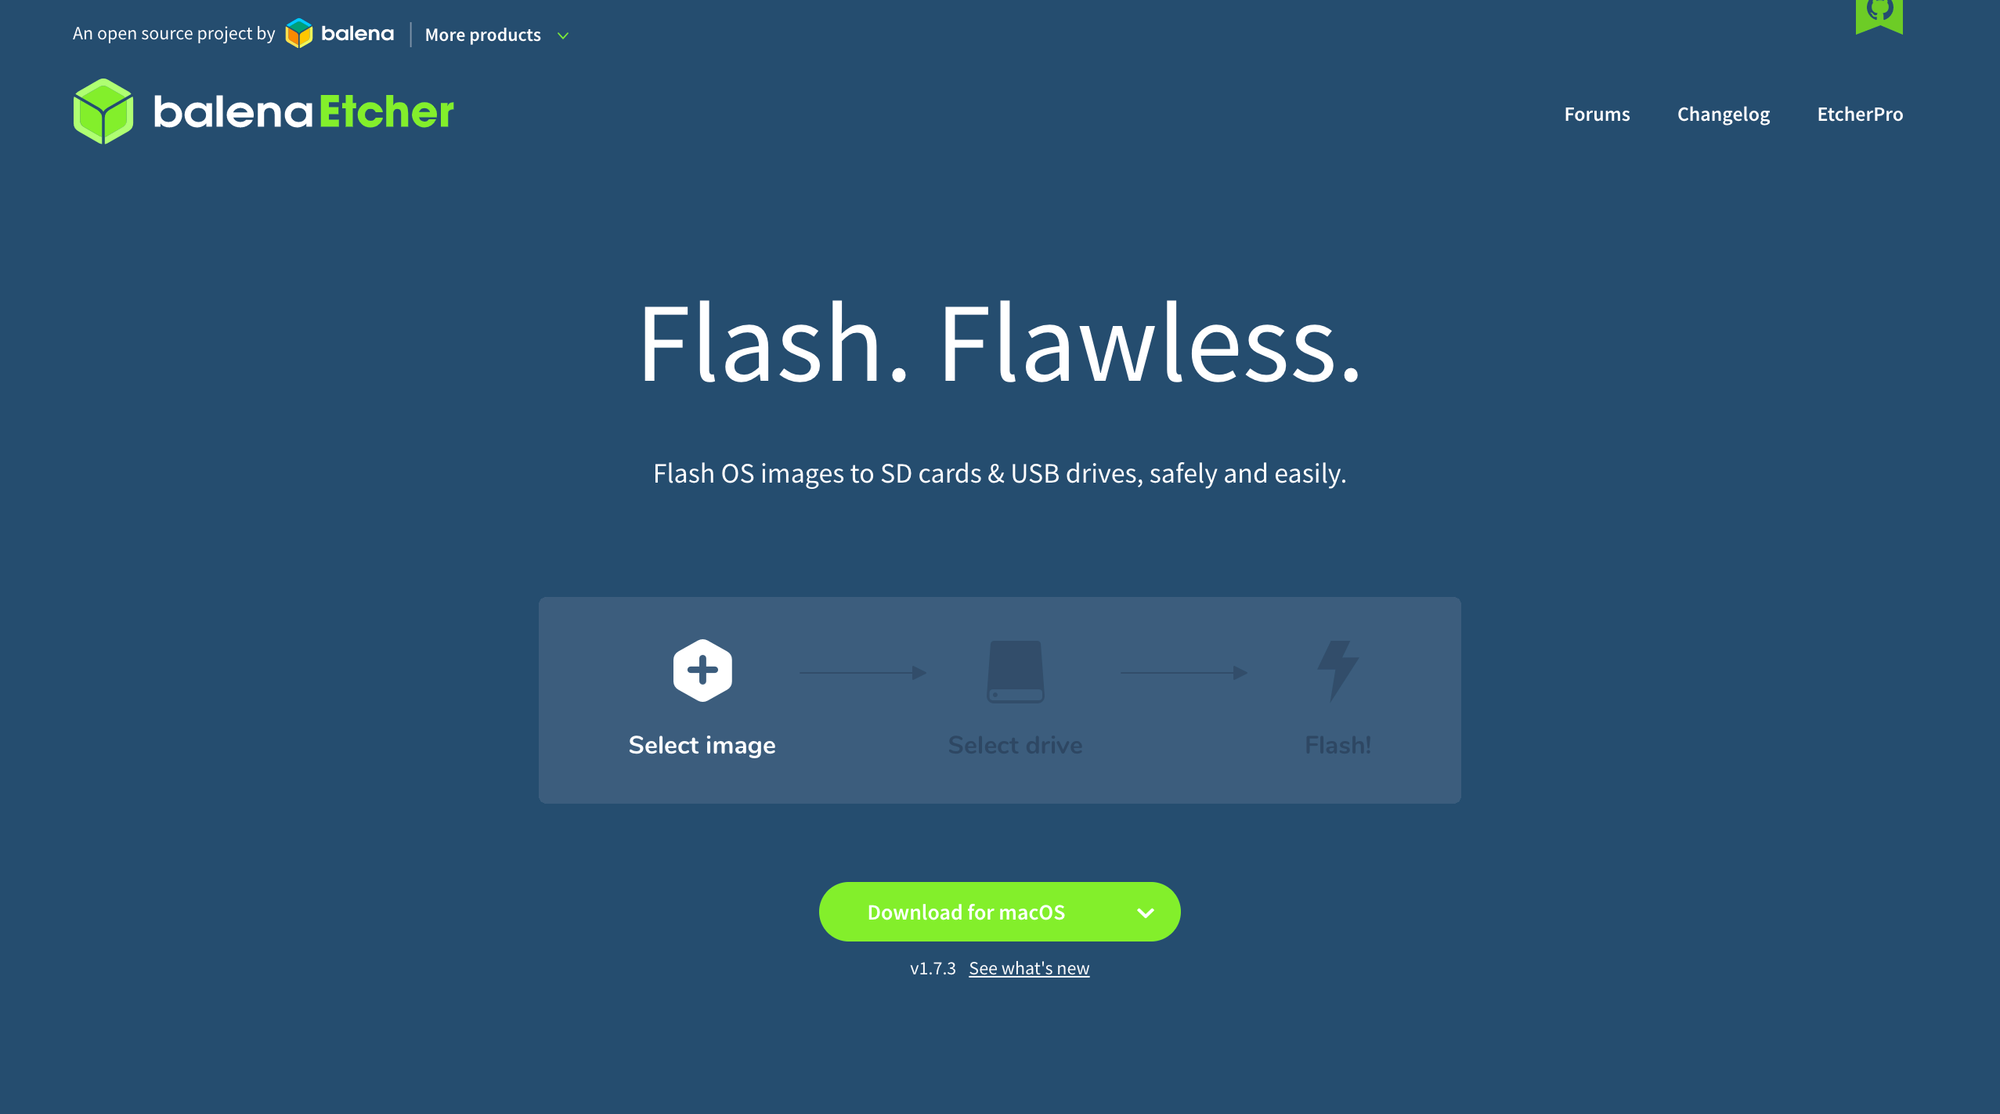
2. Download Balena Etcher
We will be using Balena Etcher to flash the OS to the Micro SD card. You can download Balena Etcher from this link.
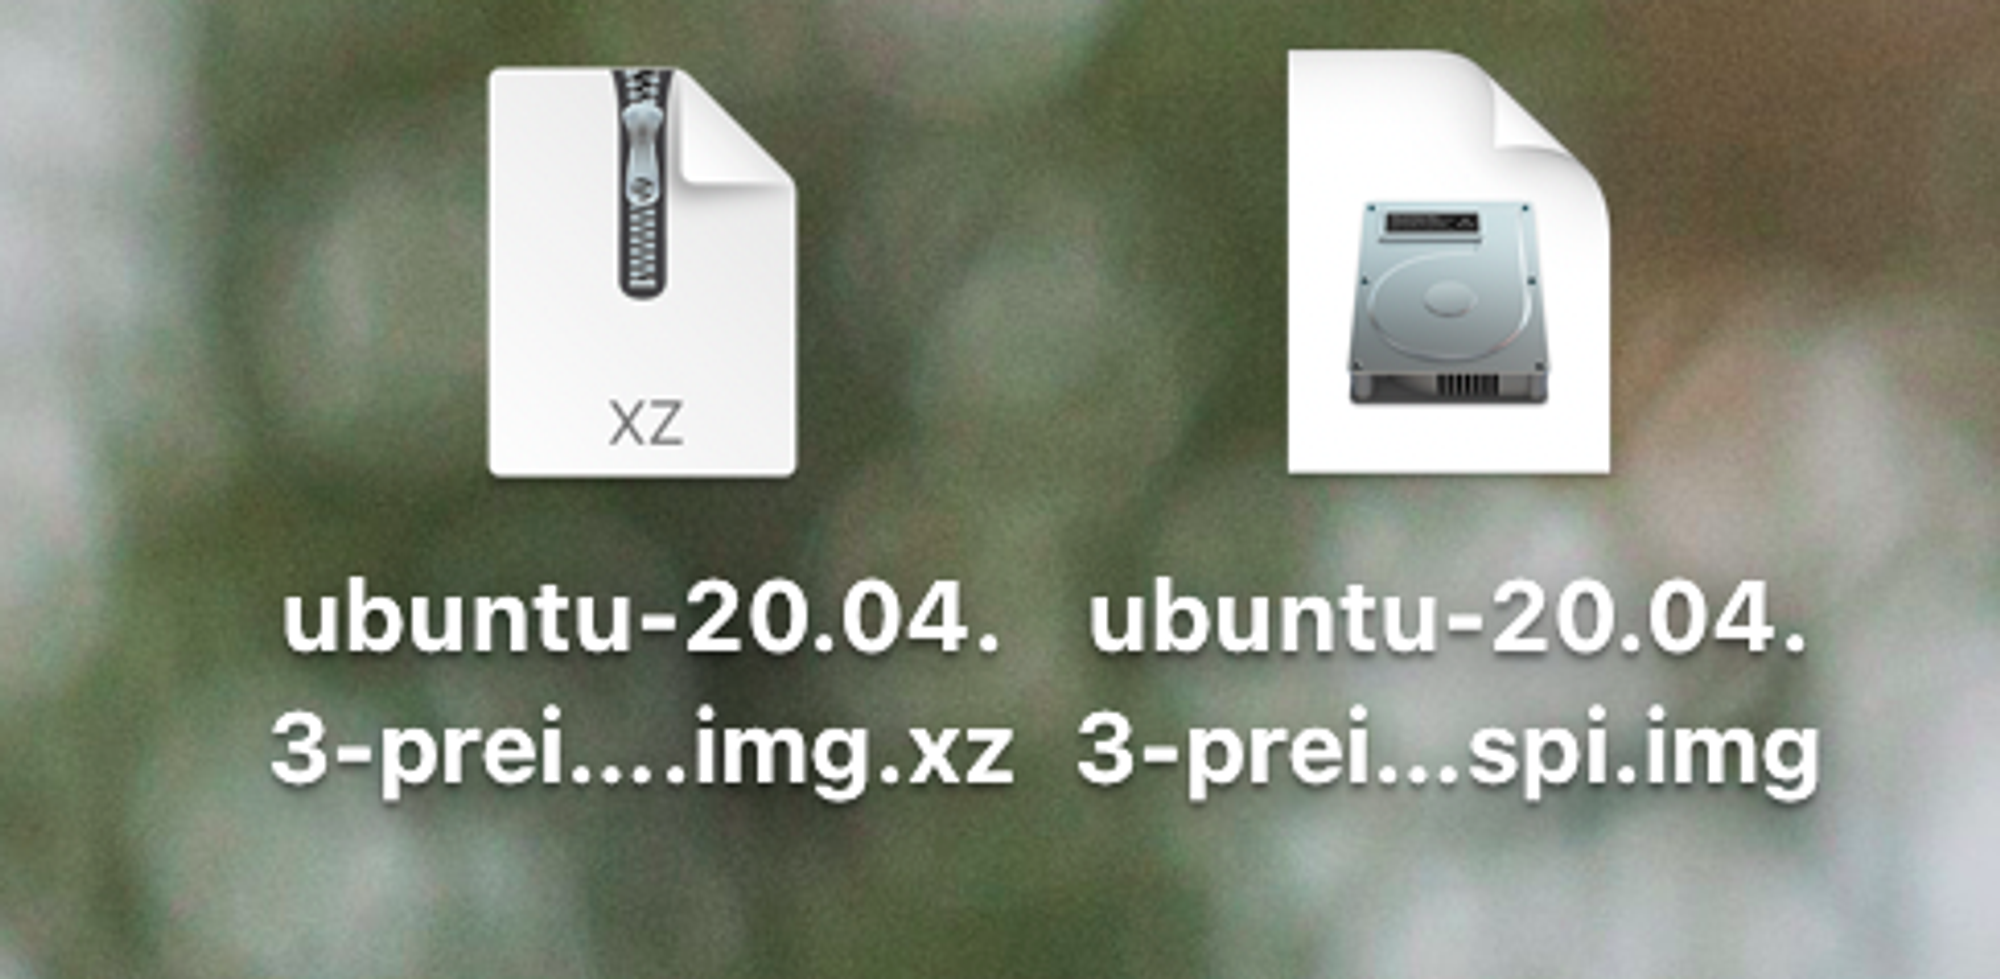
3. Unzip the OS image
When the Ubuntu download is completed you can export it from .xz compressed format with a tool of your choice.
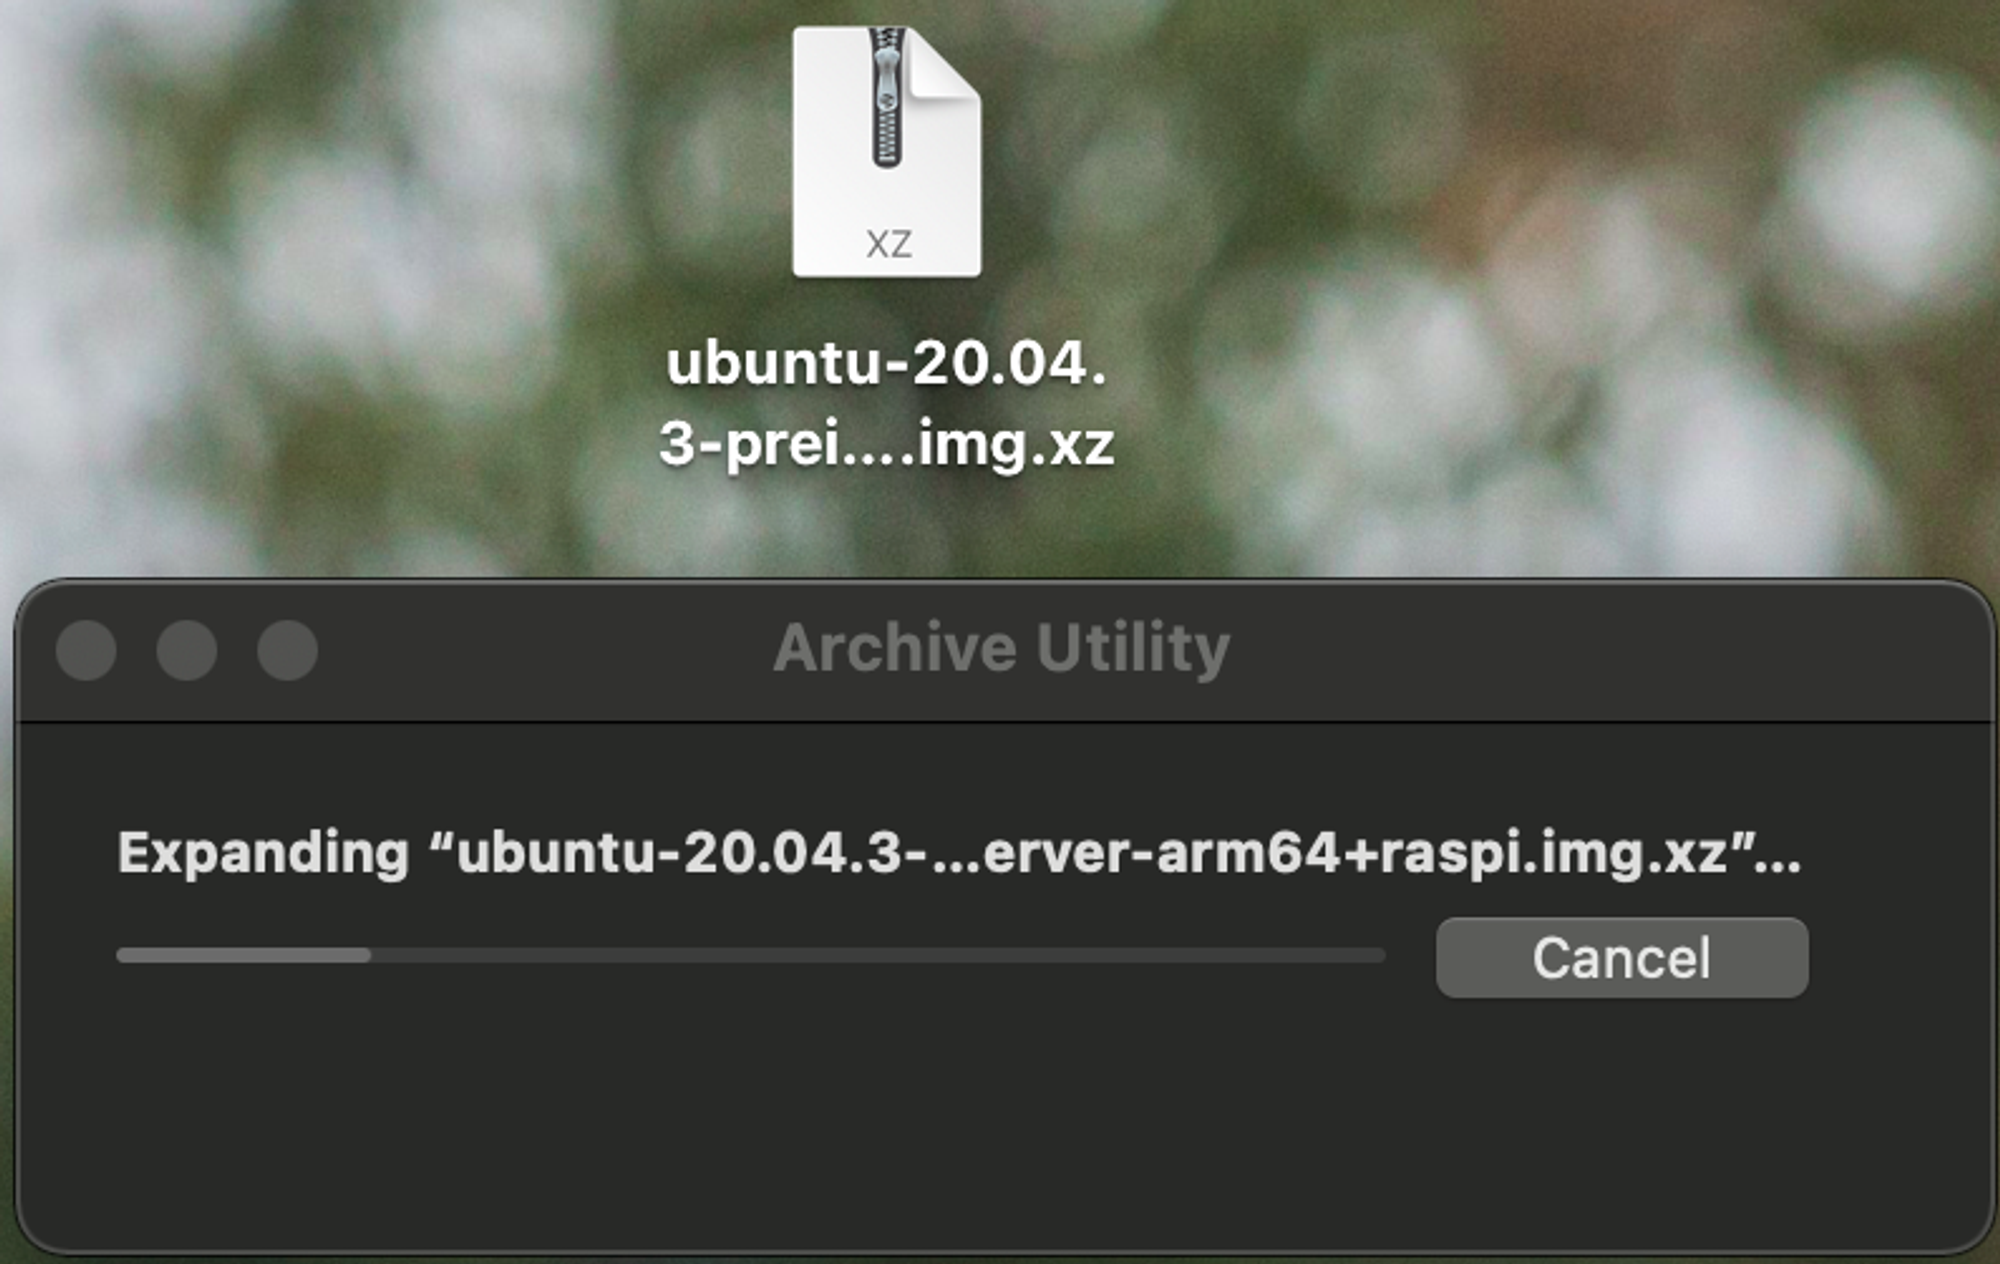
After the export, you should have a .img file.
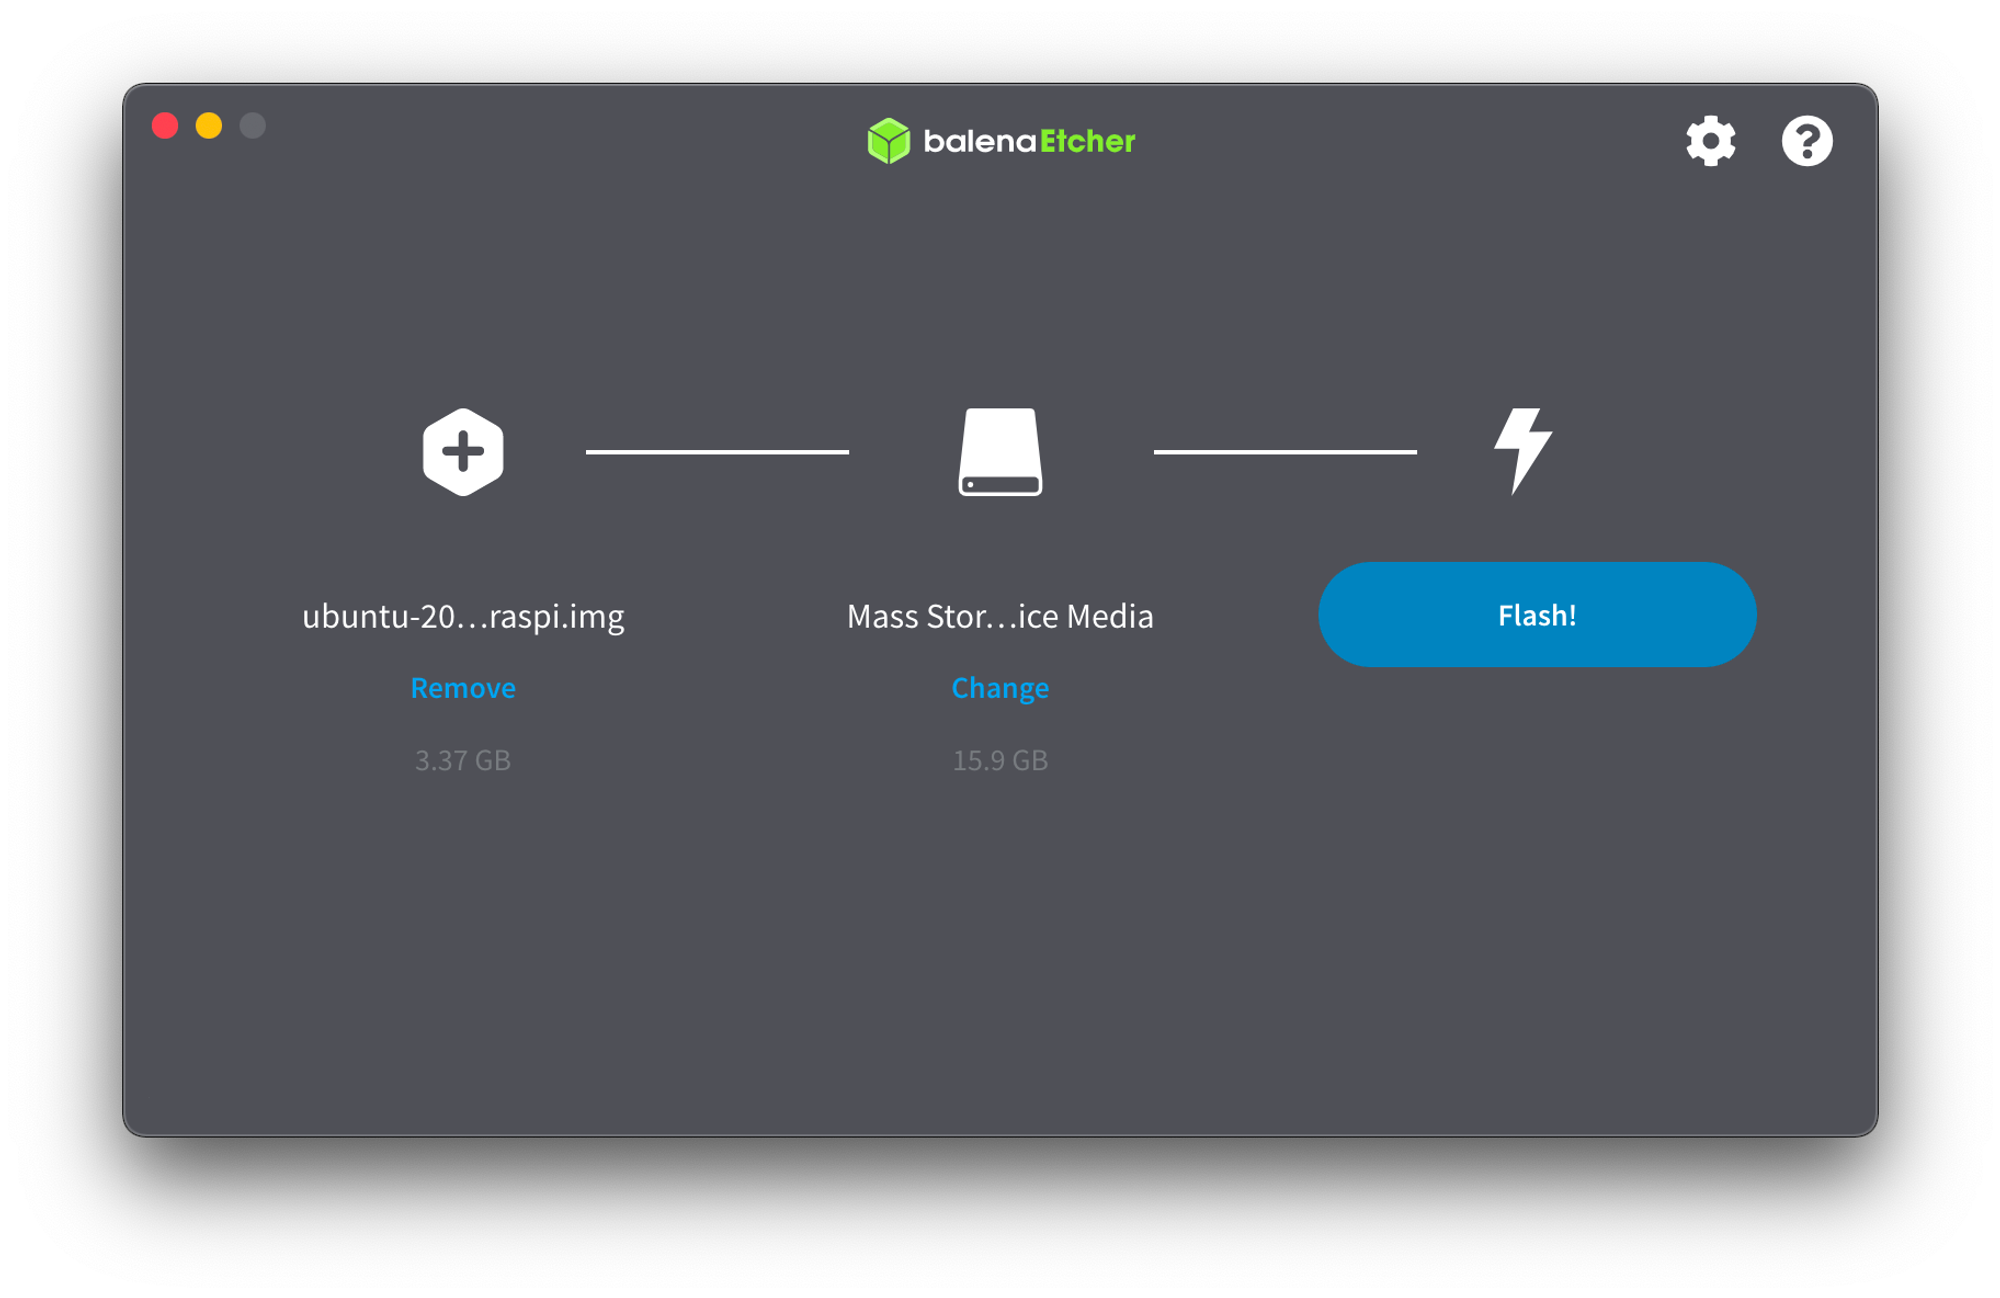
4. Flash the OS to the SD Card
Start the Balena Etcher and select the .img file as the image and select the Micro SD card as the target and start flashing.
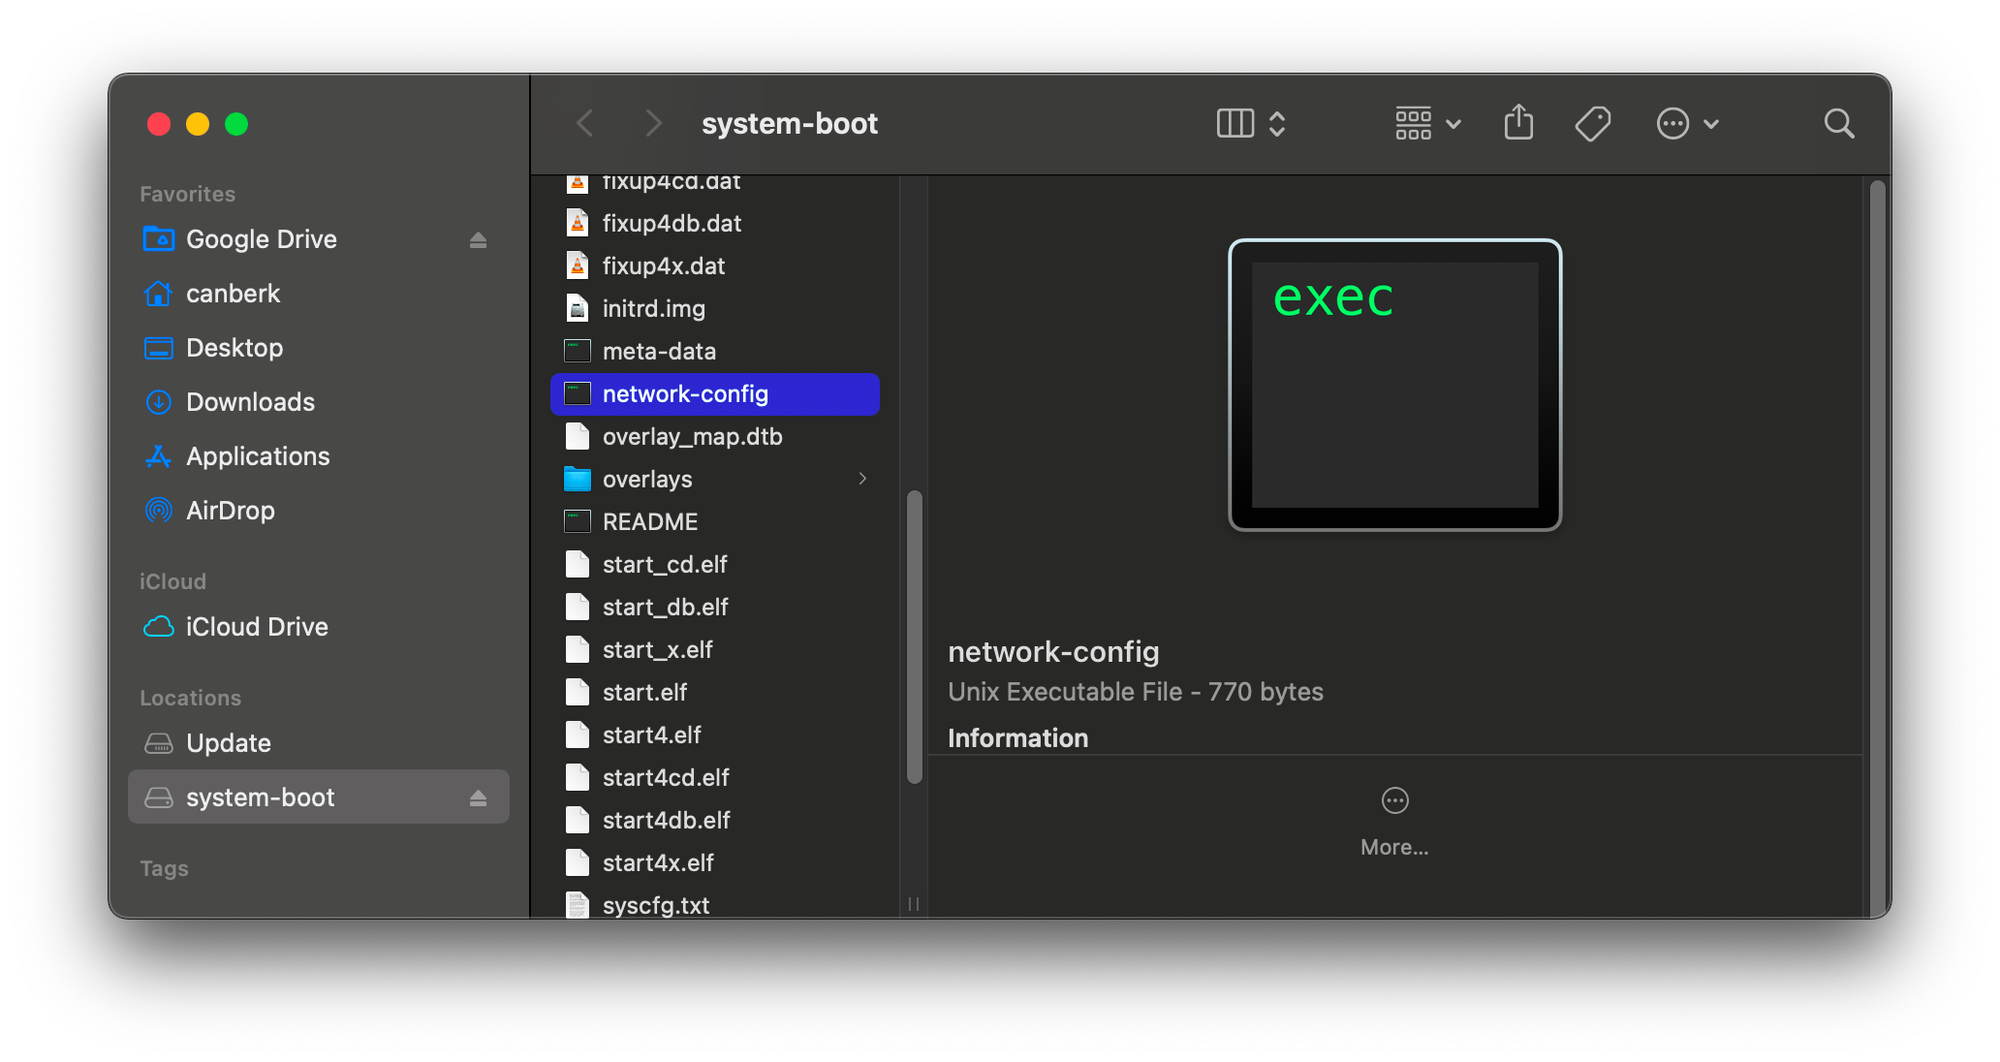
5. Setup Wi-Fi and SSH
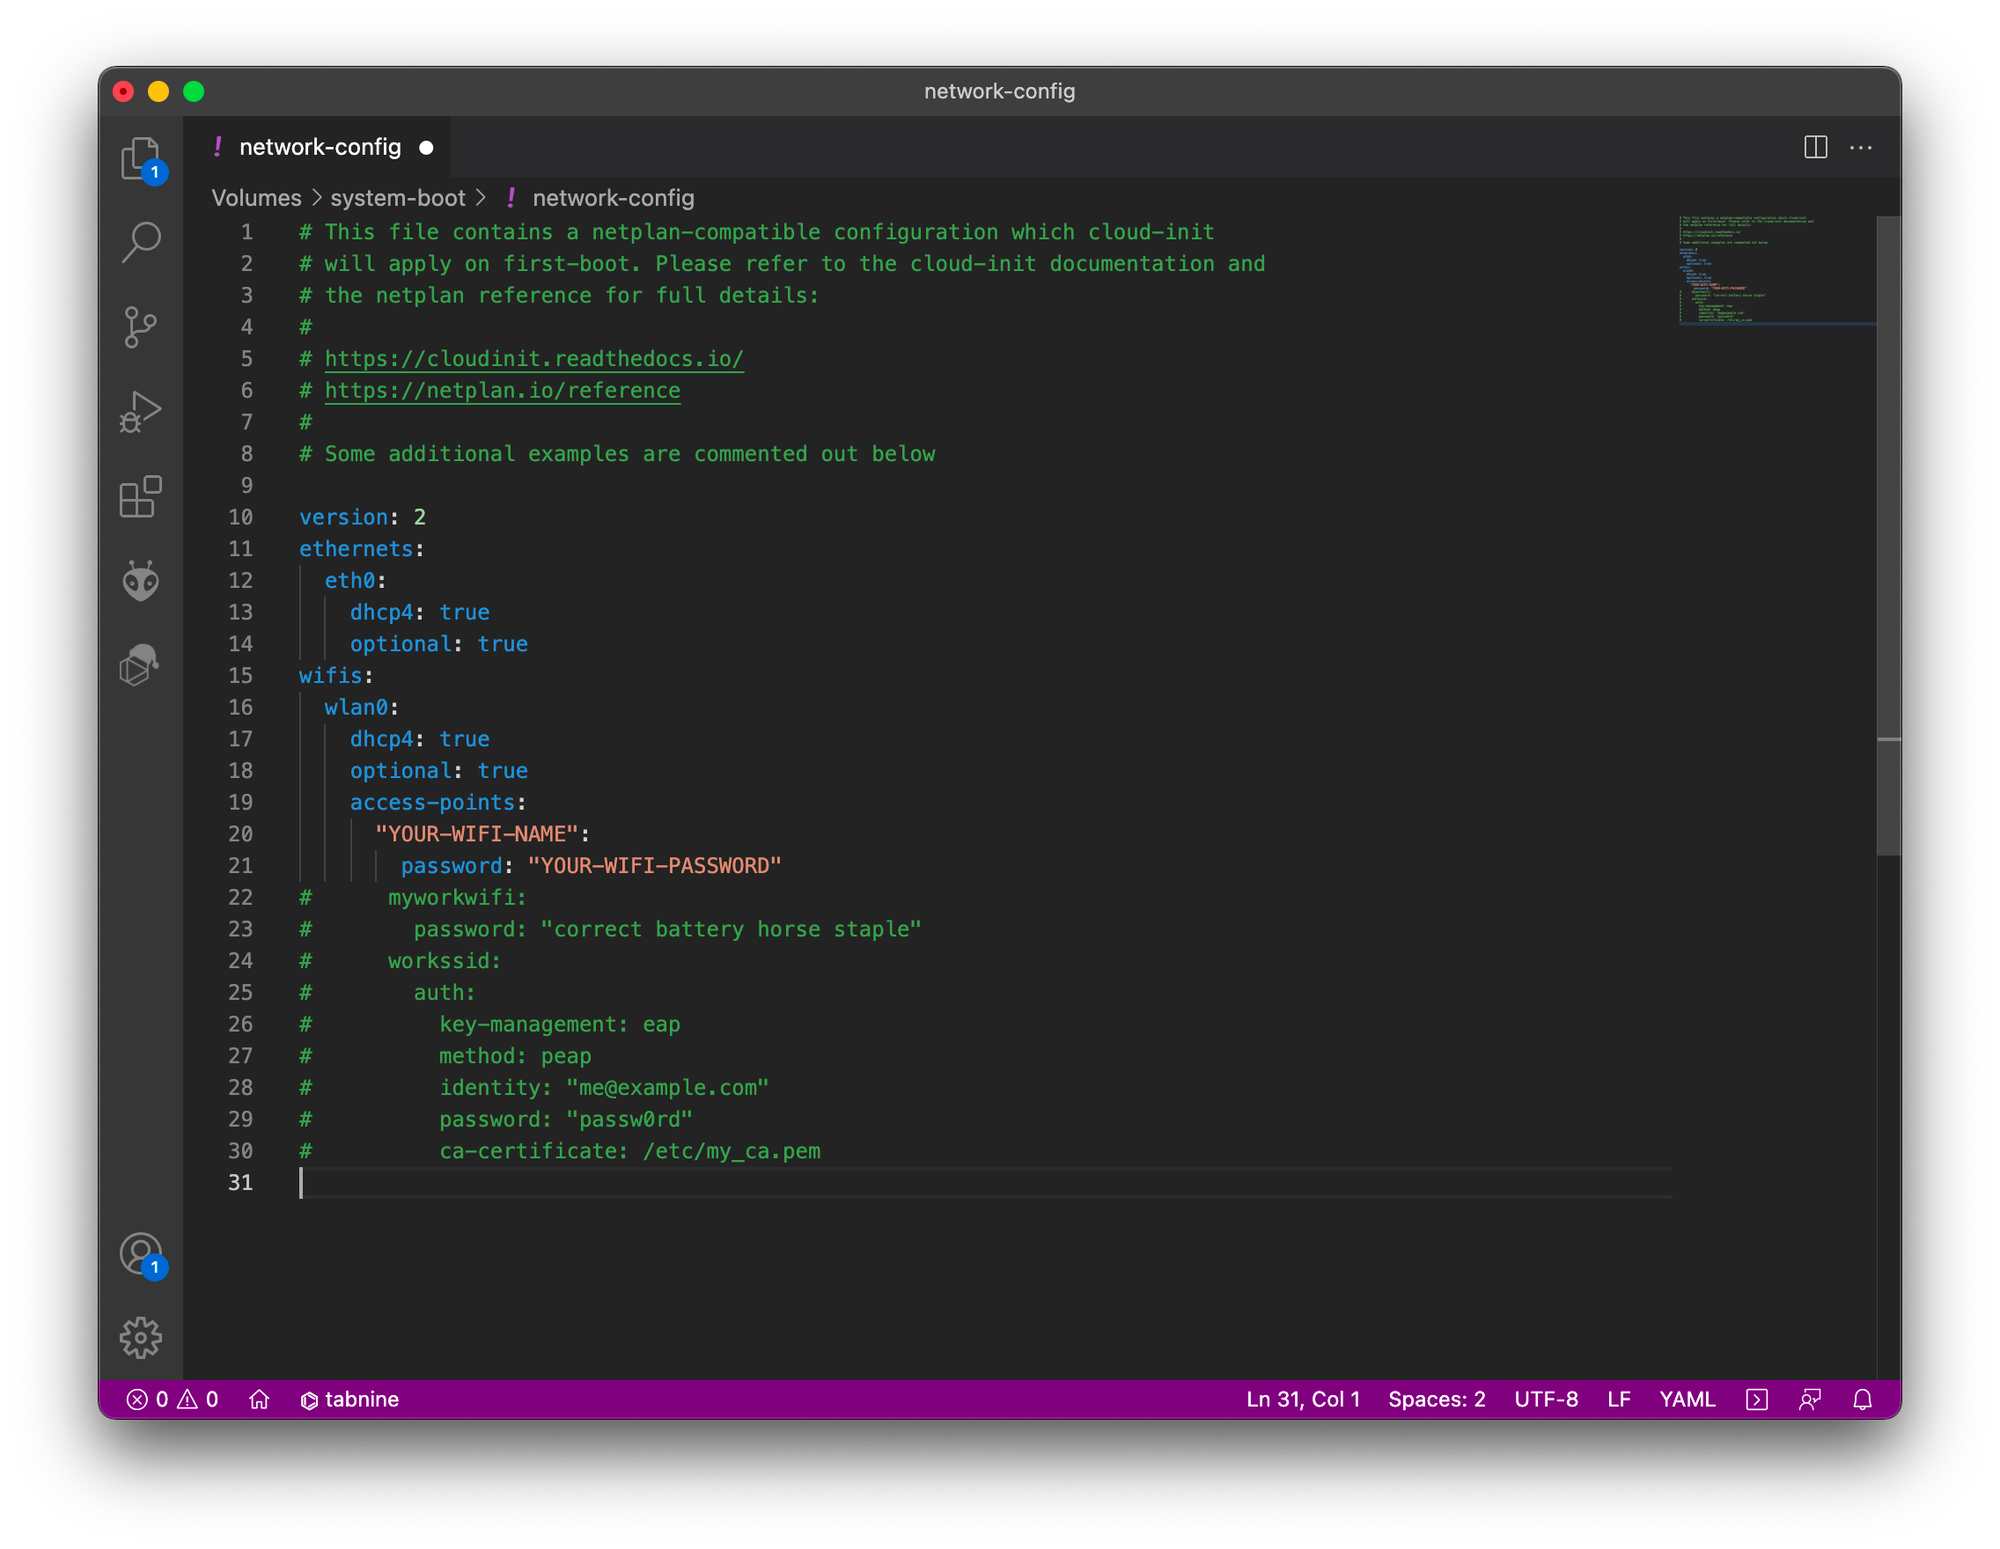
When the flash is completed the Micro SD card will be unmounted. You can unplug and plug it in again to mount it automatically. In order to set up the WiFi access for the Raspberry Pi running Ubuntu Server, you need to edit the file named network-config in the Micro SD card.
The file should look like below.
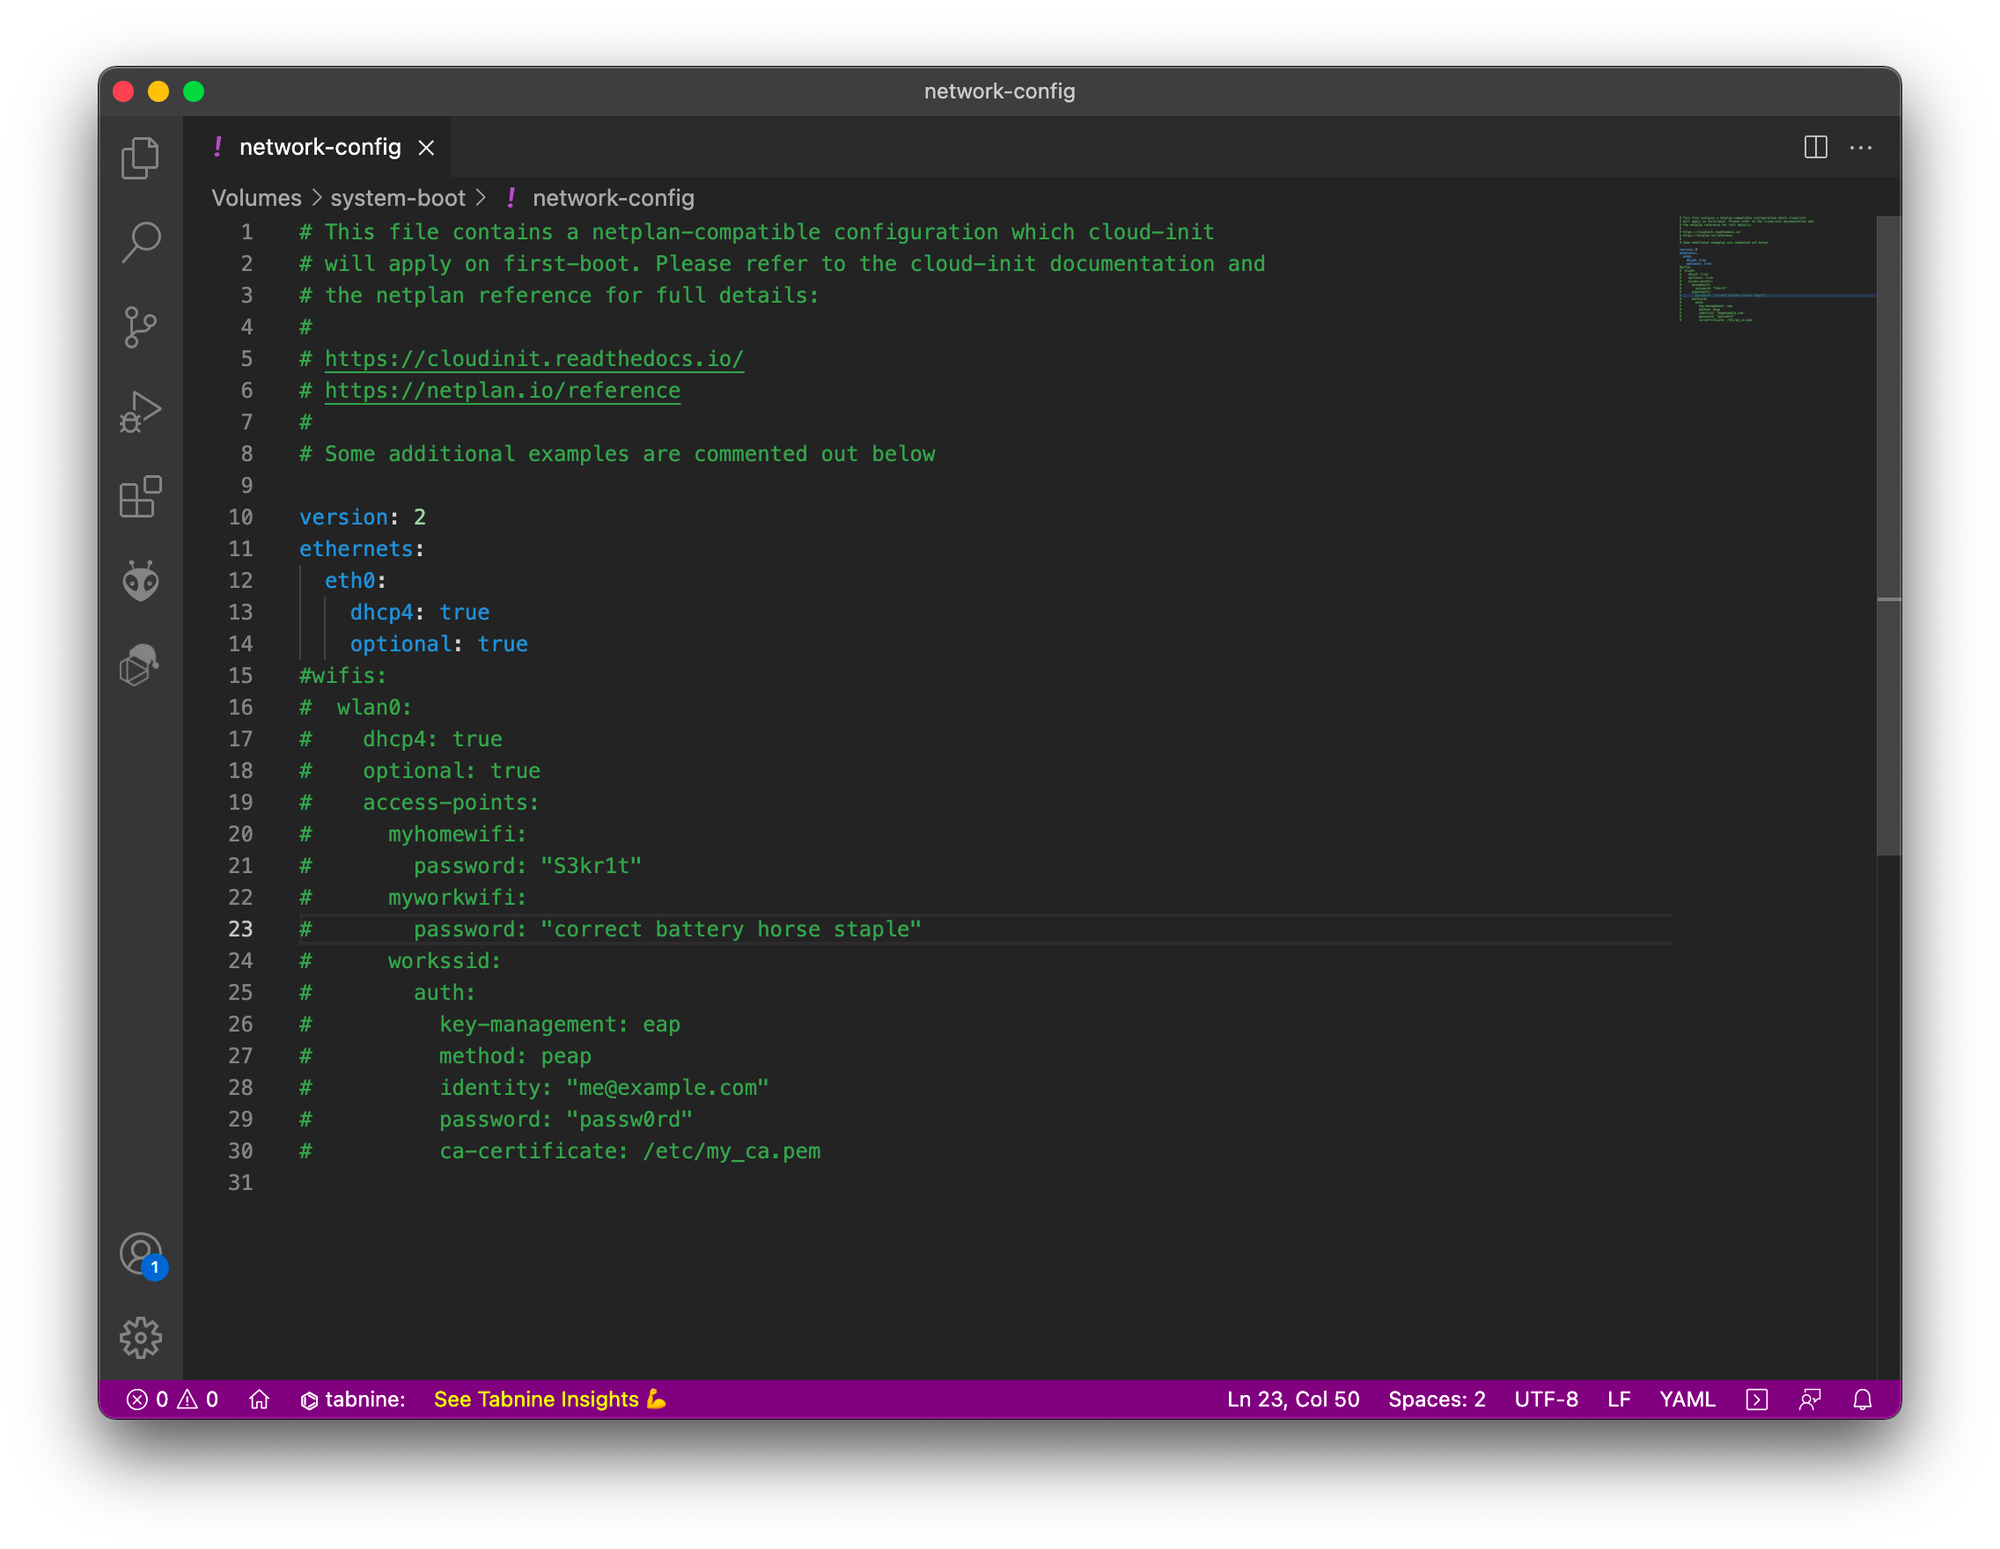
By uncommenting the relevant lines, you can add a new network SSID and password as you can see below.
Since we are using a server OS, SSH will be enabled by default, so you don’t have to do anything for SSH configuration.
You can put the Micro SD card into the Pi and power it up.
6. Find the IP Address of the Raspberry Pi
When the Raspberry Pi boots up it will be connected to the WiFi network that you have configured. You can use any IP Scanner application to scan your network to spot the Raspberry Pi IP address. It will be shown as ‘ubuntu’.

7. Connect to the Raspberry Pi
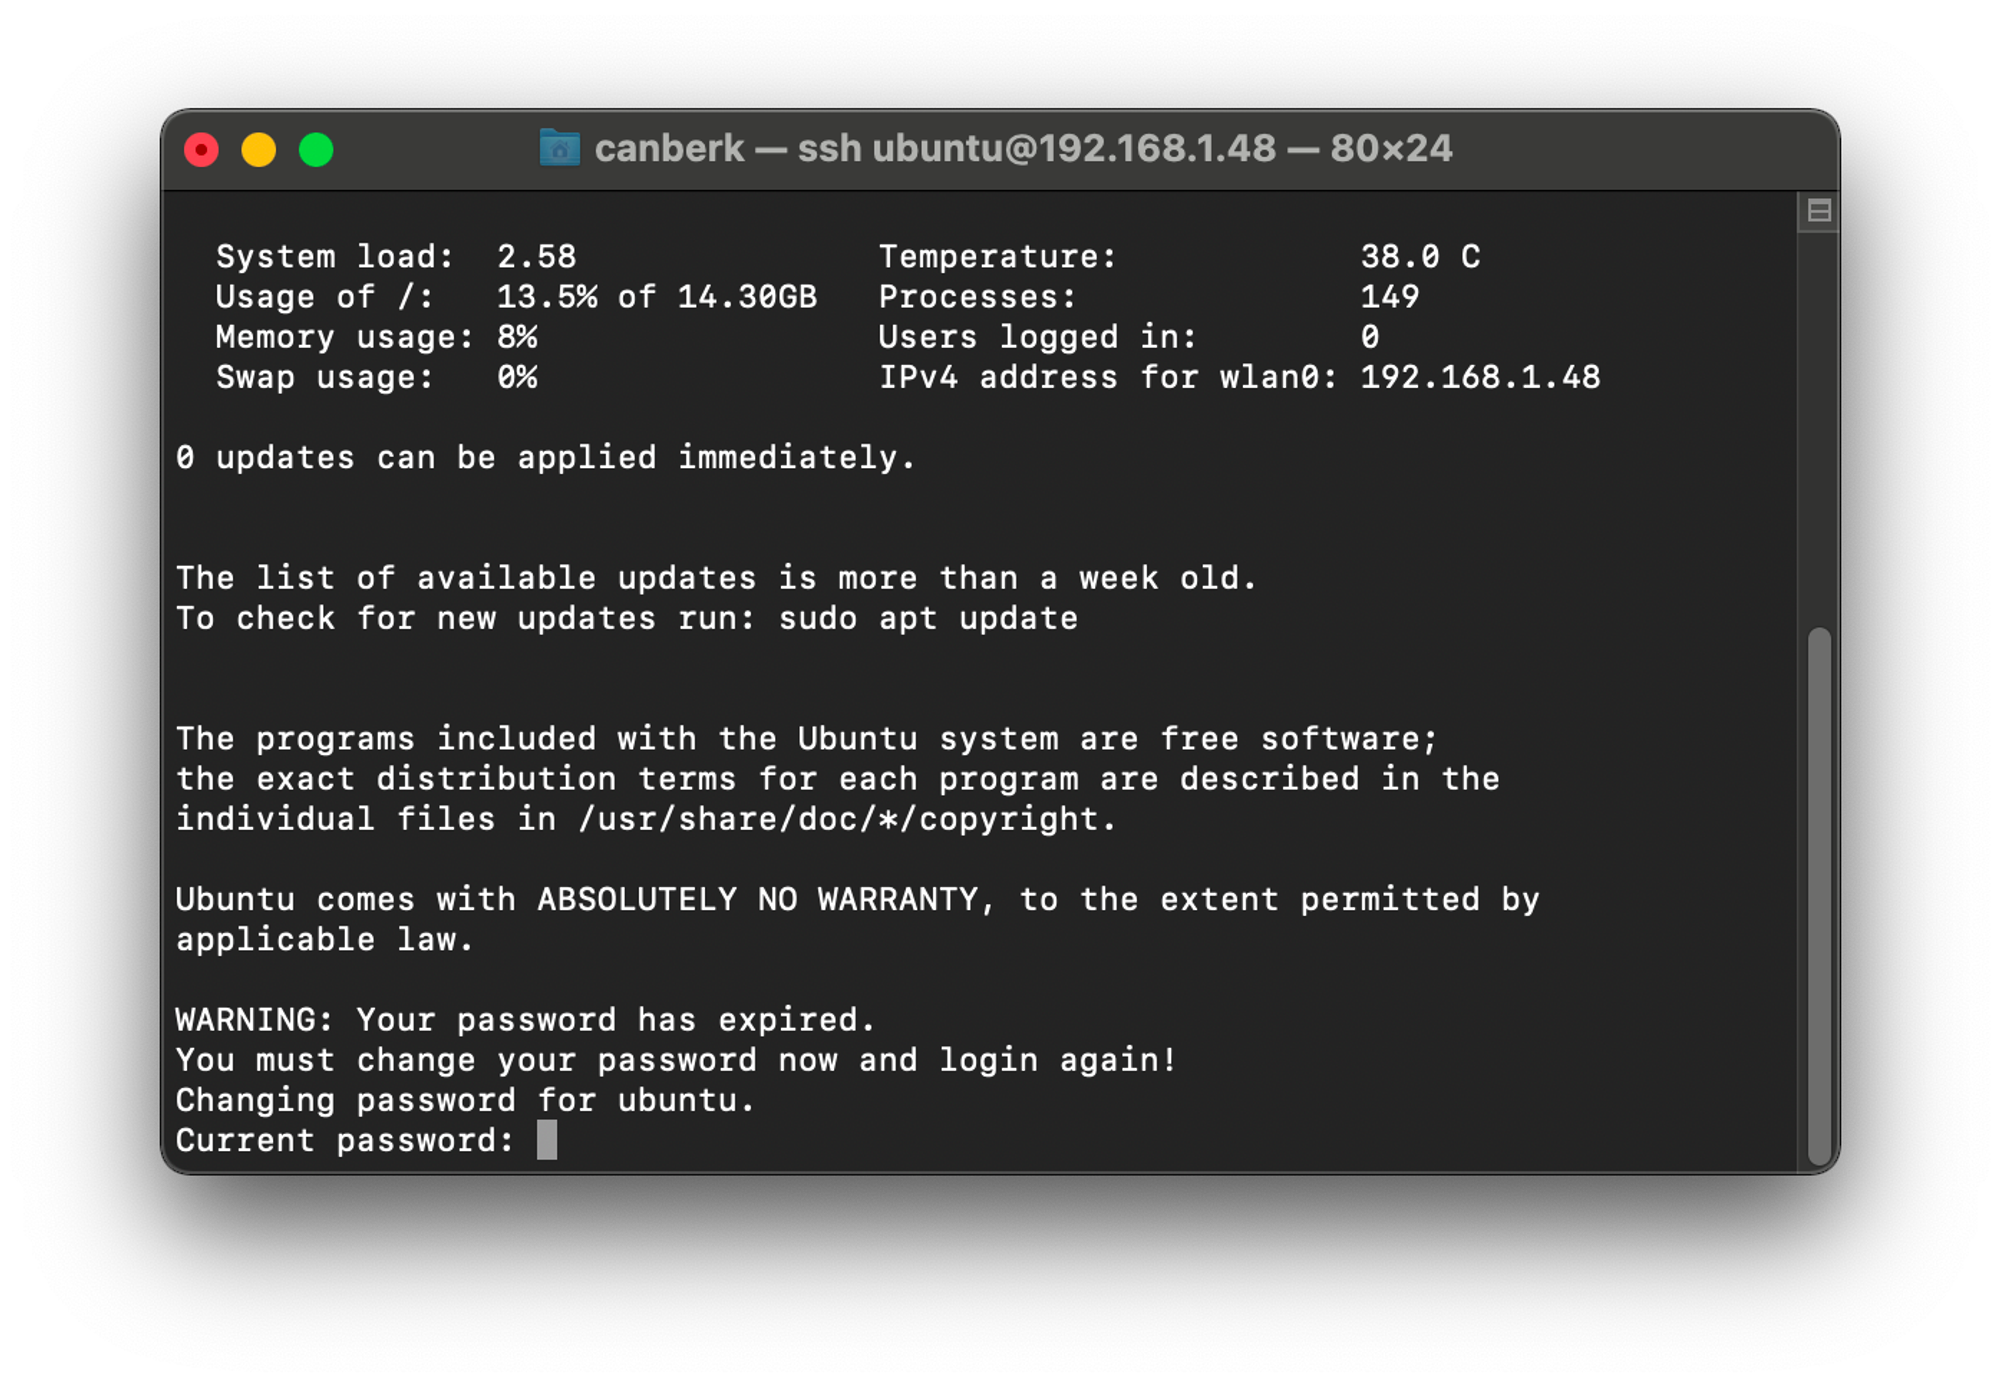
With the IP address, you can use the command below to connect to the Raspberry Pi. Do not forget to change the IP address below to your actual Raspberry Pi IP address.
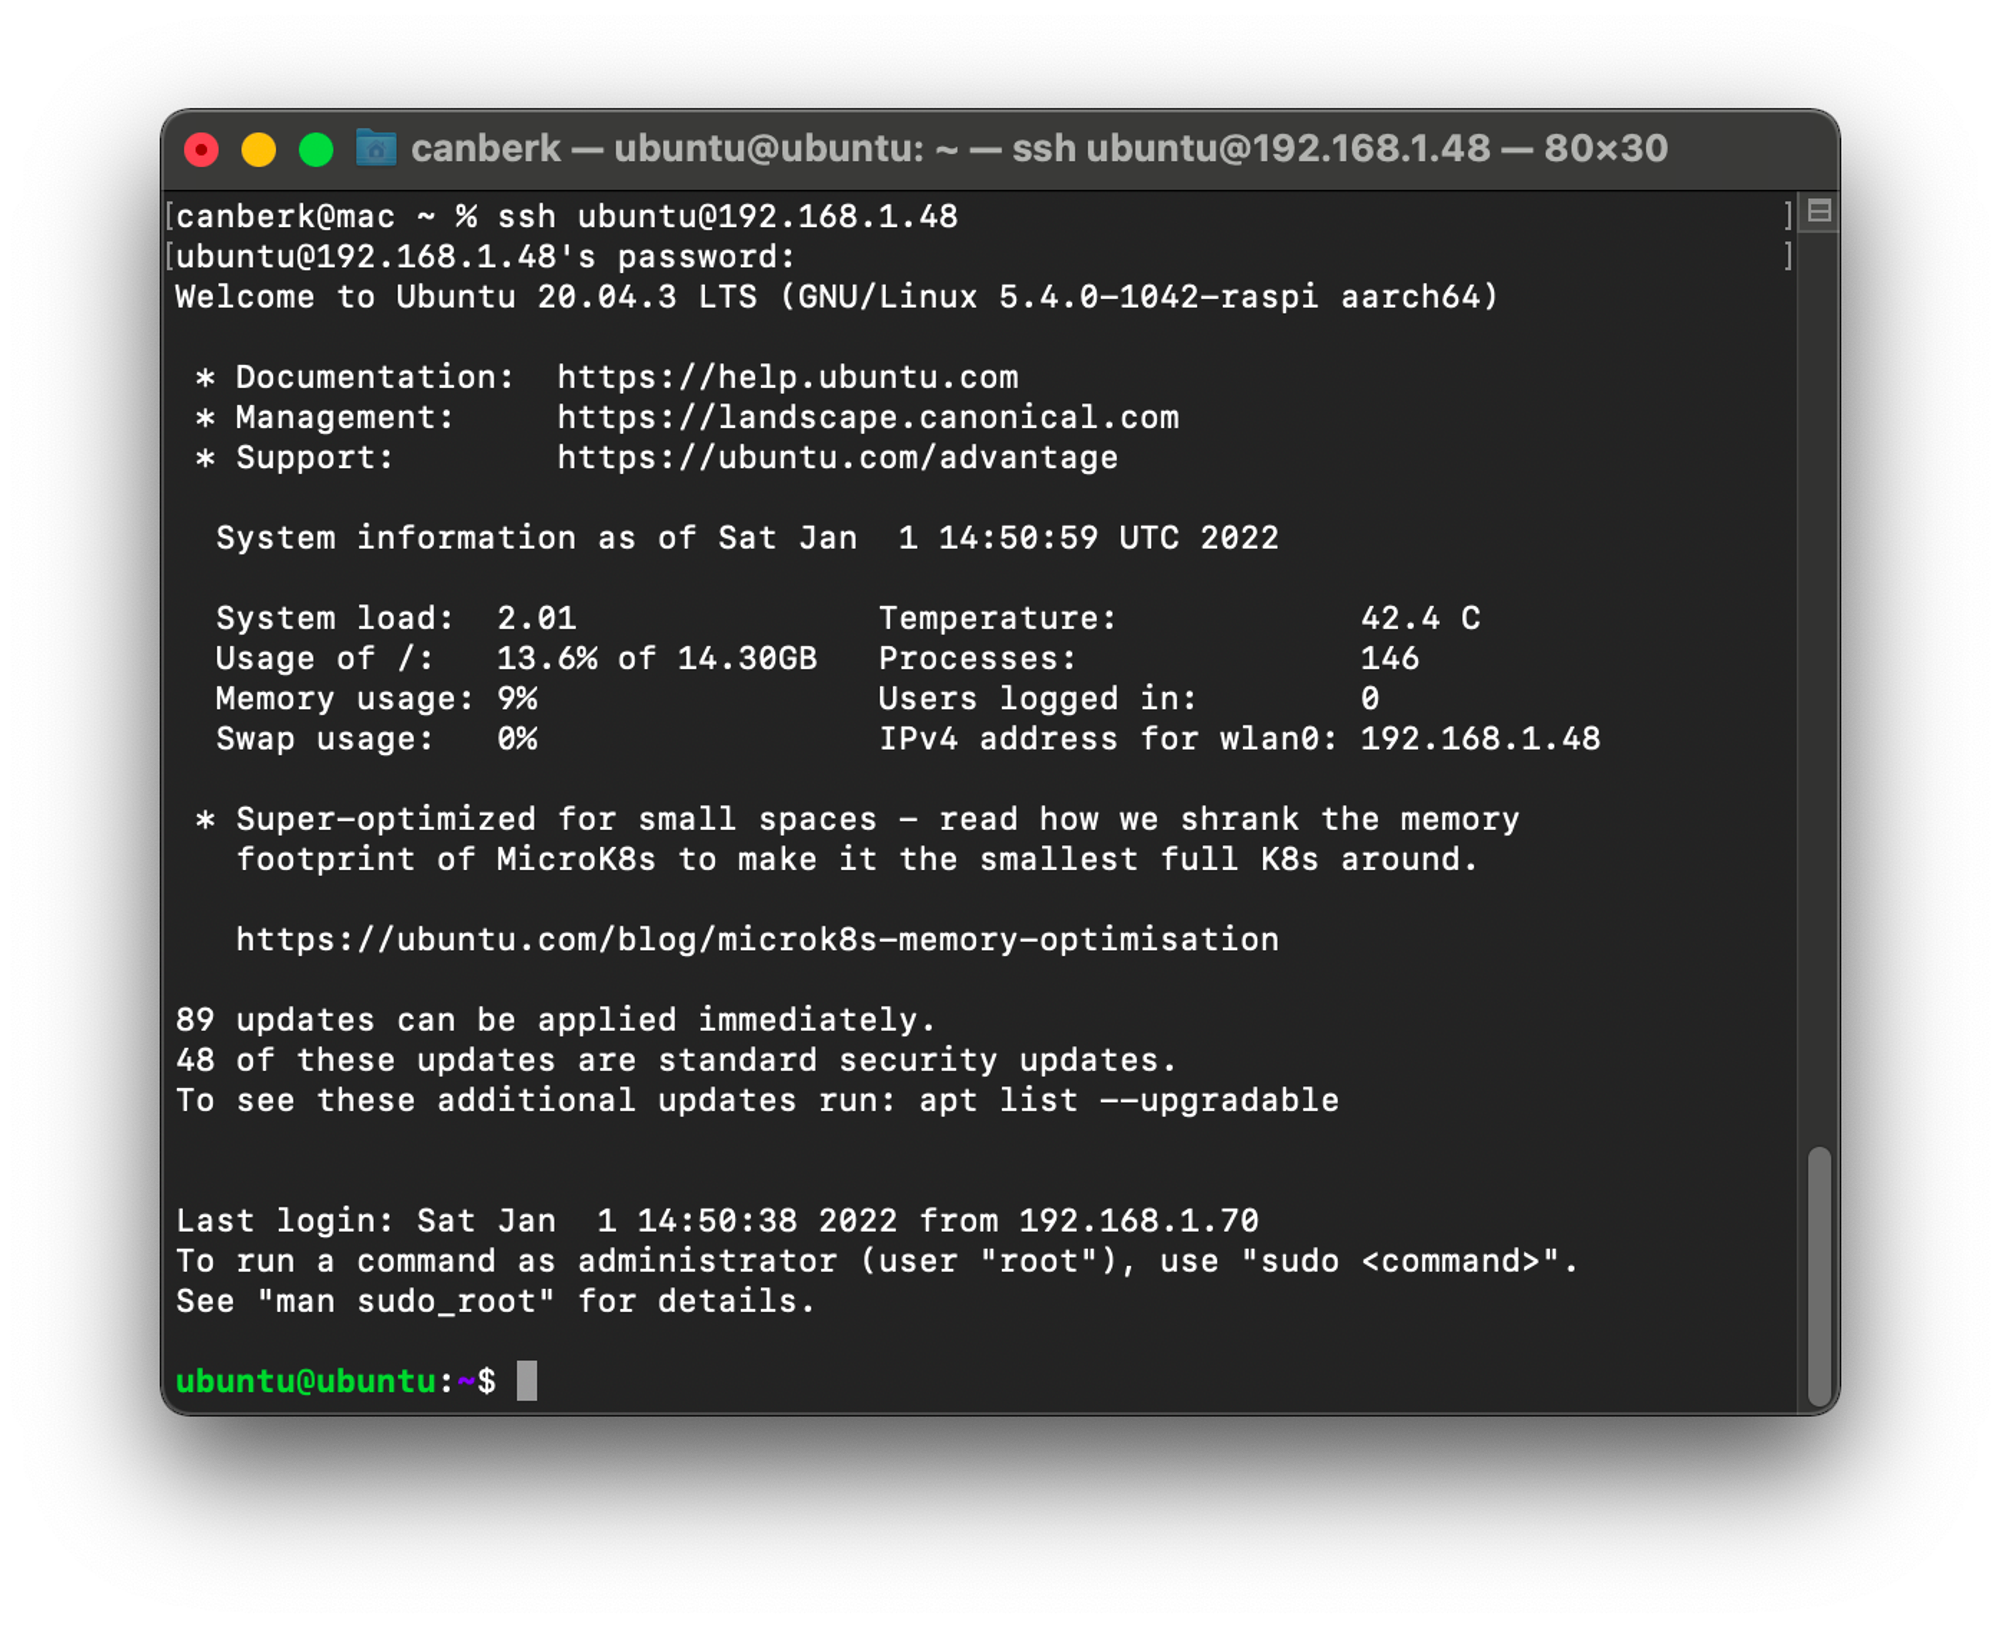
ssh [email protected]The password is: ‘ubuntu’
In the first login, the OS will ask you to change the password.
After changing the password your Ubuntu Server on Raspberry Pi is ready to use.
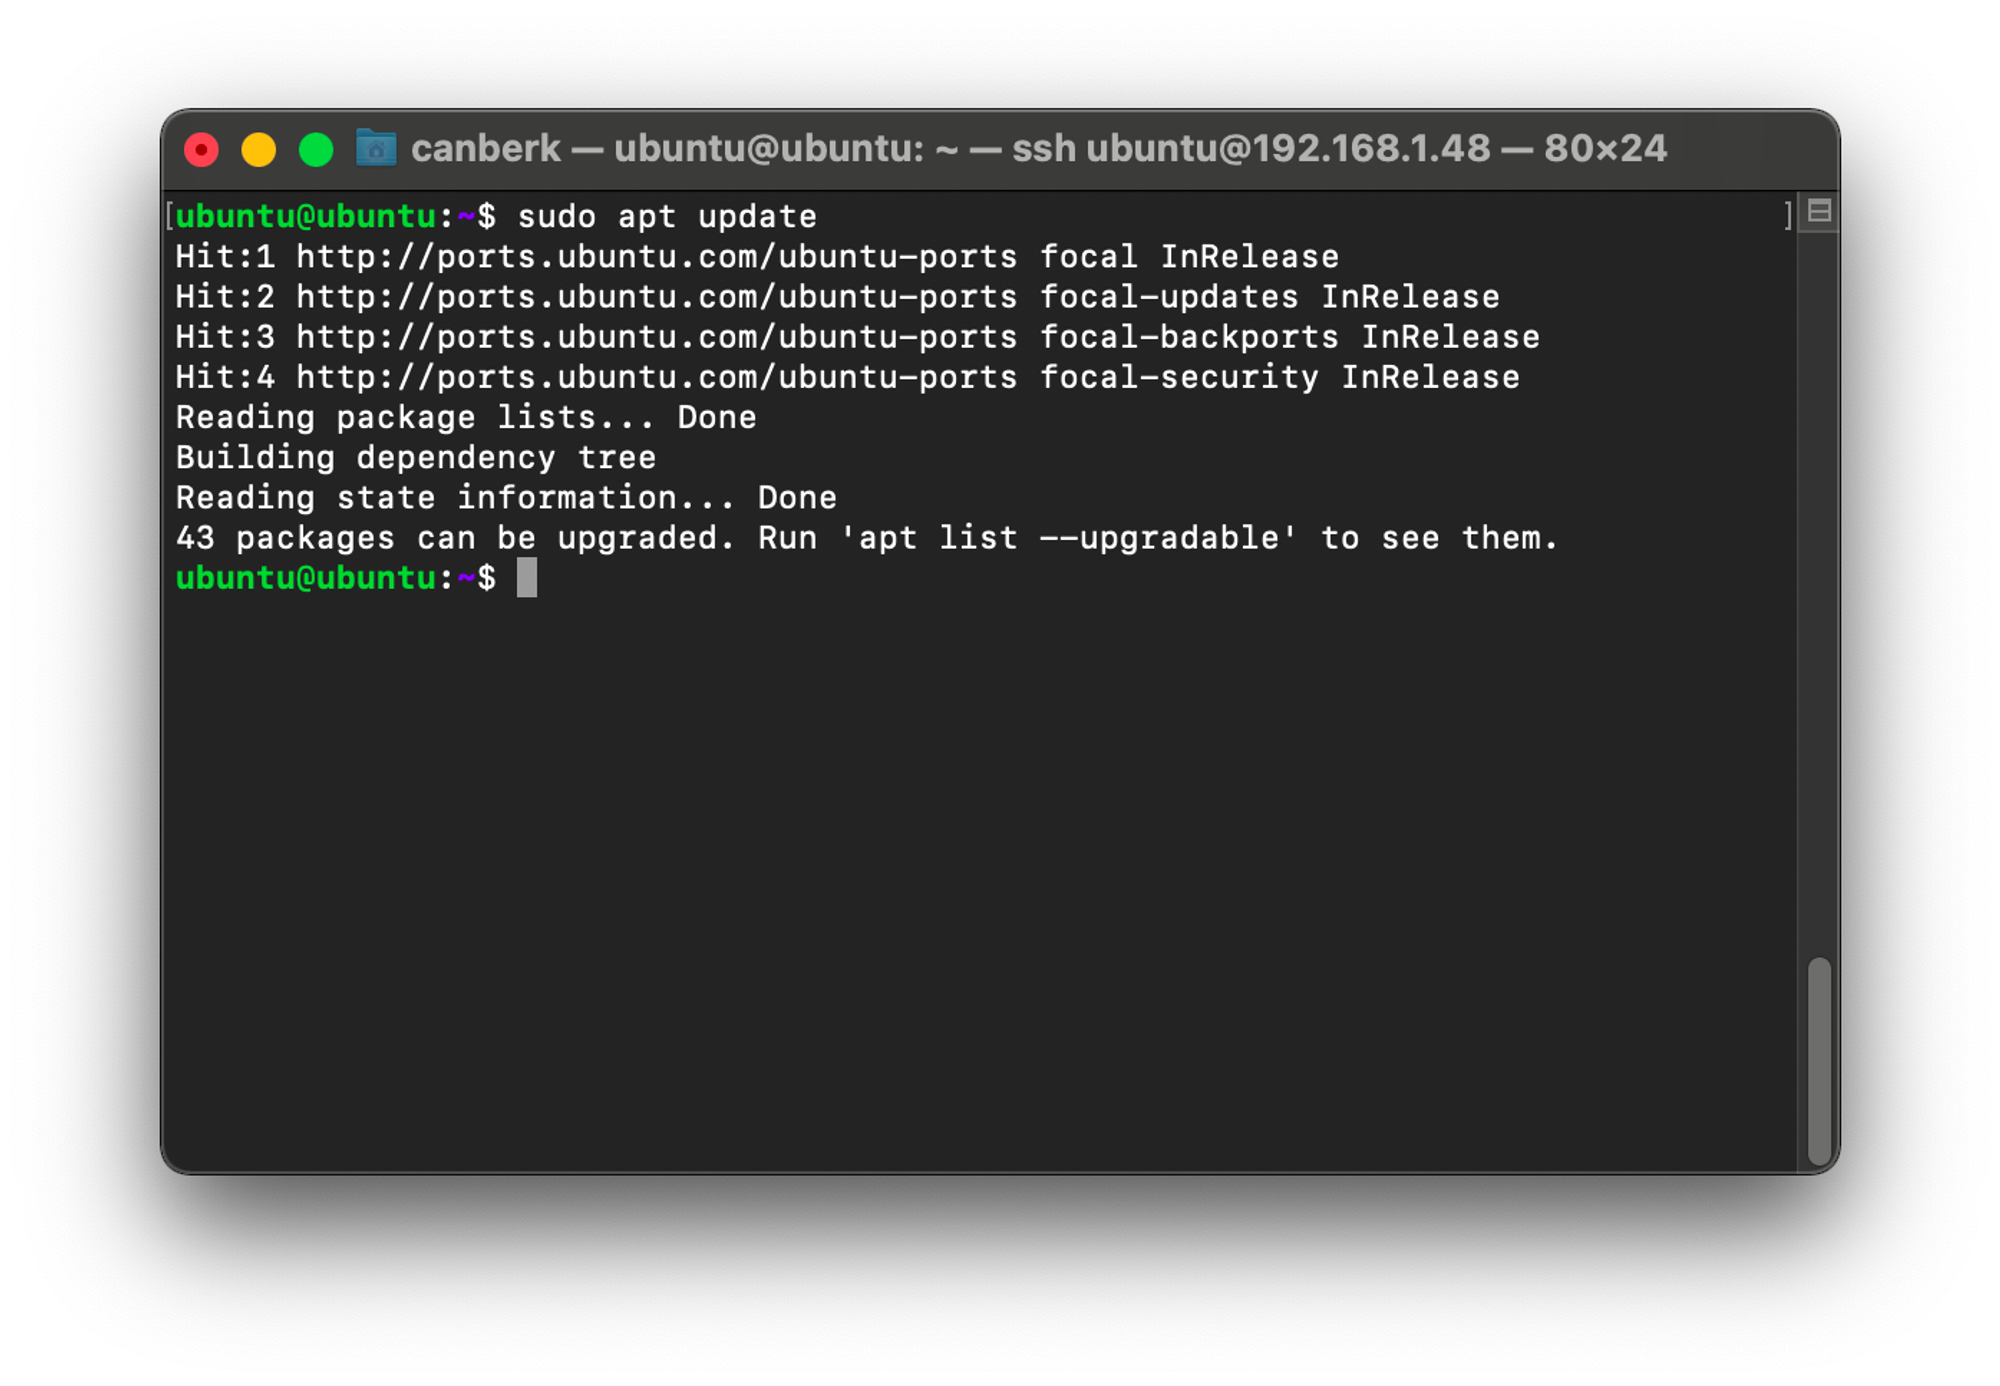
8. Update and Upgrade
Do not forget to update the package list and upgrade the outdated packages.
sudo apt update
sudo apt upgrade