Install and Configure NGINX Server on Raspberry Pi
According to the NGINX website:
NGINX is open-source software for web serving, reverse proxying, caching, load balancing, media streaming, and more. It started out as a web server designed for maximum performance and stability. In addition to its HTTP server capabilities, NGINX can also function as a proxy server for email (IMAP, POP3, and SMTP) and a reverse proxy and load balancer for HTTP, TCP, and UDP servers.
In this post, we will be using this sophisticated software as a web server for serving our static website on Raspberry Pi. You also can configure it to serve any web application with a server or multiple websites and applications.
1. Update apt Repository
First things first, you need to update your apt repository after the Raspberry Pi installation. You can find a guide for installation in this post
sudo apt update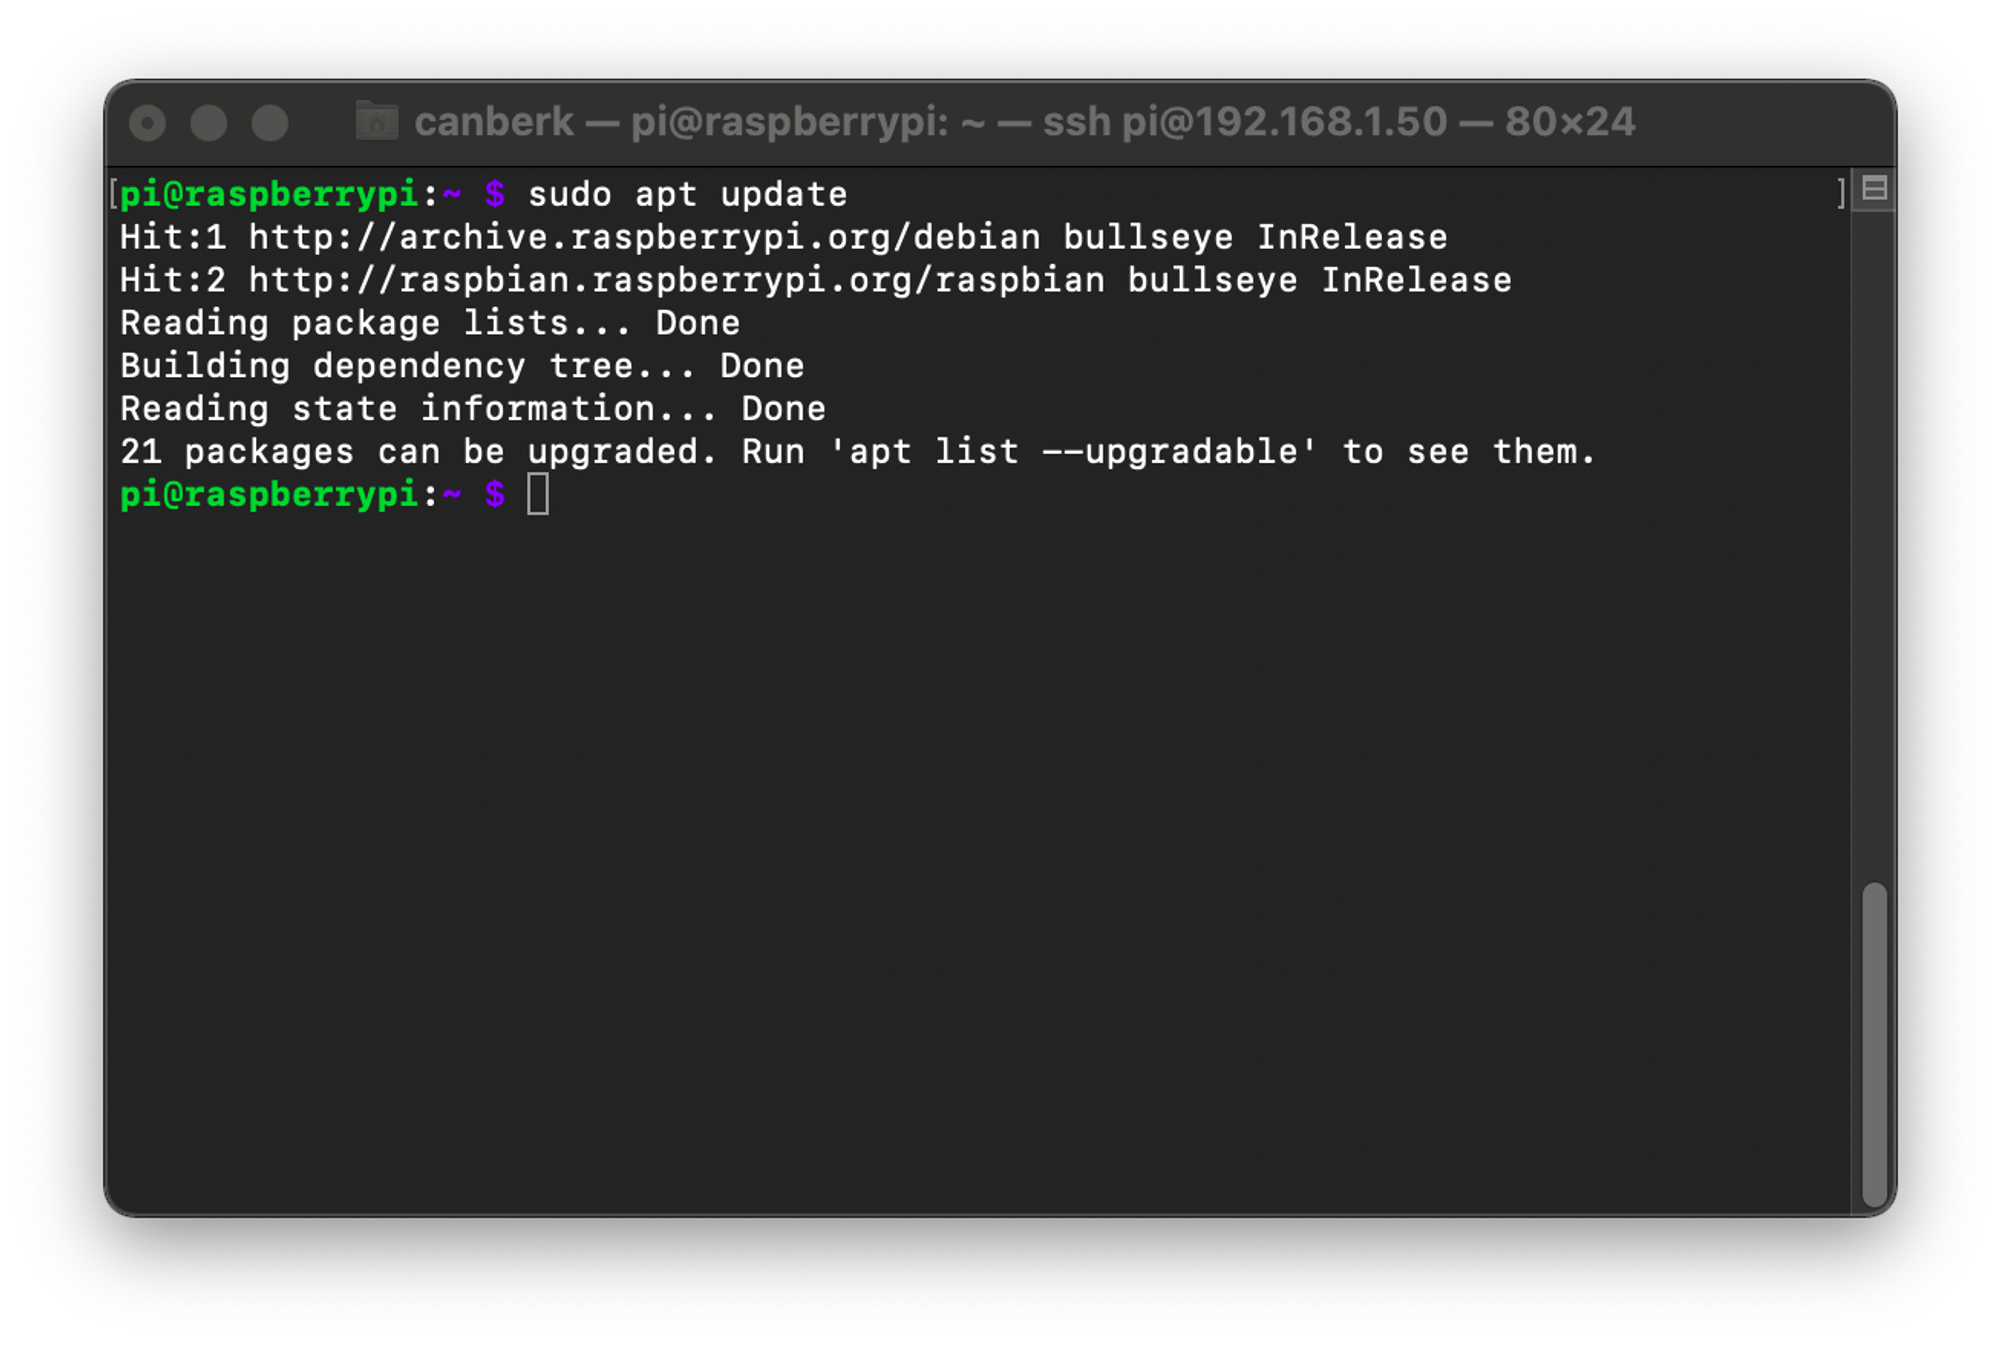
2. Install NGINX Server
It is extremely easy to install NGINX with the apt repository. Just run the command below and it will be ready!
sudo apt install nginx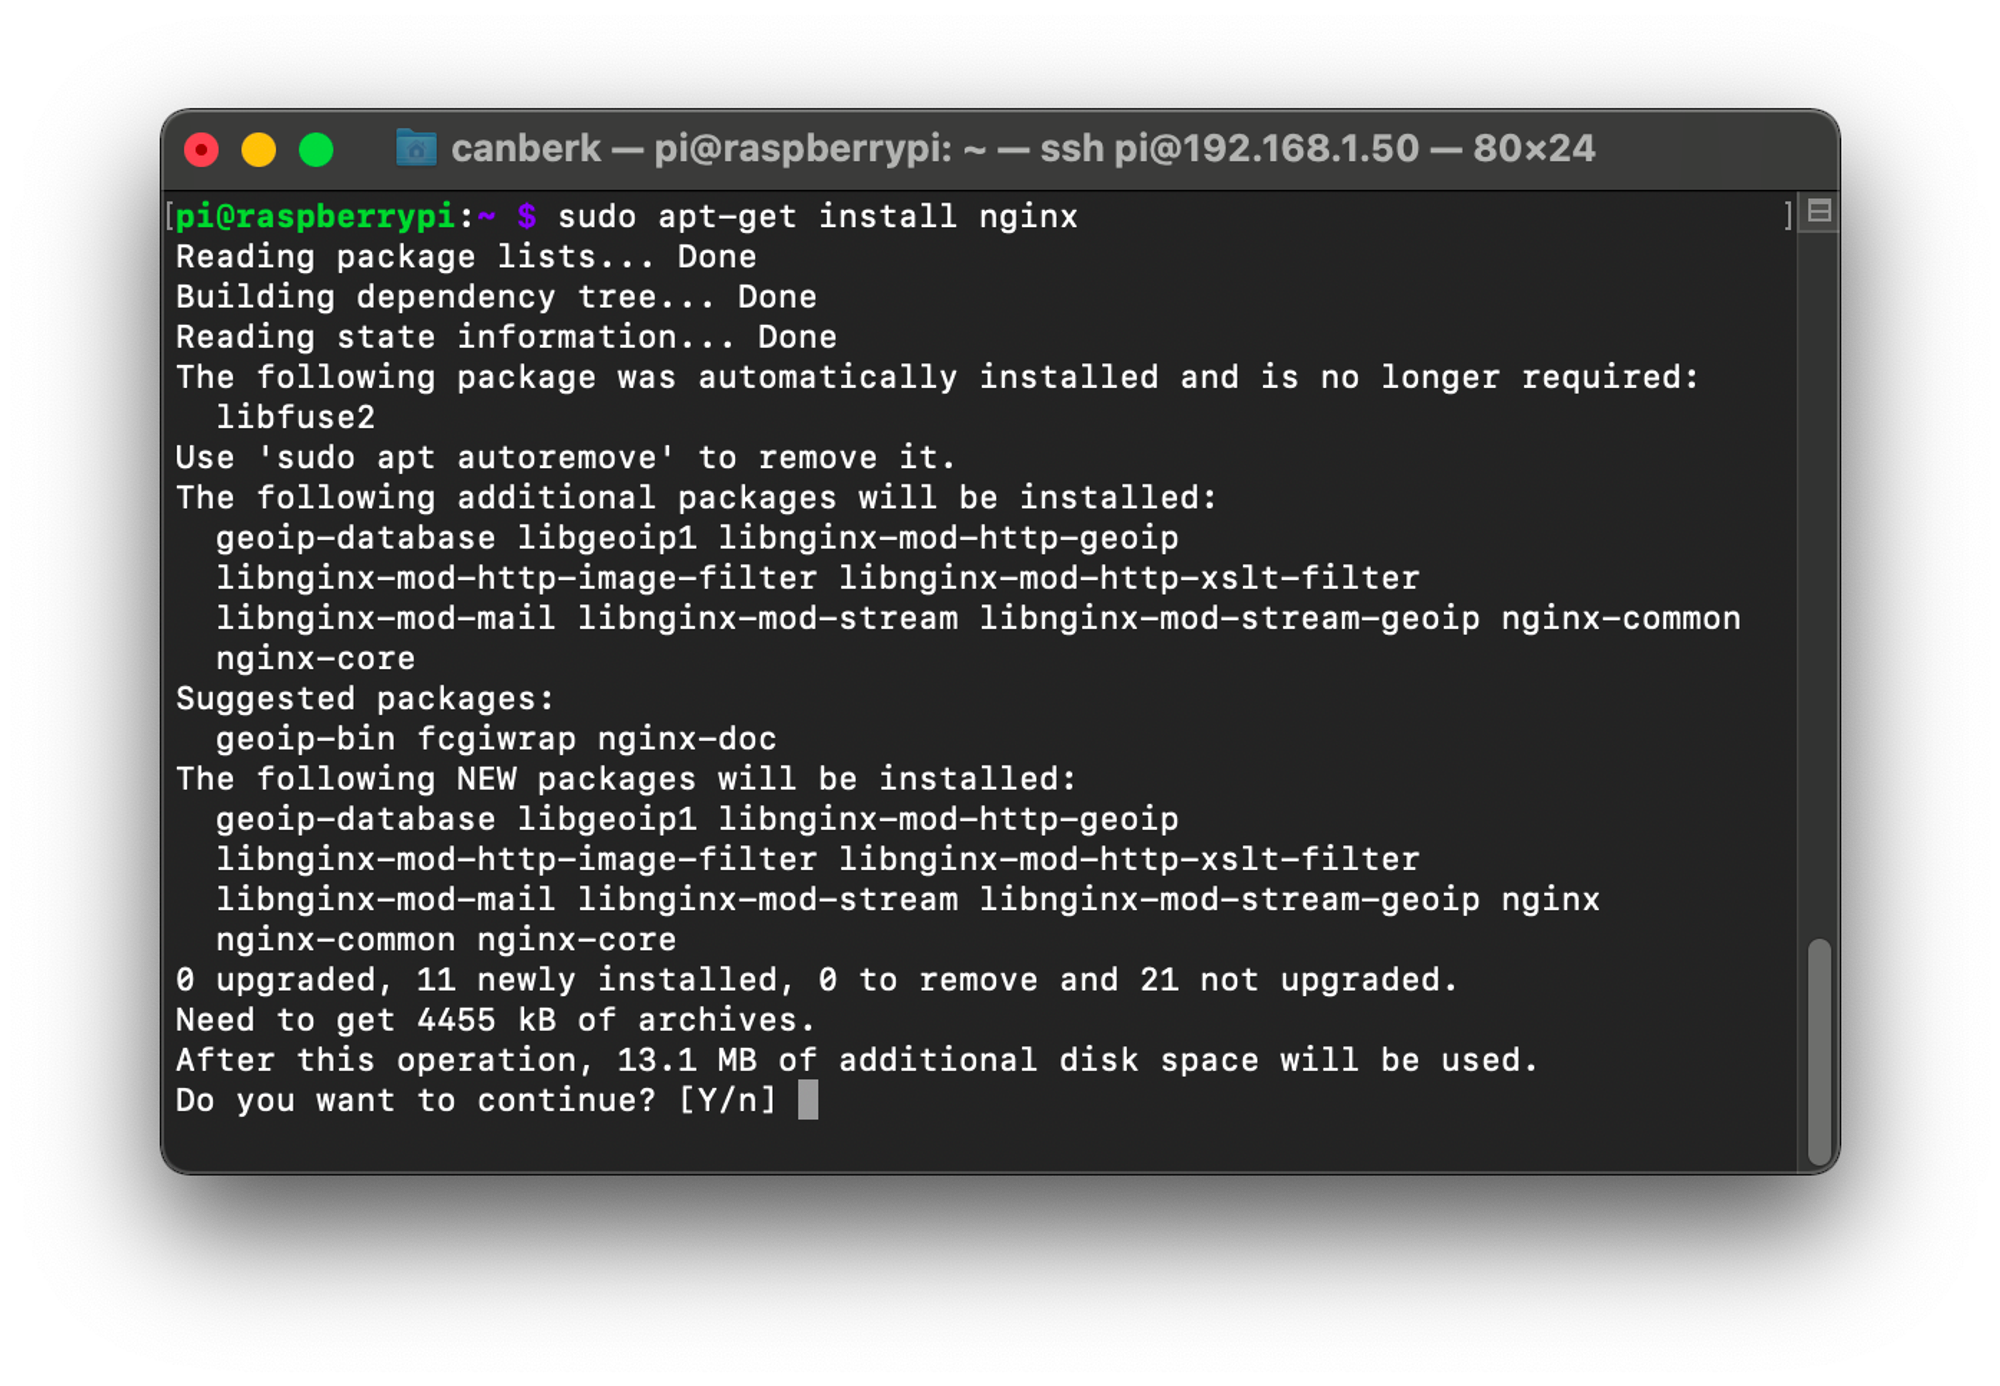
3. Start NGINX Server
After that, you can use the command below to start the NGINX server.
sudo /etc/init.d/nginx start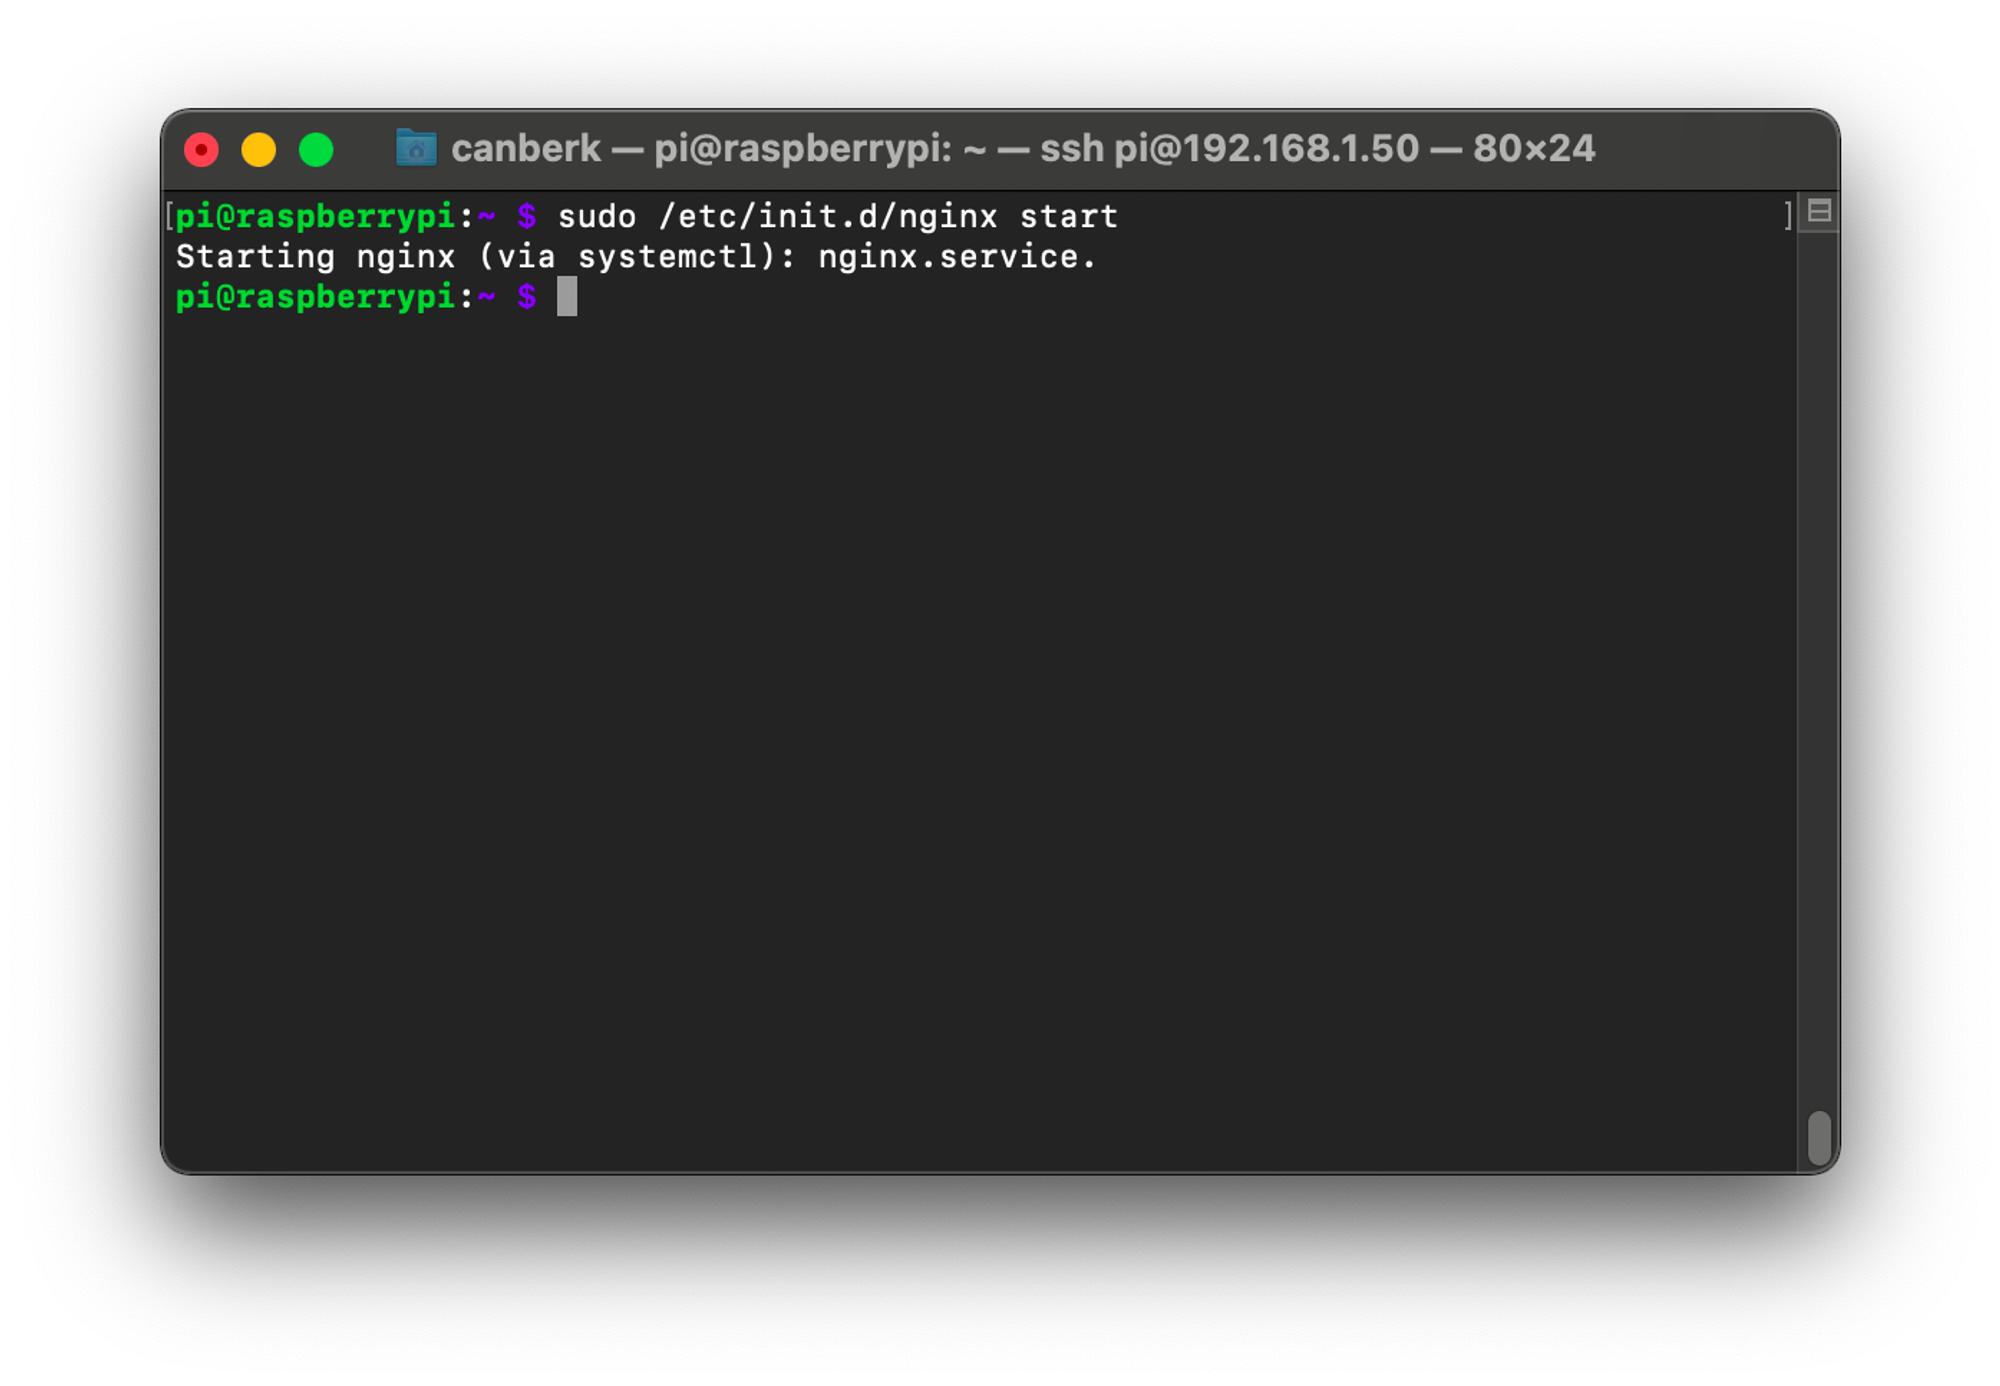
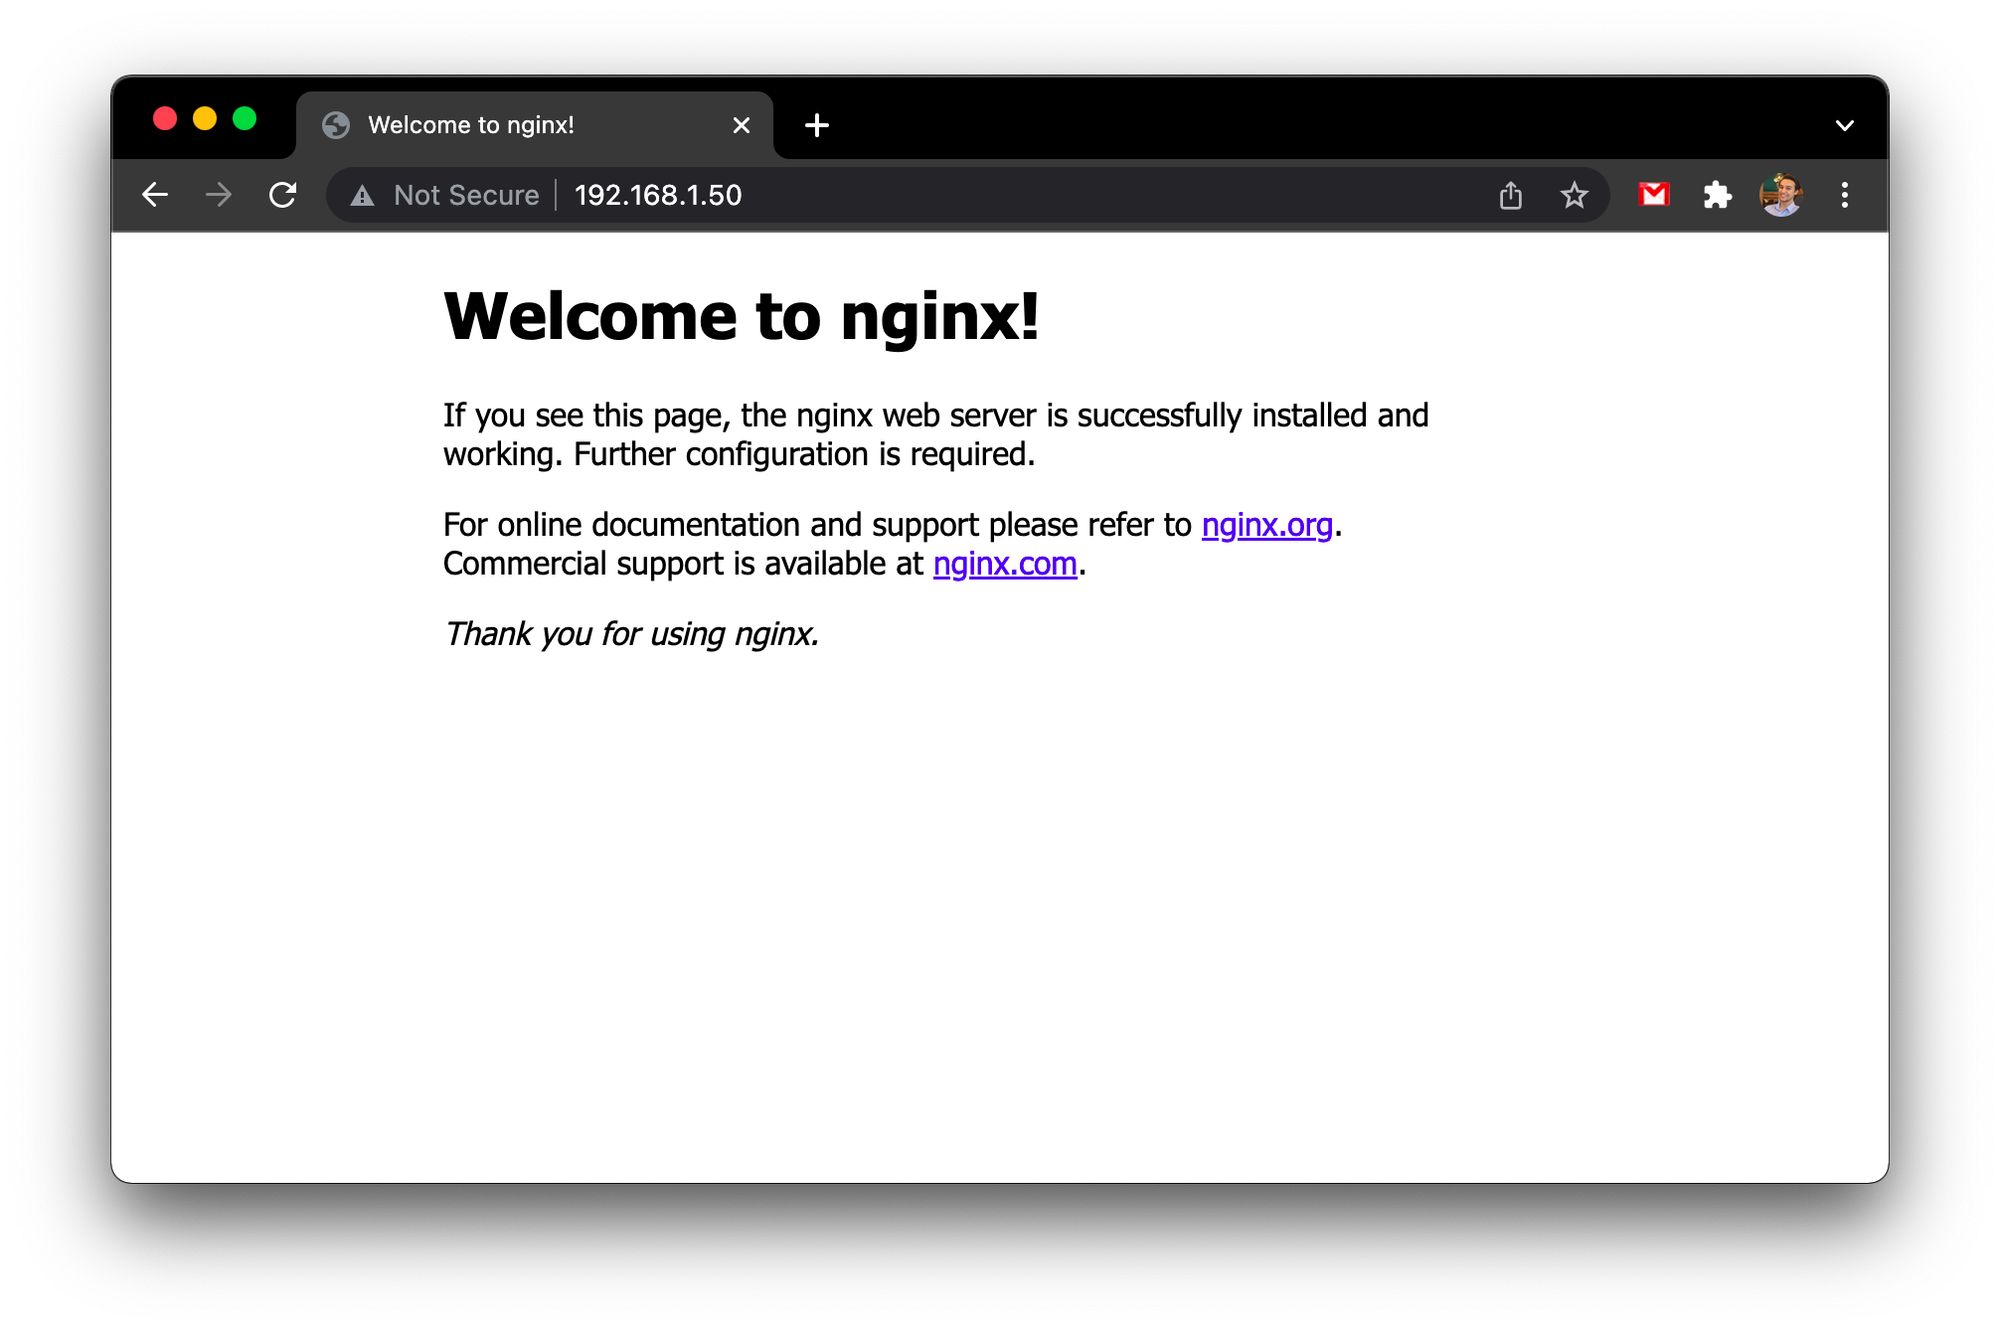
4. Check if NGINX is running
Now you can go to the browser and write your Raspberry Pi’s IP address to the address bar. You should see the default NGINX page below.
You also can use the systemctl command to check if the NGINX service is still running from the terminal.
sudo systemctl status nginx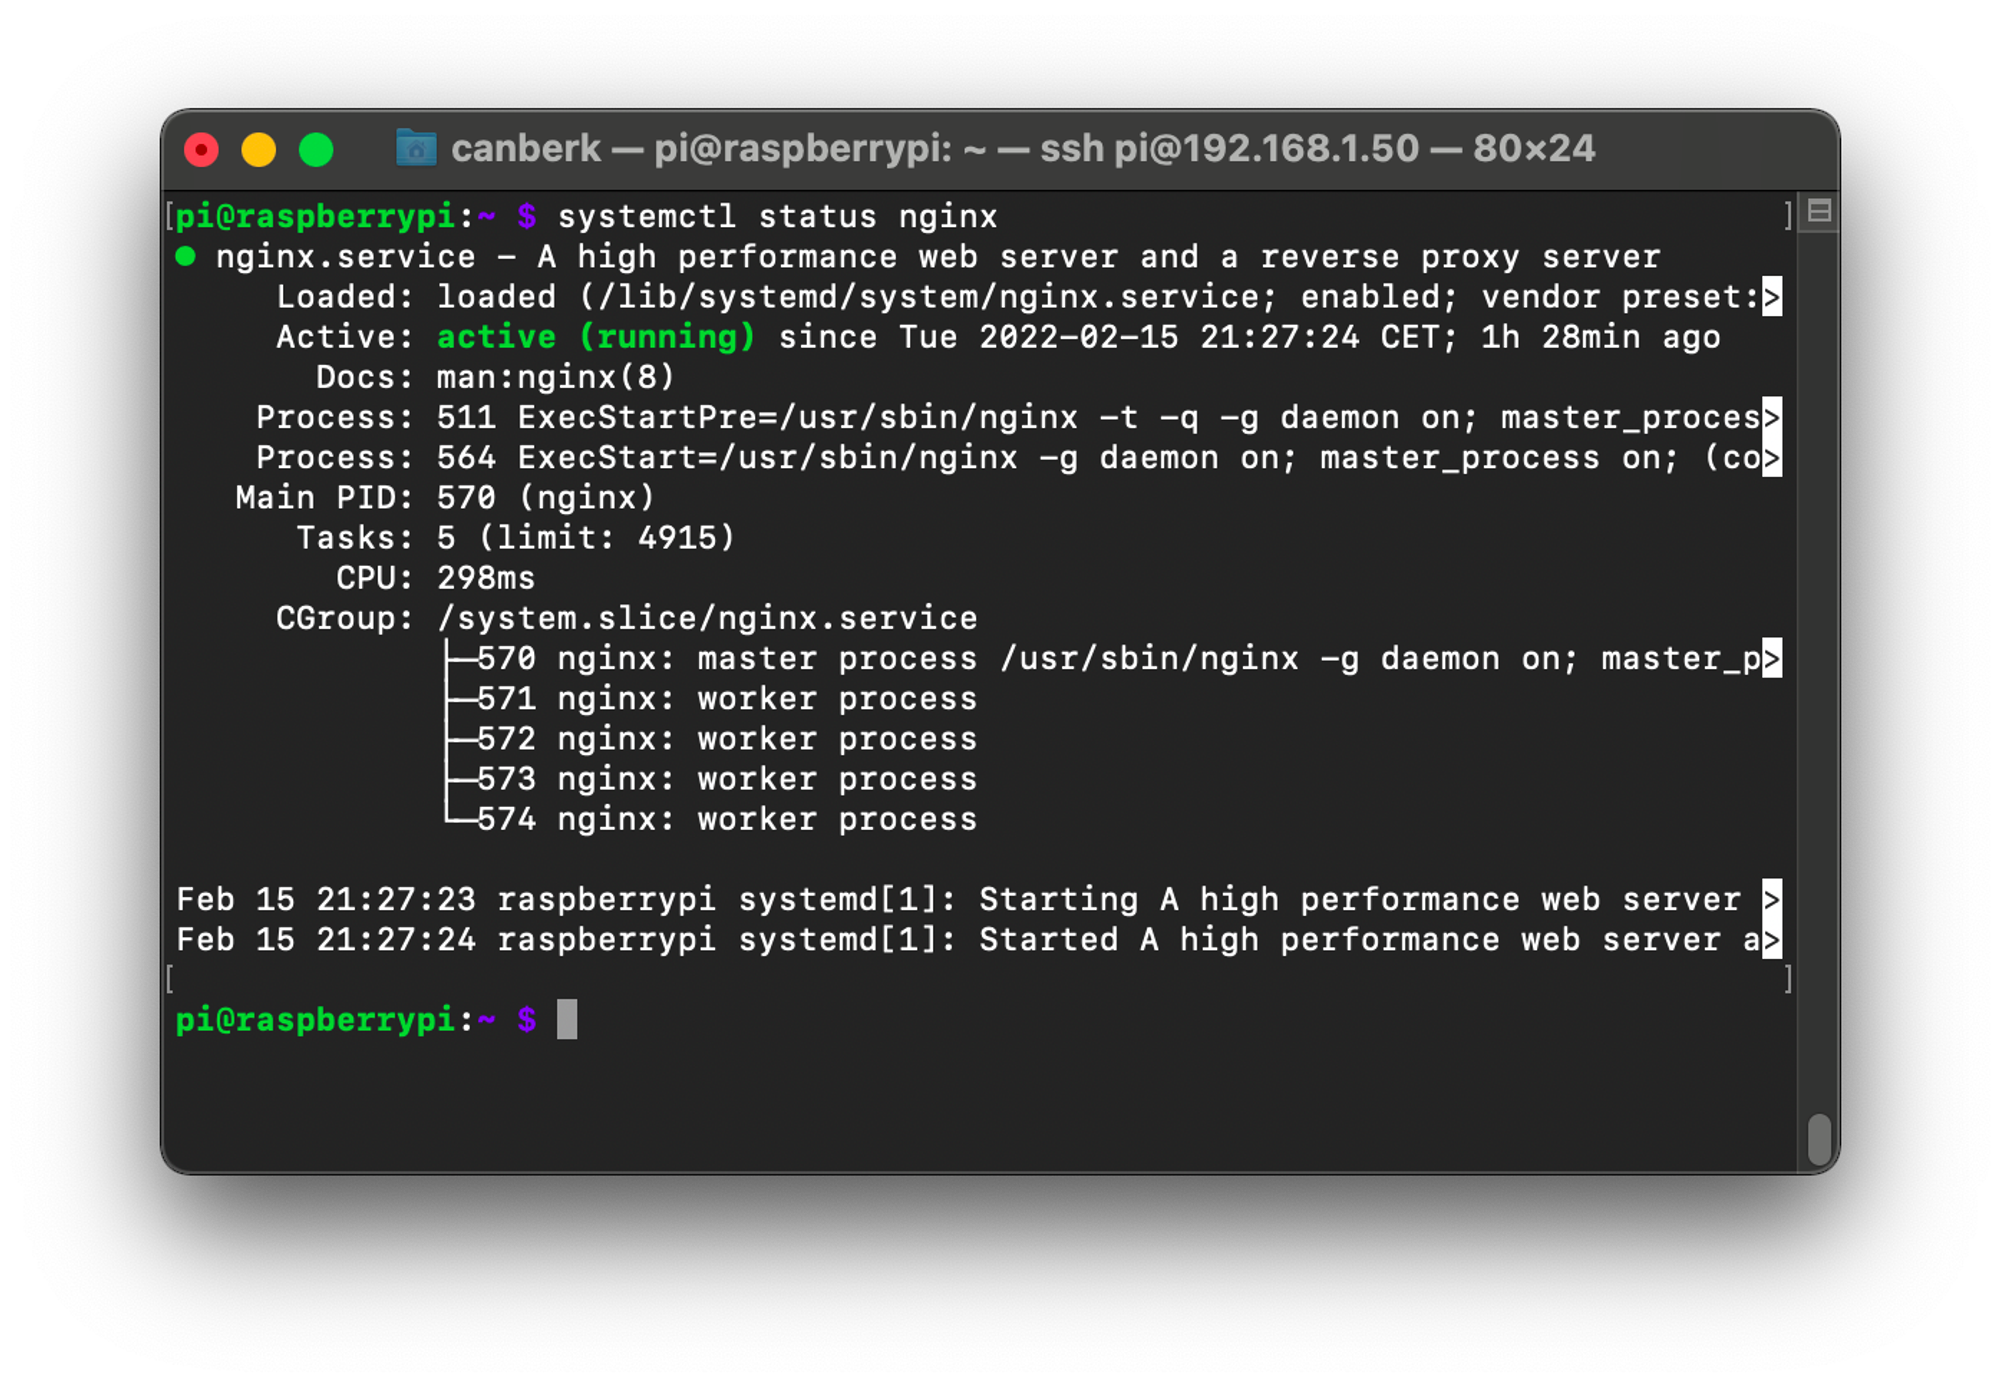
5. Take your website to the Raspberry Pi
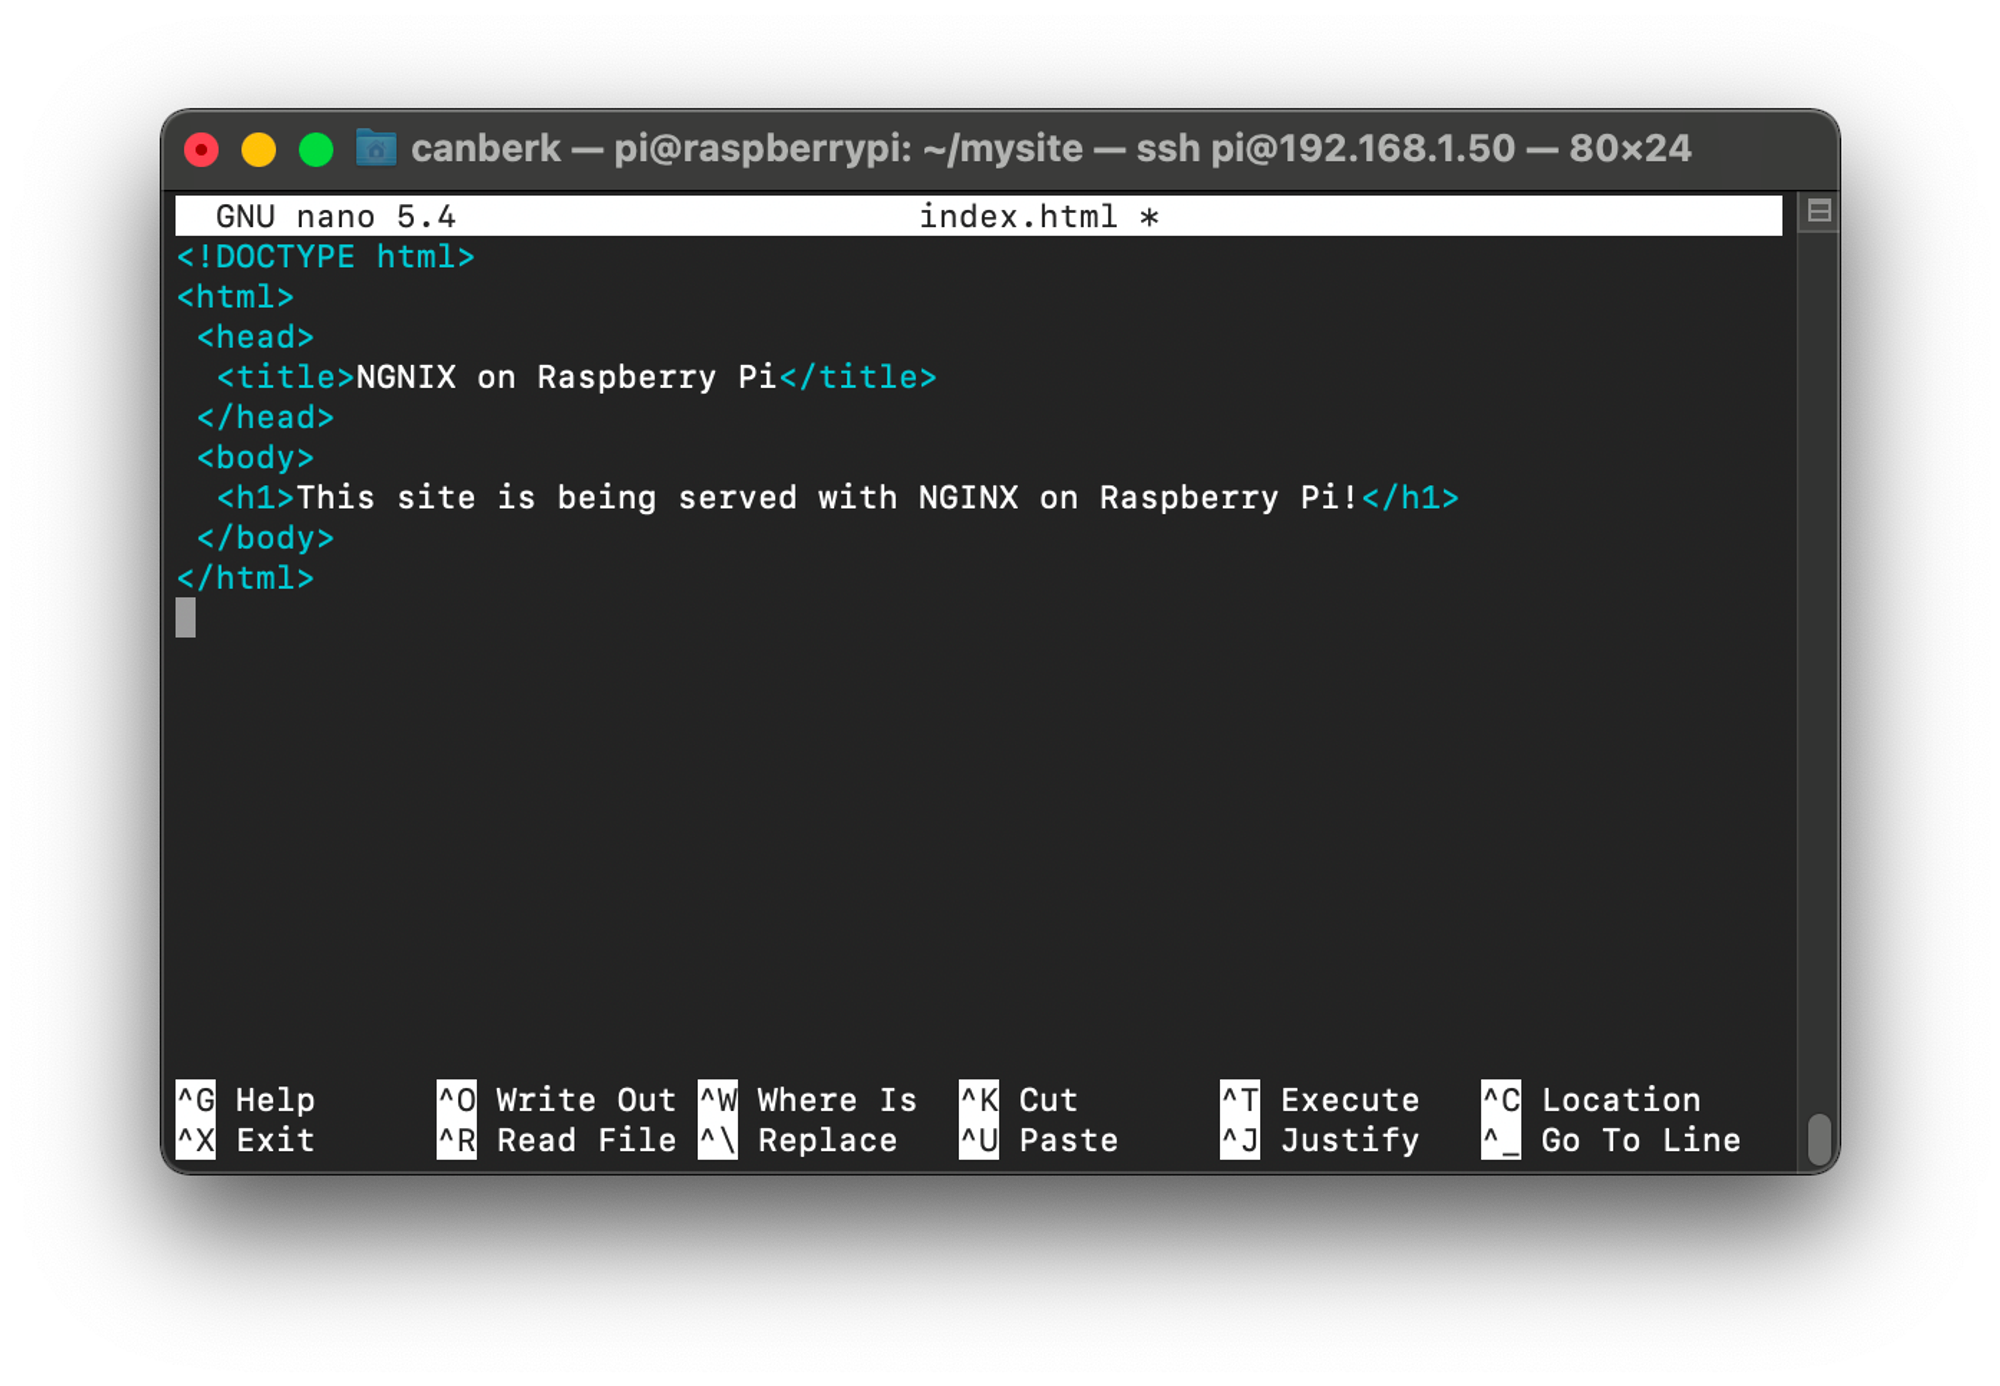
You should copy your static website to Raspberry Pi’s local file system. I just created one in the “/home/pi/mysite/index.html” as an example. Below you can see the contents of the index file.
6. Edit the default website path
Open up the /etc/nginx/sites-available/default file in nano with root privileges with the command below.
sudo nano /etc/nginx/sites-available/default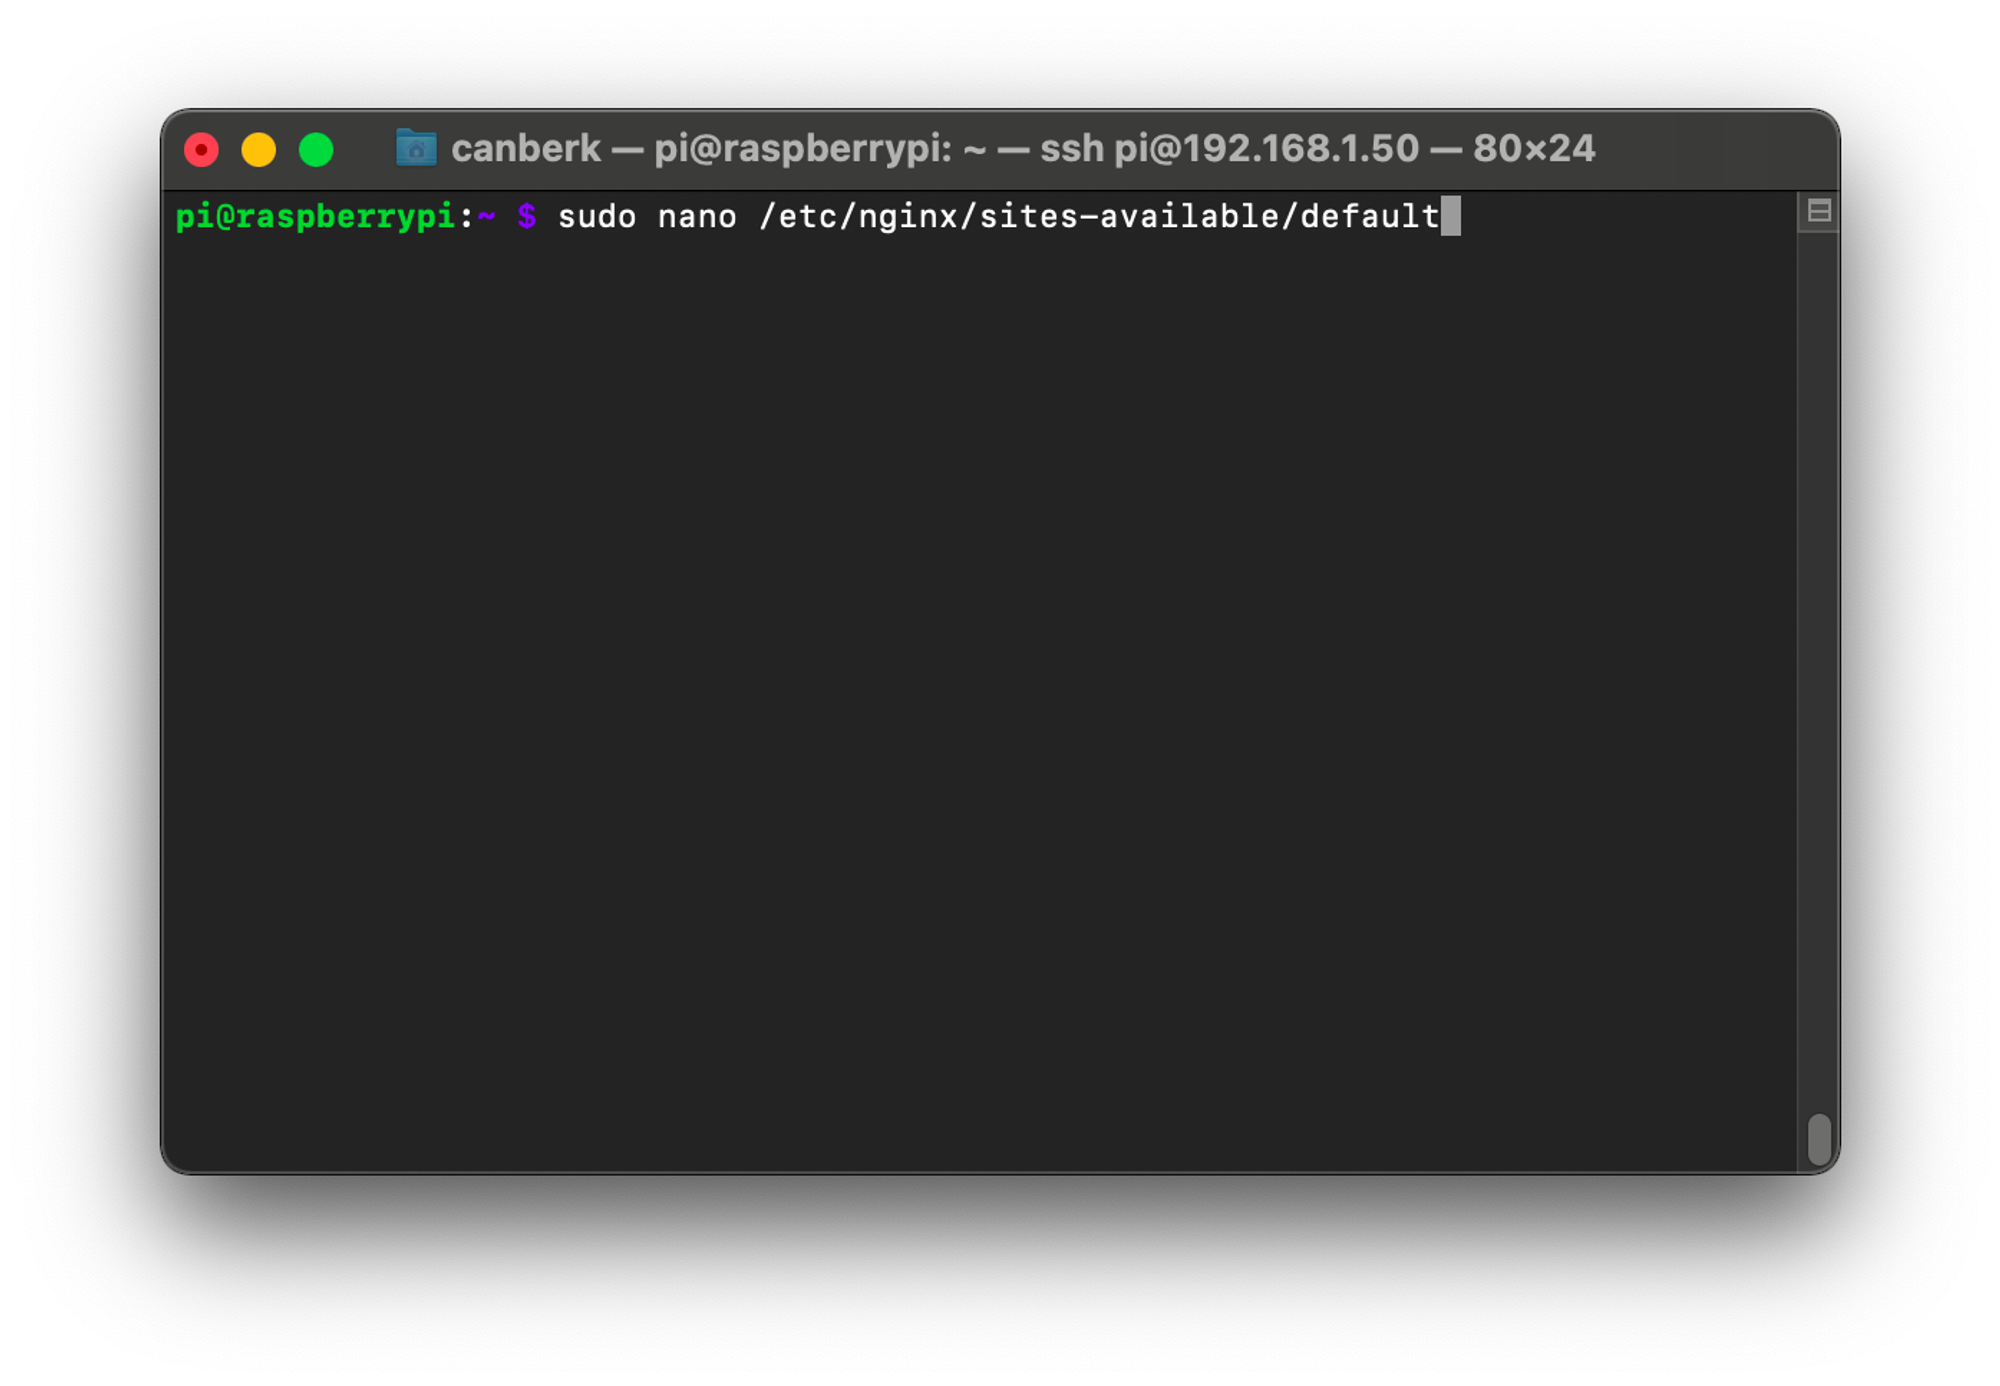
Scroll down to the line that starts with the root

Change the line to point to your website’s root directory.
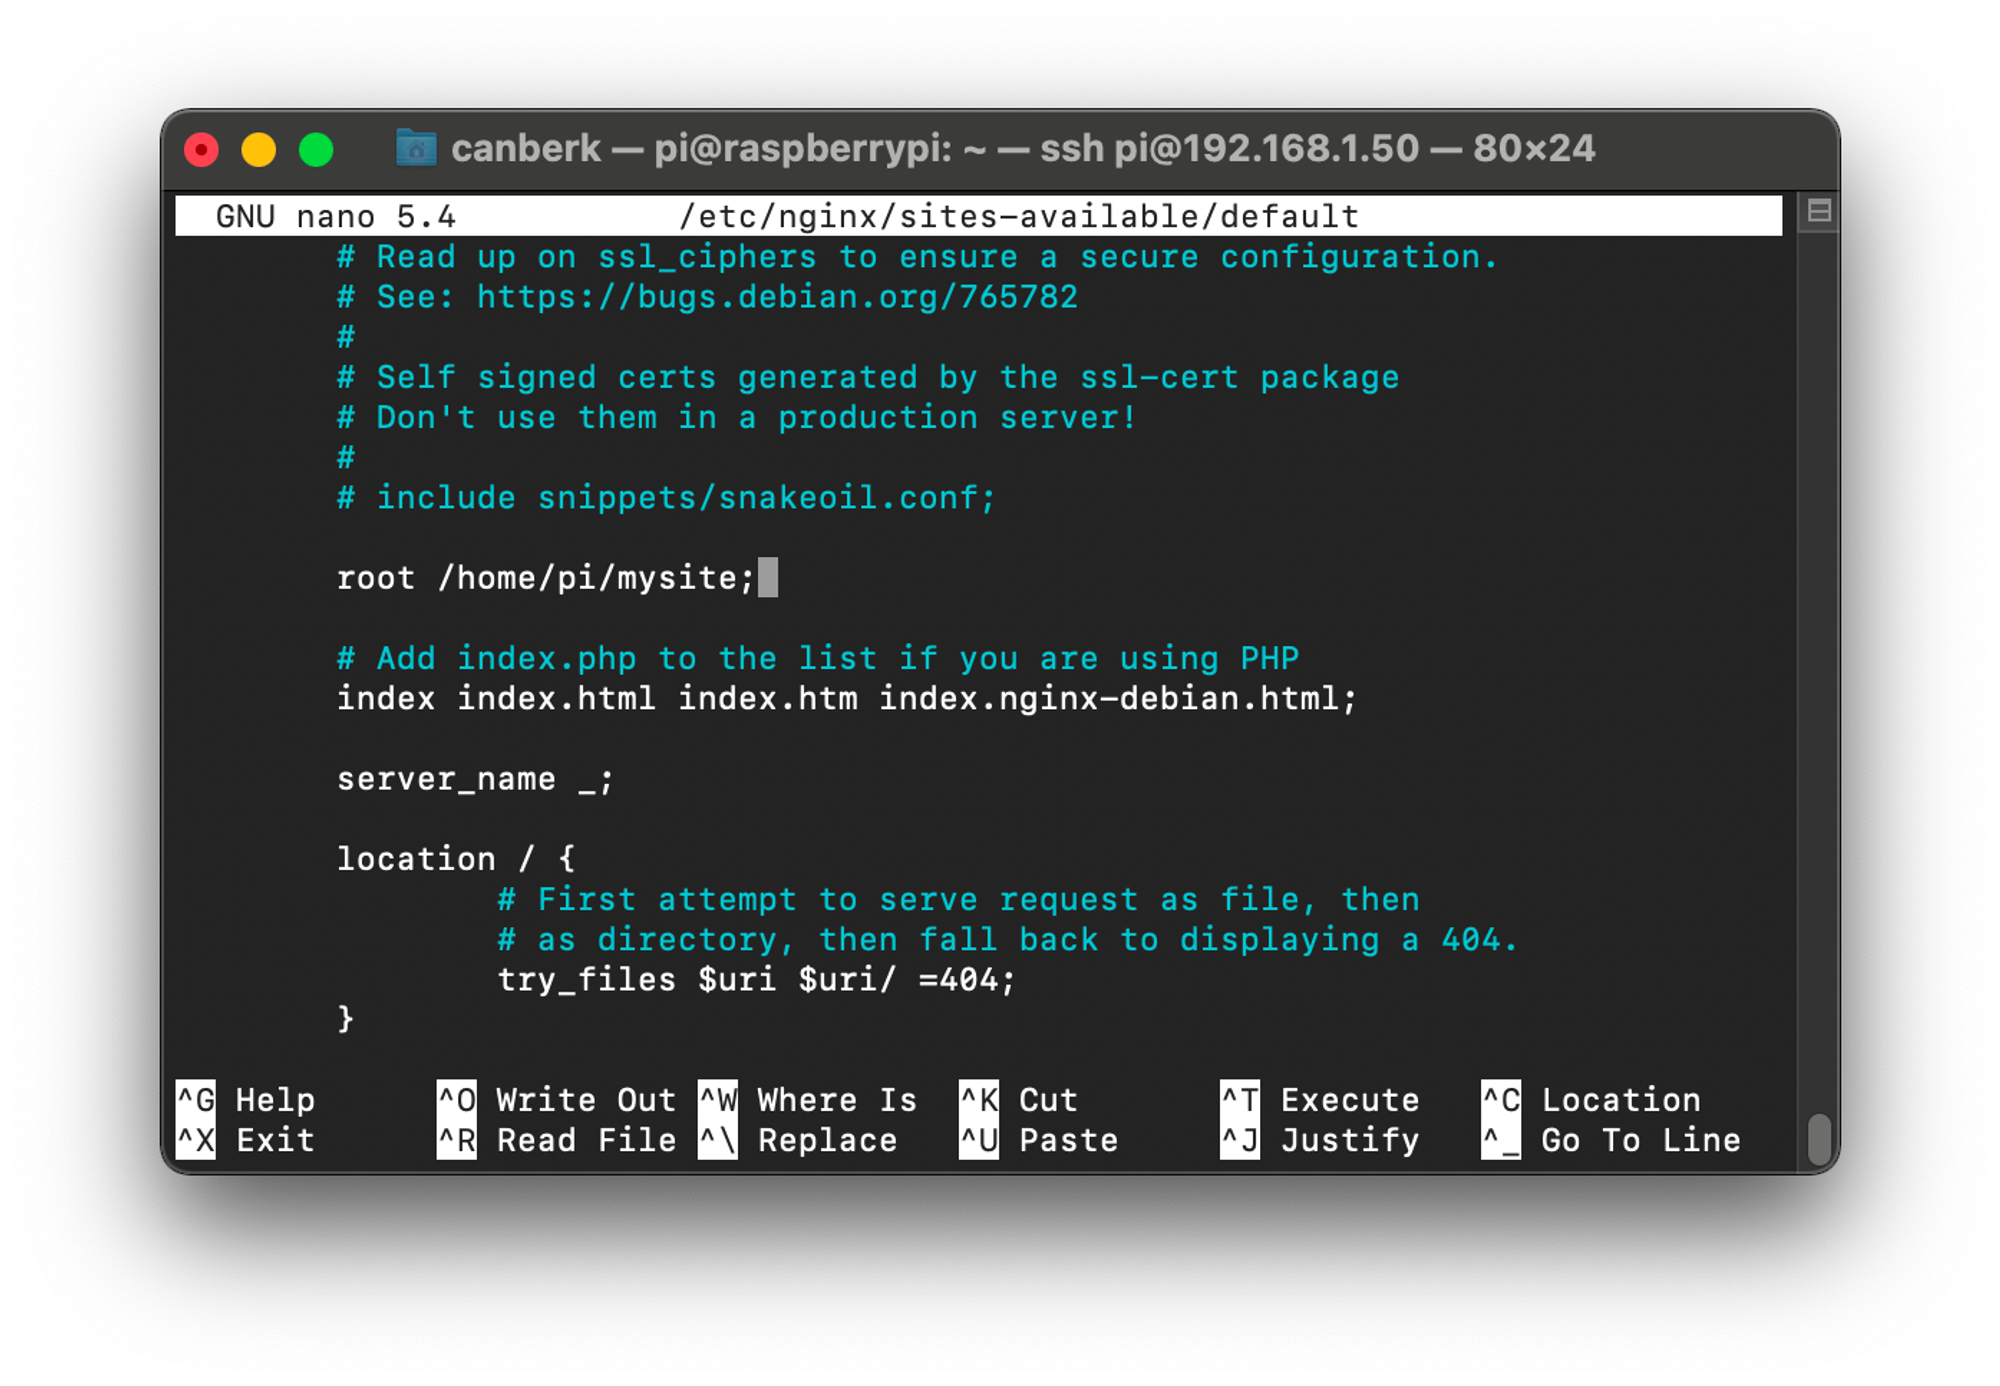
You can save the file and exit the nano editor by pressing Ctrl+X and Y then Enter.
7. Restart the NGINX Server
To restart the NGINX Server you can use the command below.
sudo systemctl restart nginx8. See the results on your browser
Go to your browser and refresh the page that you opened with the IP address of your Raspberry Pi. You should be able to see your website.

In this post we used NGINX to serve this horrendous placeholder website, I am sure you will use it for creative and beautiful projects. Have fun with your new web server!