What Is ROS2 and How To Install It on Raspberry Pi?
According to the ROS documentation: “The Robot Operating System (ROS) is a set of software libraries and tools for building robot applications. From drivers to state-of-the-art algorithms, and with powerful developer tools, ROS has what you need for your next robotics project.”
As the definition in the documentation states that the ROS contains a wide variety of tools and libraries. Some of these tools are for development purposes (3D simulation, data visualization, etc.) and some of them are for the core application (motor control libraries, device drivers, etc.).
ROS has a structure that consists of nodes and provides publish/subscribe mechanism between the nodes through topics. These nodes can have development or application purposes as mentioned above, and they can run on different computers while communicating through the network connection. This structure gives us the ability to deploy our control software on a Raspberry Pi and monitor or control it from our development computer.
In this blog post, we will be installing ROS on Raspberry Pi and preparing it for projects that we are going to build in the future.
1. Install Ubuntu 20.04 LTS Server on Raspberry Pi
We will be using Ubuntu 20.04 LTS Server OS to run ROS2 on Raspberry Pi. You can find Ubuntu 20.04 LTS Server installation guide in this post.
2. Install the required packages
These packages probably going to be already installed with Ubuntu Server, but it wouldn’t harm to be sure.
sudo apt update
sudo apt install curl gnupg lsb-release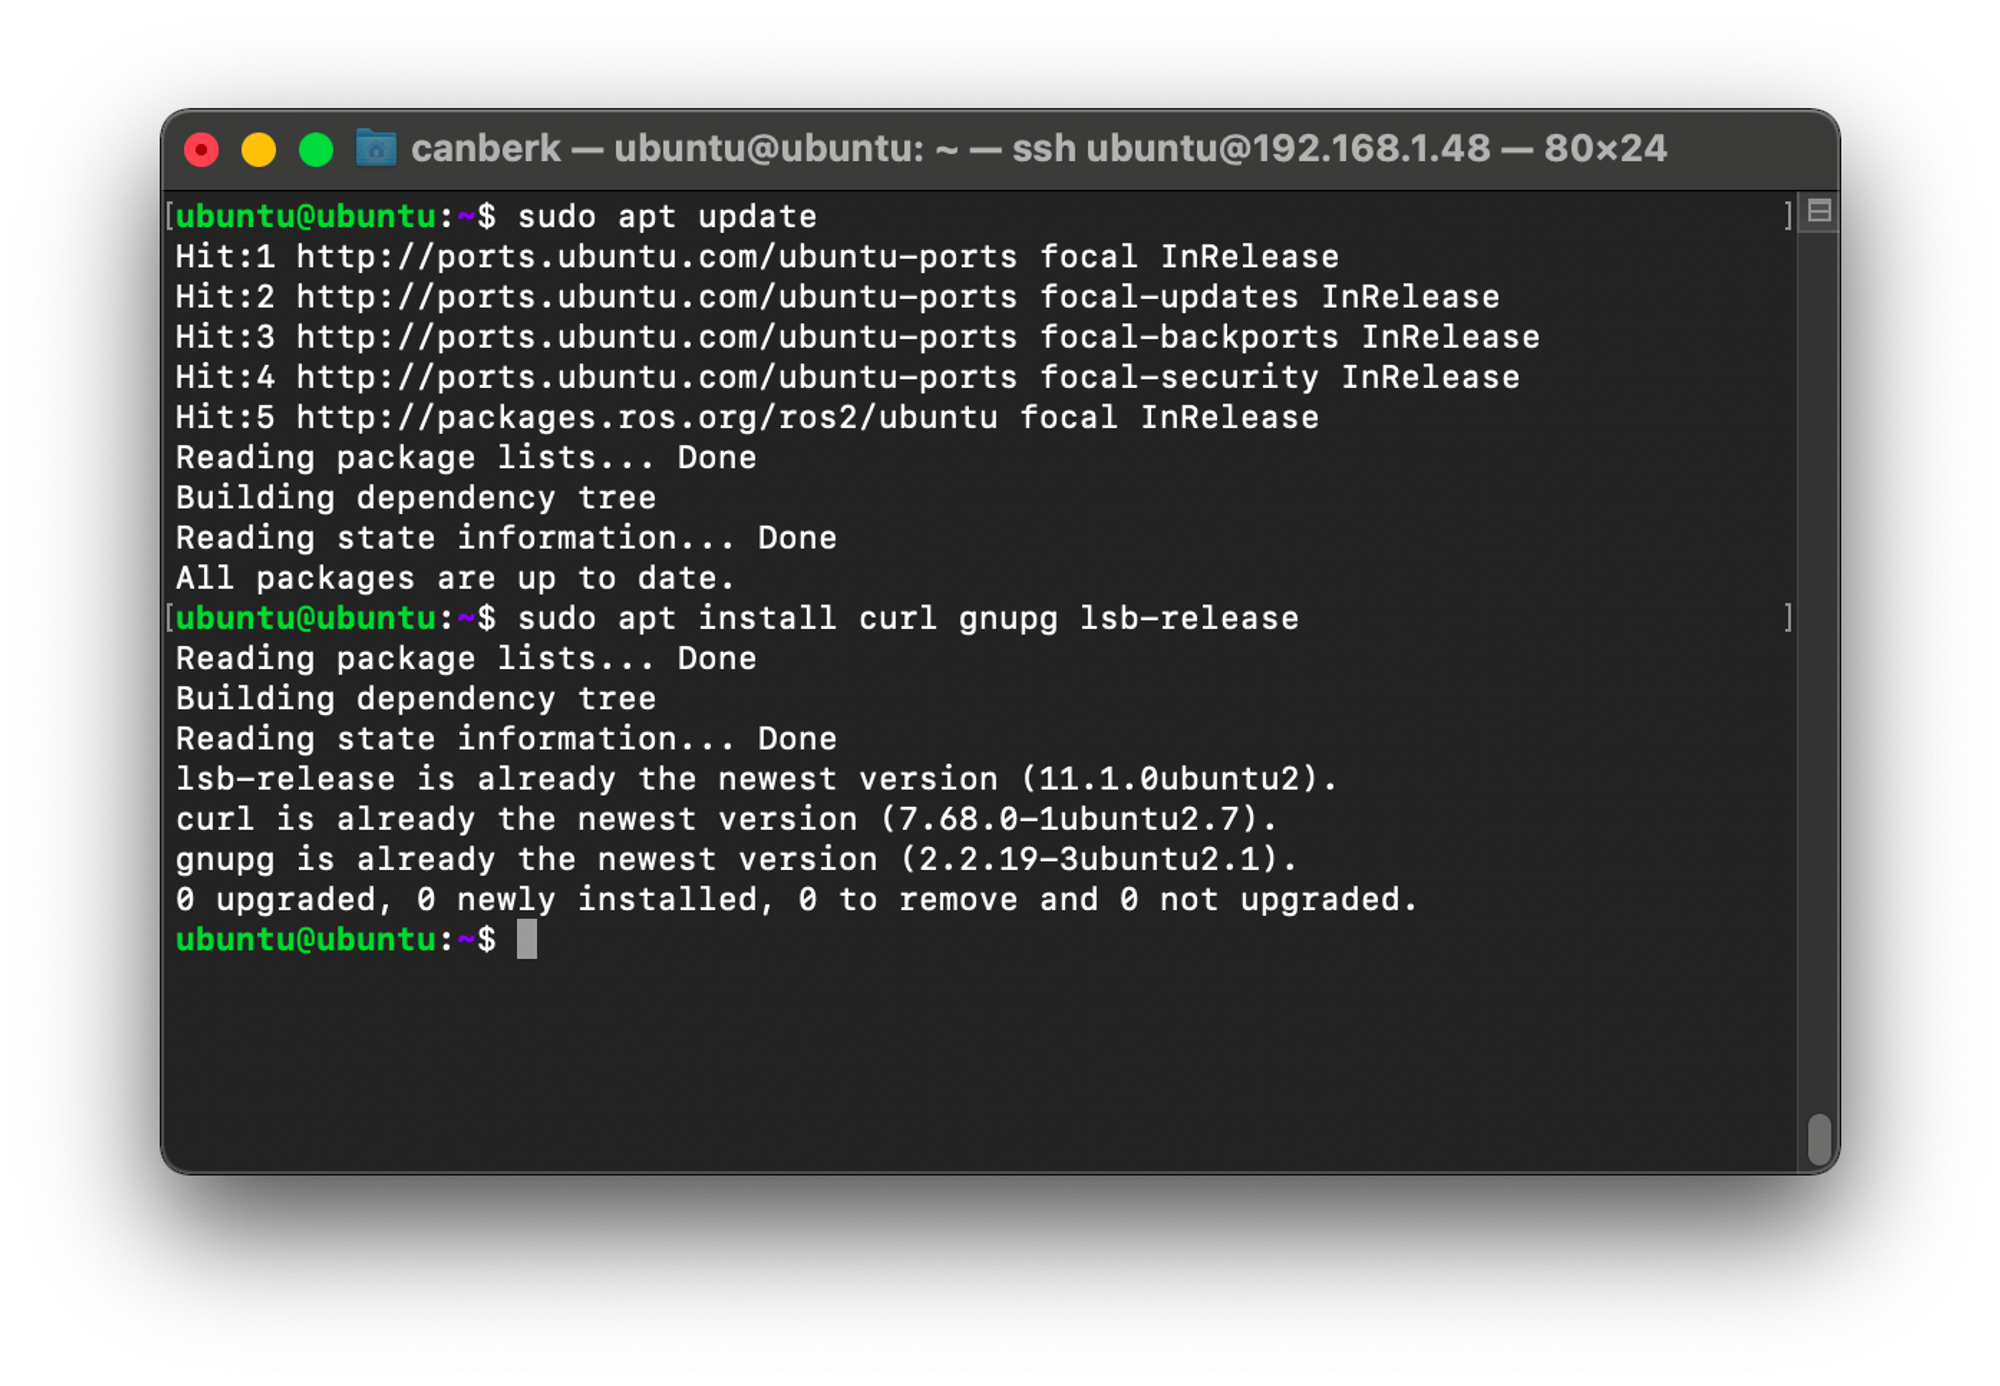
3. Add ROS repository to the sources list
We need to add the ROS key and the ROS repository source to our system to be able to reach ROS packages with the apt package manager.
sudo curl -sSL https://raw.githubusercontent.com/ros/rosdistro/master/ros.key  -o /usr/share/keyrings/ros-archive-keyring.gpg

echo "deb [arch=$(dpkg --print-architecture) signed-by=/usr/share/keyrings/ros-archive-keyring.gpg] http://packages.ros.org/ros2/ubuntu $(source /etc/os-release && echo $UBUNTU_CODENAME) main" | sudo tee /etc/apt/sources.list.d/ros2.list > /dev/null

sudo apt update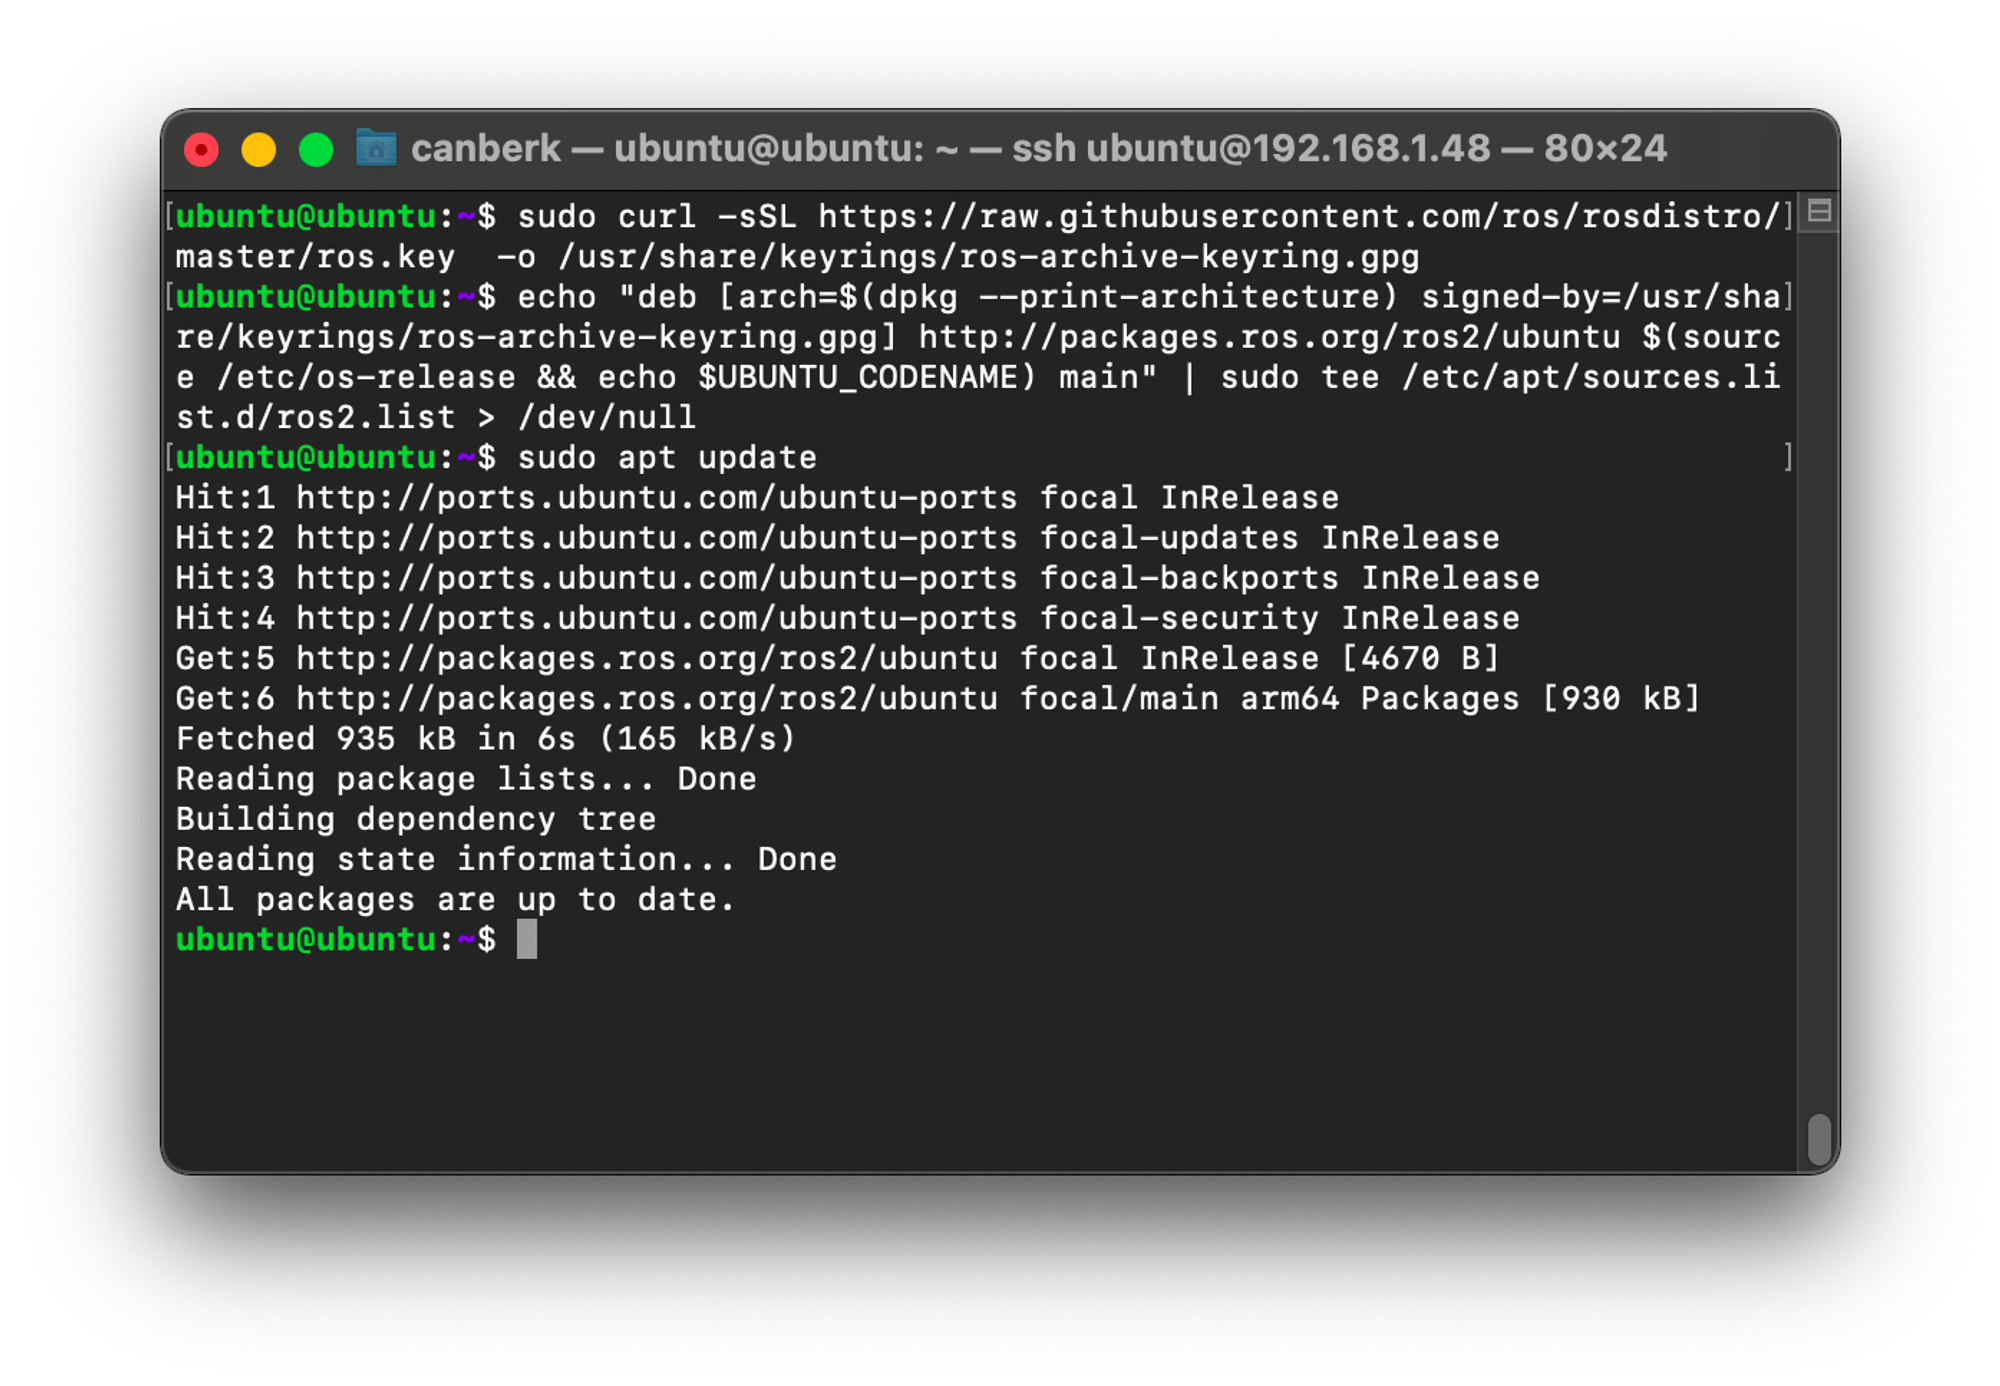
4. Install ROS2 Packages
We are going to install the “base” because we don’t want the GUI tools. This version includes only communication libraries, message packages, and command-line tools. This step is going to take a while depending on the internet speed and the Micro SD card performance.
sudo apt install ros-galactic-ros-base -y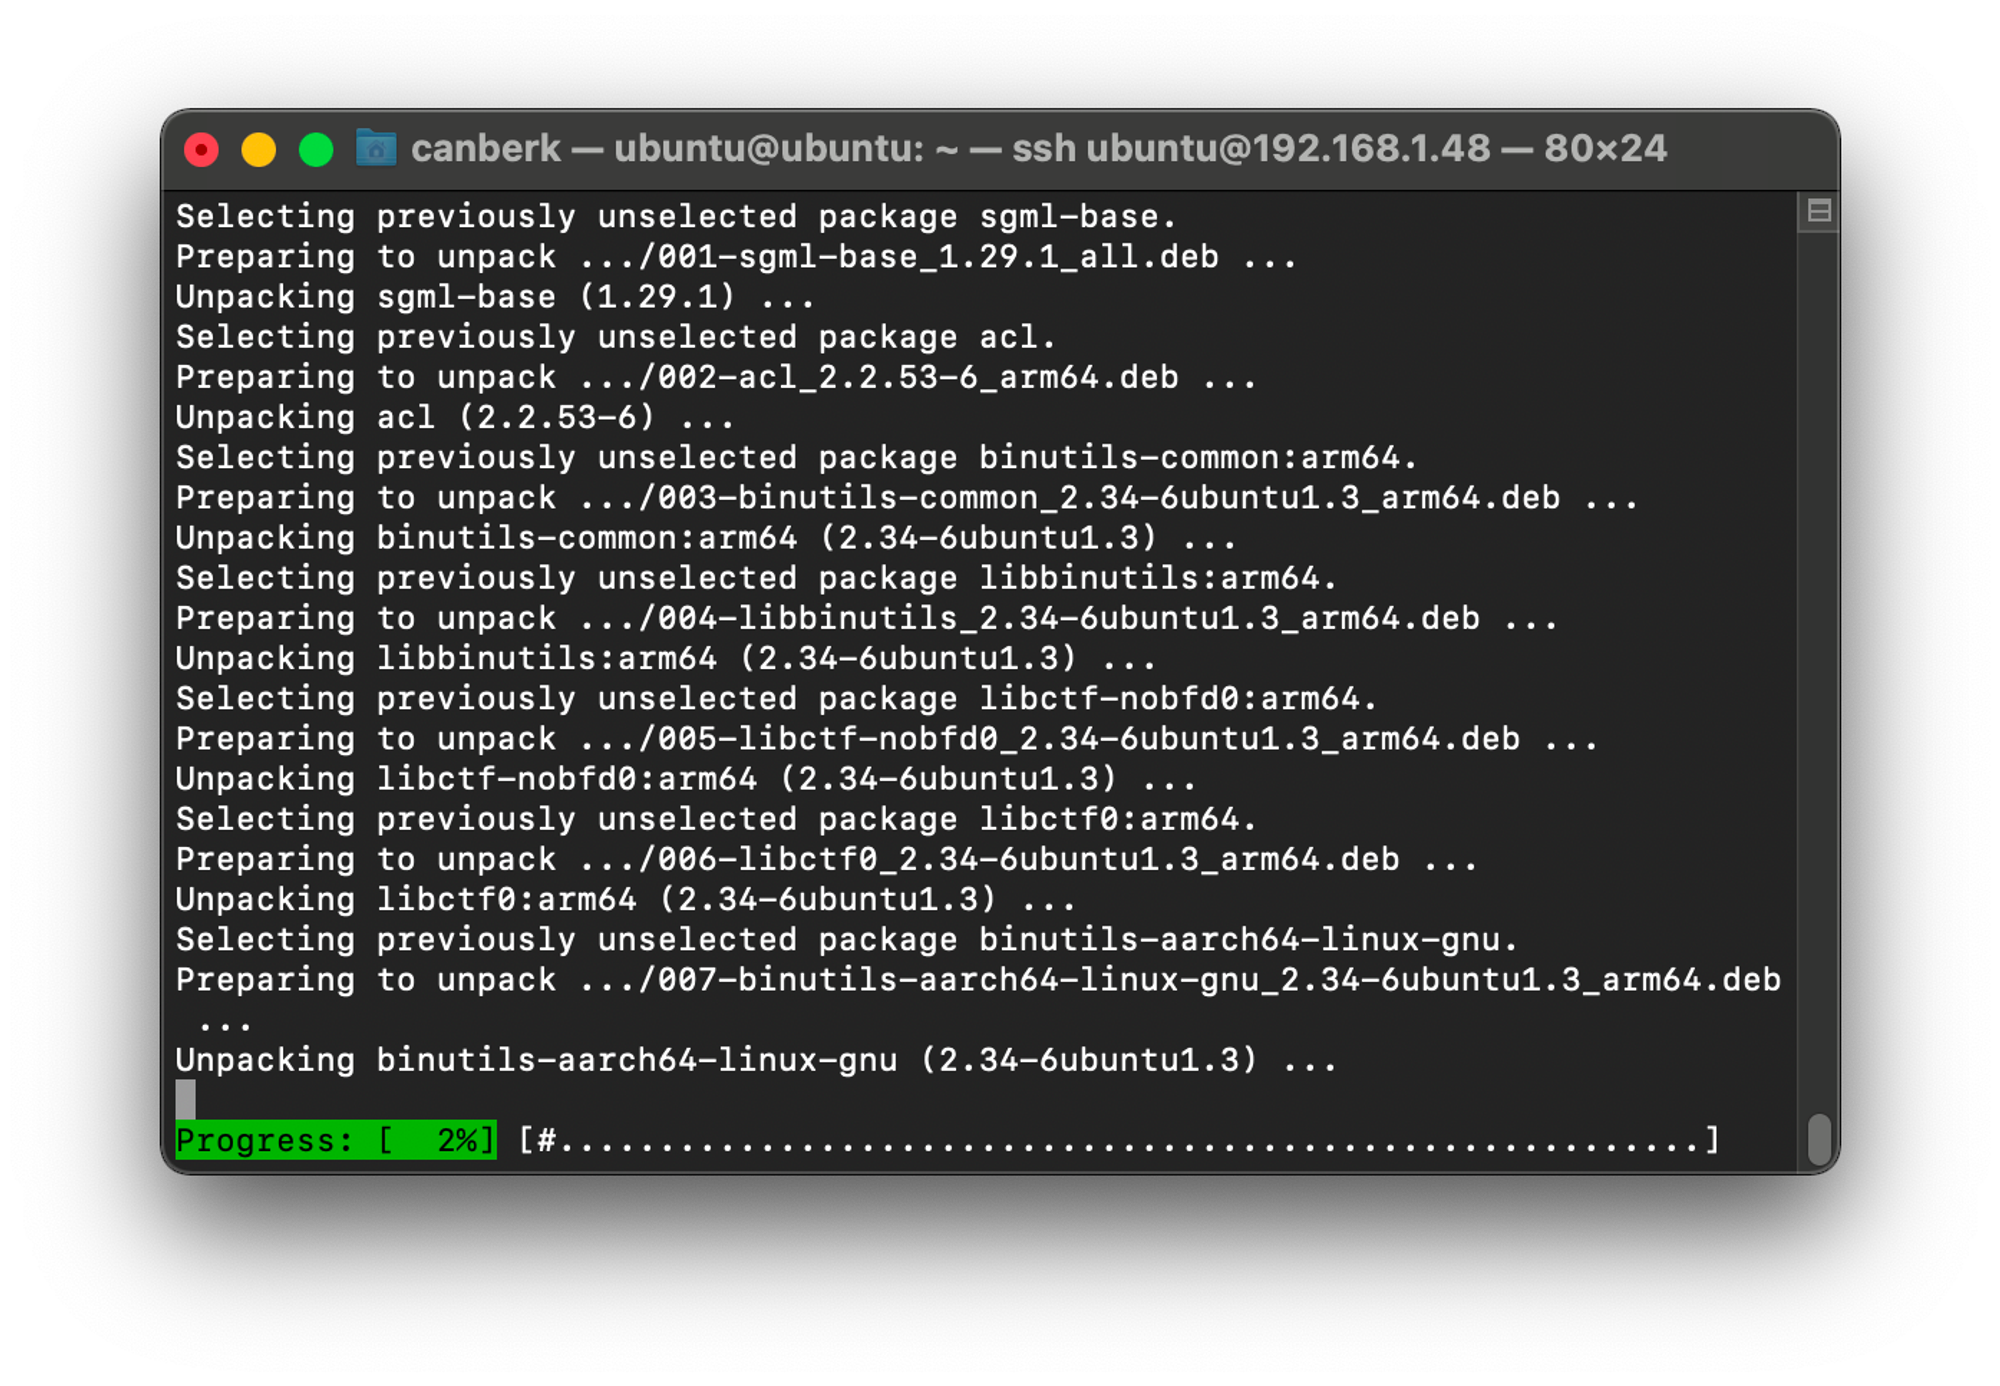
5. Set up the environment automatically at the beginning of every session
In order to be able to use ROS command line tools, we need to source the setup script of that ROS installation before. So the easiest solution for this is to add the source command to the .bashrc, it will get ready at the beginning of every session.
echo "source /opt/ros/galactic/setup.bash" >>~/.bashrc
exec "$SHELL"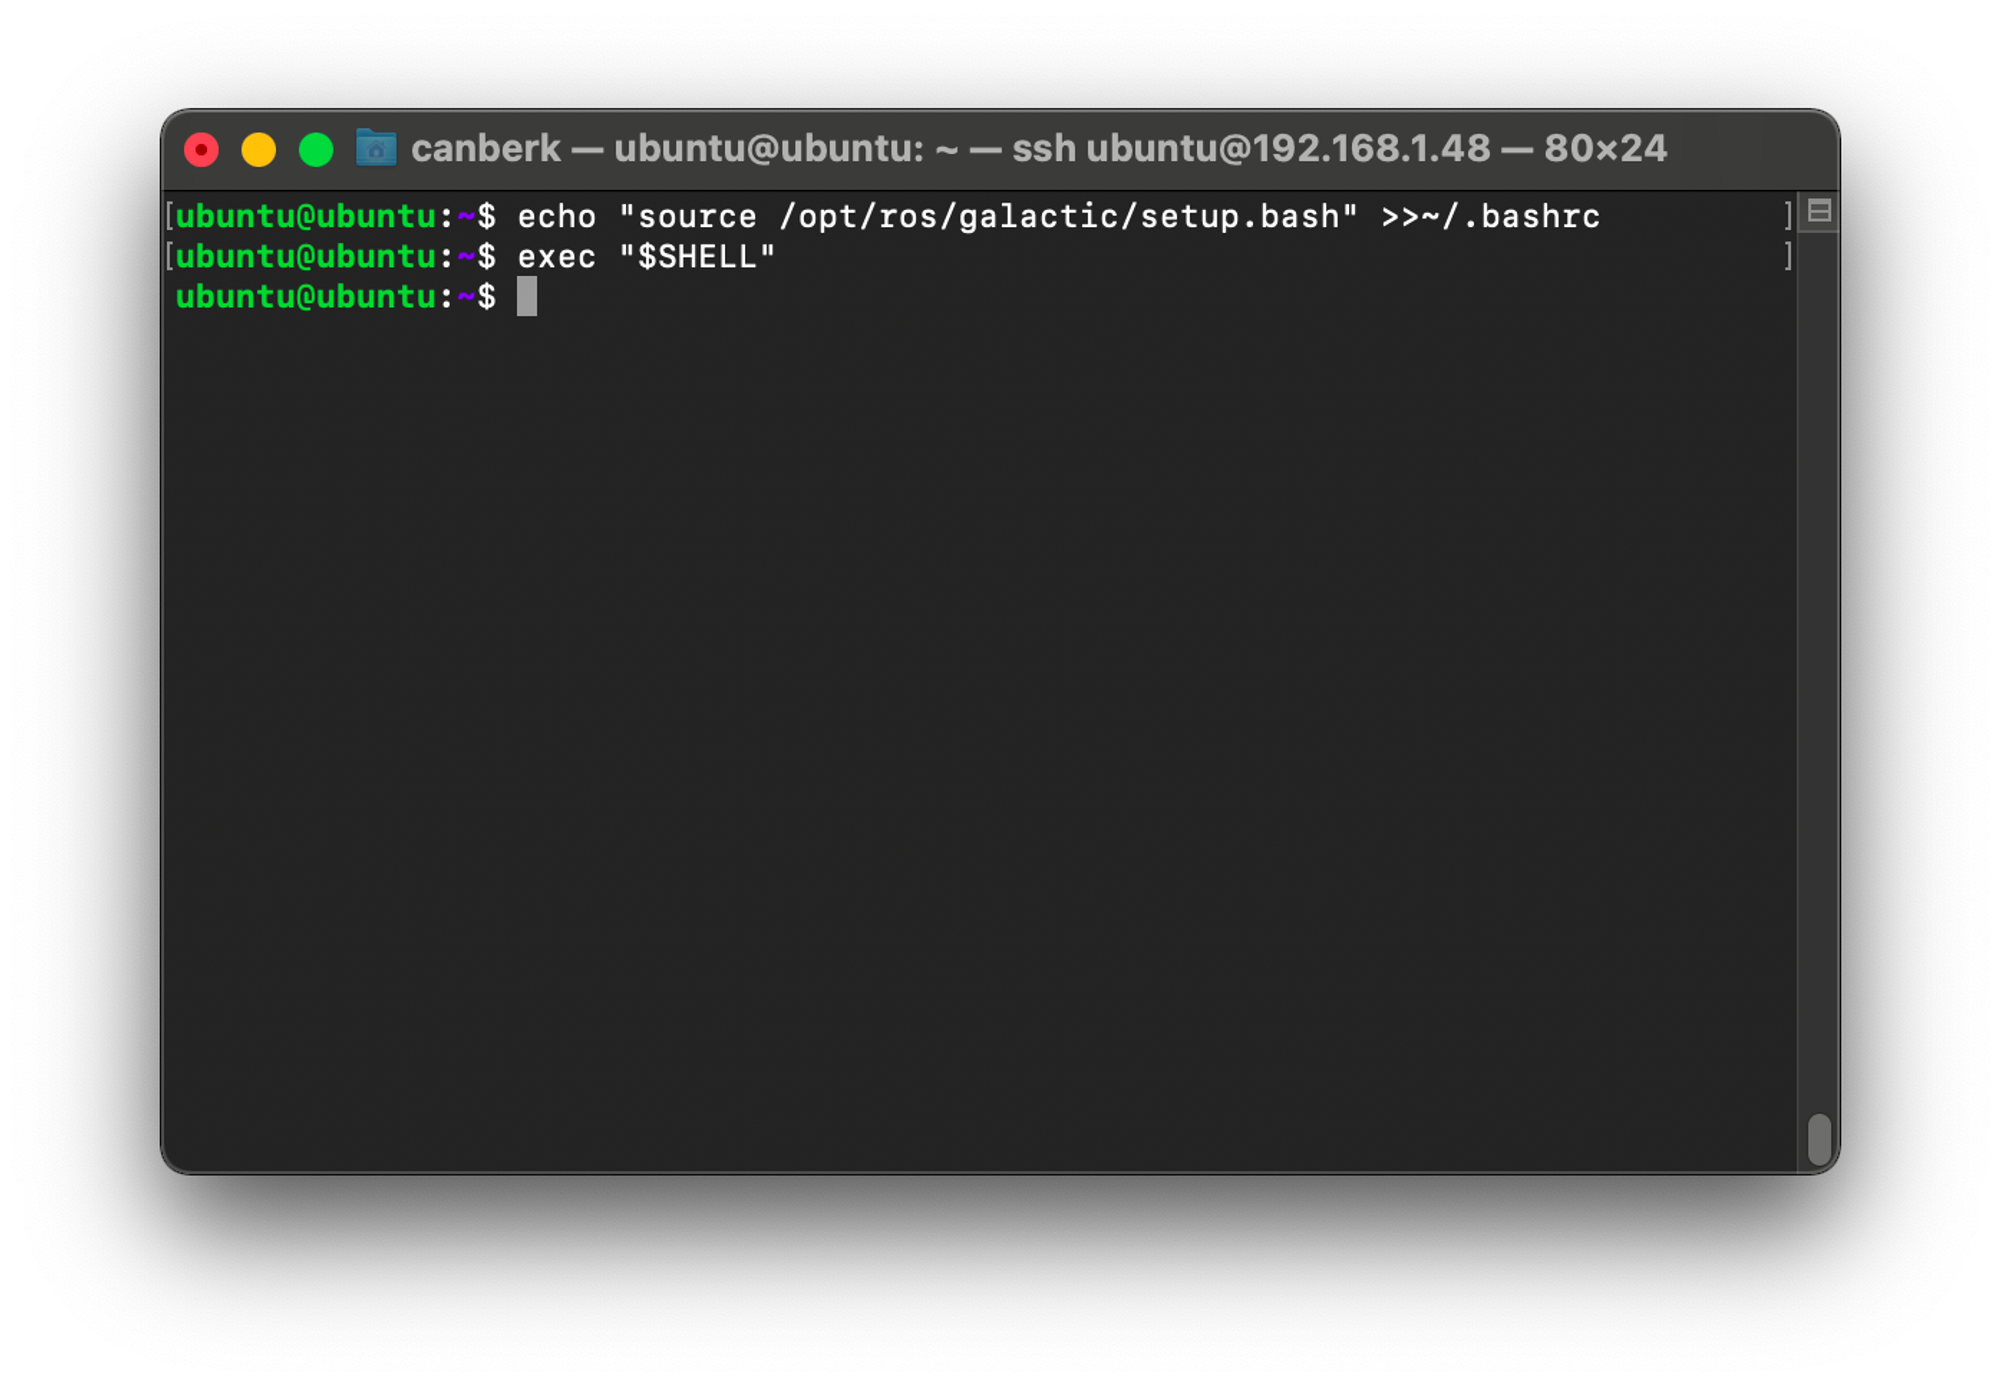
6. Test your installation
In order to test our installation, we need to install demo nodes to make them talk to each other, so we can be sure that our installation is complete. These packages are installed in the “desktop” package of ROS 2 but are not included in the ”base” package, so we need to install them with the following commands.
sudo apt install ros-galactic-demo-nodes-cpp
sudo apt install ros-galactic-demo-nodes-py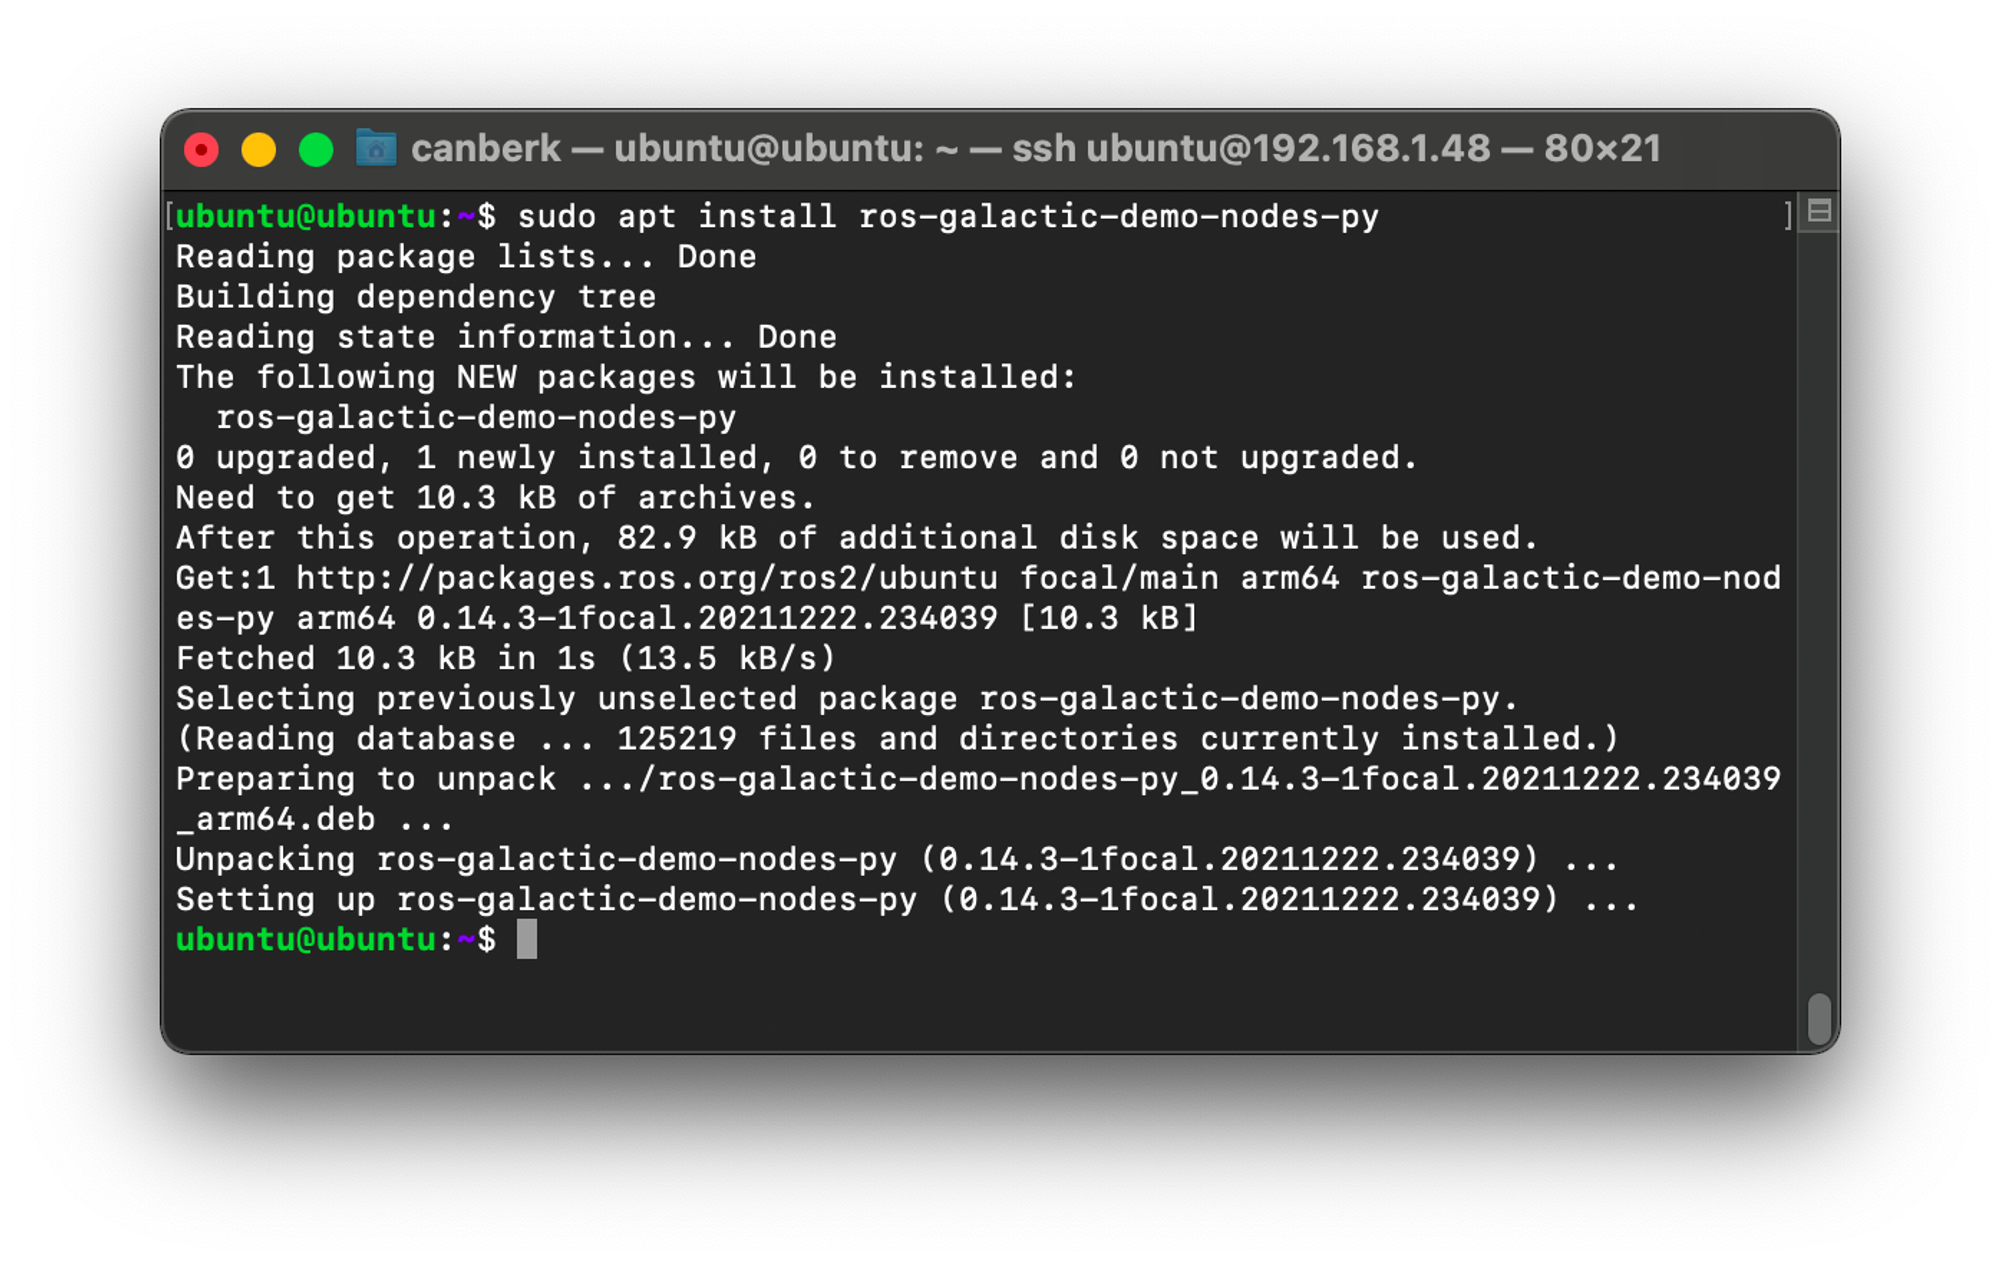
After the installations, we need to open another terminal and SSH to our Raspberry Pi again -so we will have two terminal sessions connected to the Raspberry Pi with SSH. On one of them, run the following command:
ros2 run demo_nodes_py listenerAnd on the other terminal, run this command
ros2 run demo_nodes_cpp talker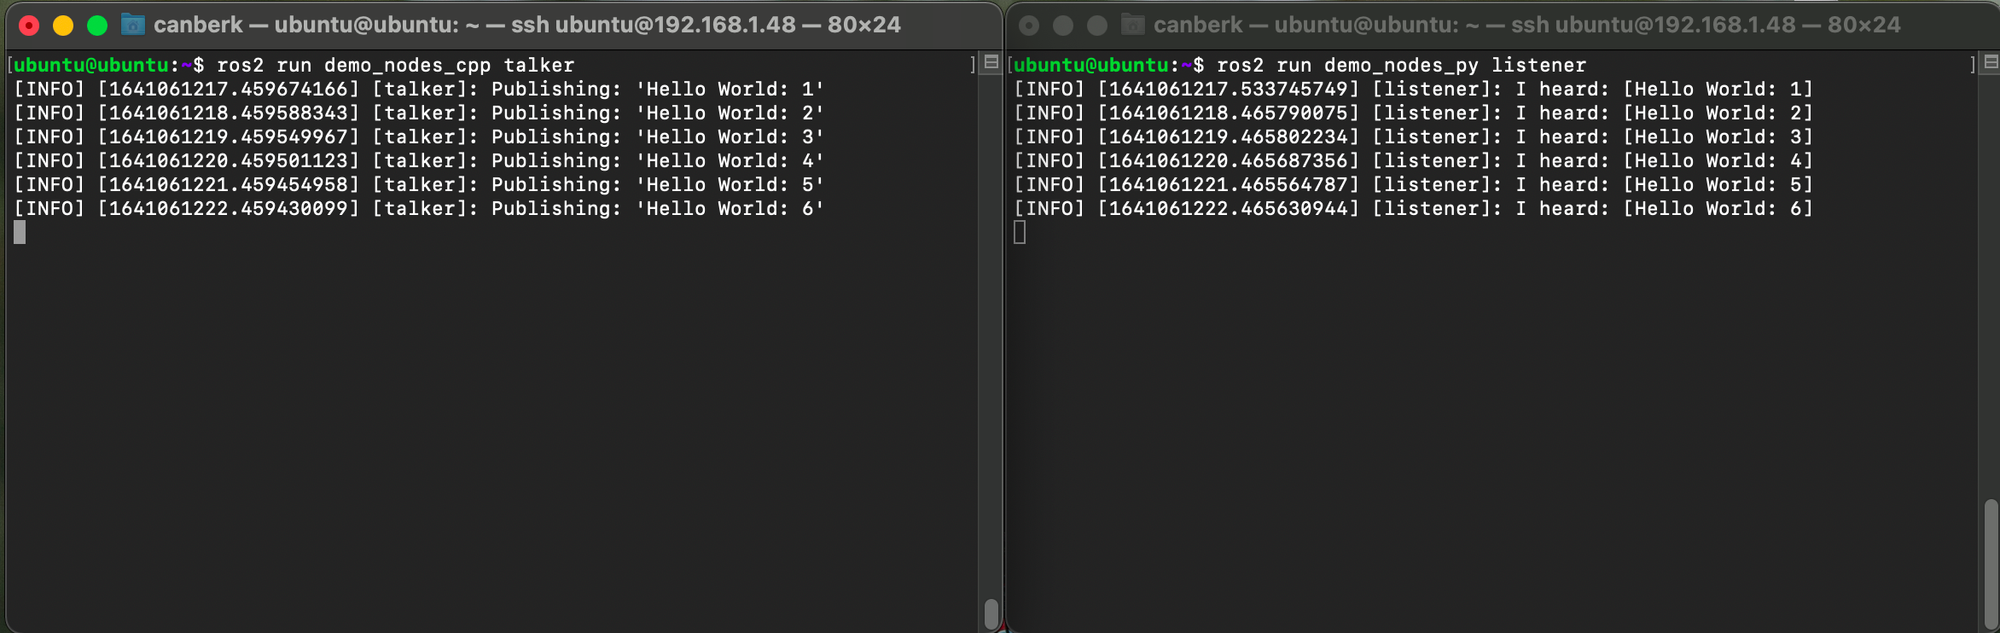
As soon as you start the talker node, the listener and talker nodes should be able to communicate with each other. One of these nodes is written with C++ and the other one is written with Python so we can confirm that the nodes are written with both of the languages supported by our installation.
7. What is next?
To be able to run ROS nodes on different computers we need to install ROS on all of them. Also, to be able to use your development computer to run some nodes which can control or monitor your Raspberry Pi nodes, you need to install ROS on your development computer too. You can follow the guides that I have shared below:
- ROS Installation on Debian Linux (Ubuntu): https://docs.ros.org/en/galactic/Installation/Ubuntu-Install-Debians.html
- ROS Installation on Mac: https://docs.ros.org/en/galactic/Installation/macOS-Development-Setup.html
- ROS Installation on Windows: https://docs.ros.org/en/galactic/Installation/Windows-Install-Binary.html
I strongly recommend using Ubuntu on your development computer for compatibility and wide community support and please don’t forget to install the “desktop” version, not the “base” version.
Have fun!