Time-Lapse with Raspberry Pi
Taking time-lapse videos with Raspberry Pi is not a new idea but it is a great opportunity to get to know your Raspberry Pi better as a beginner.
Before following the instructions below, be sure that you have completed the Raspberry Pi OS installation and Python OpenCV installation steps.
If everything is ready, let’s get started;
1. Clone the time-lapse project from GitHub
After connecting to the Raspberry Pi with ssh, we need to clone the time-lapse project to the Raspberry Pi local file system from GitHub.
git clone https://github.com/canberkdurmus/time-lapse.git
cd time-lapse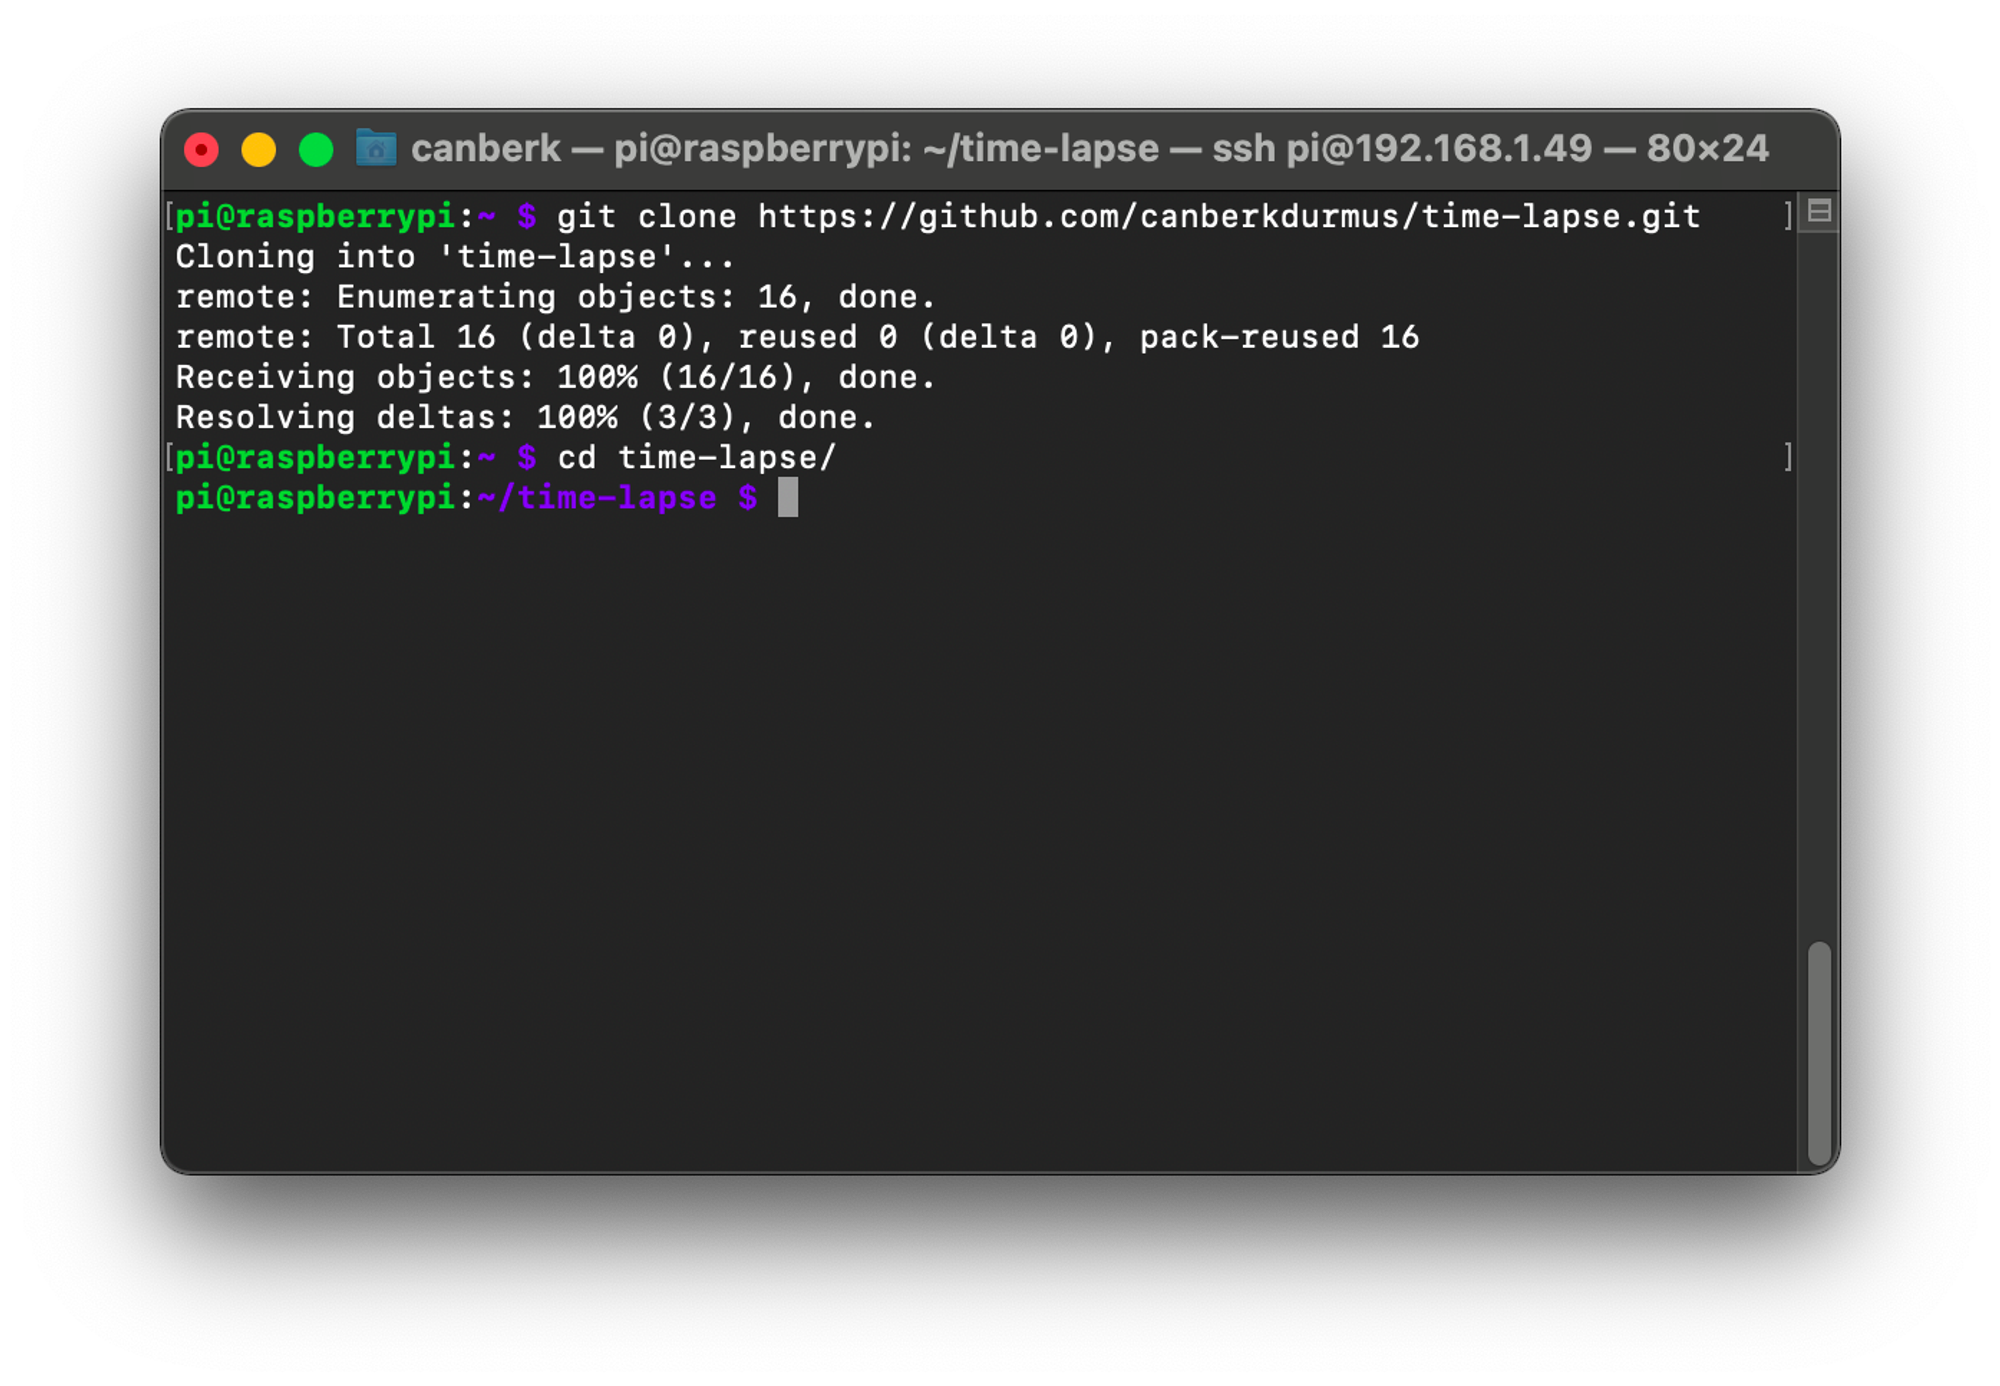
2. Customize parameters
Before running the project we can customize the parameters of our time-lapse video. We can use nano to edit the main.py file.
nano main.py
Parameters:
- The first parameter is the capture period in seconds. If it is set to 1, the program will be capturing a new photo every 1 second.
max_frames: Maximum number of frames that are going to be captured. If the period is set to 1 second and max_frames is 240; the Pi is going to capture photos for 4 minutes.resolution: Resolution of the captured images and the final video.fps: FPS of the final video. If the period is 1 second andmax_framesis 240, the program will be using 24 frames to create one second of the video so we will have a video of 10 seconds in length.data_folder: The name of the folder in which the images are going to be saved and read.
You can exit from nano after editing the main.py by pressing Ctrl+X (Control+X for Mac) and pressing Y when nano asks if you want to save the changes.
3. Run the program
You can run the program with
python3 main.py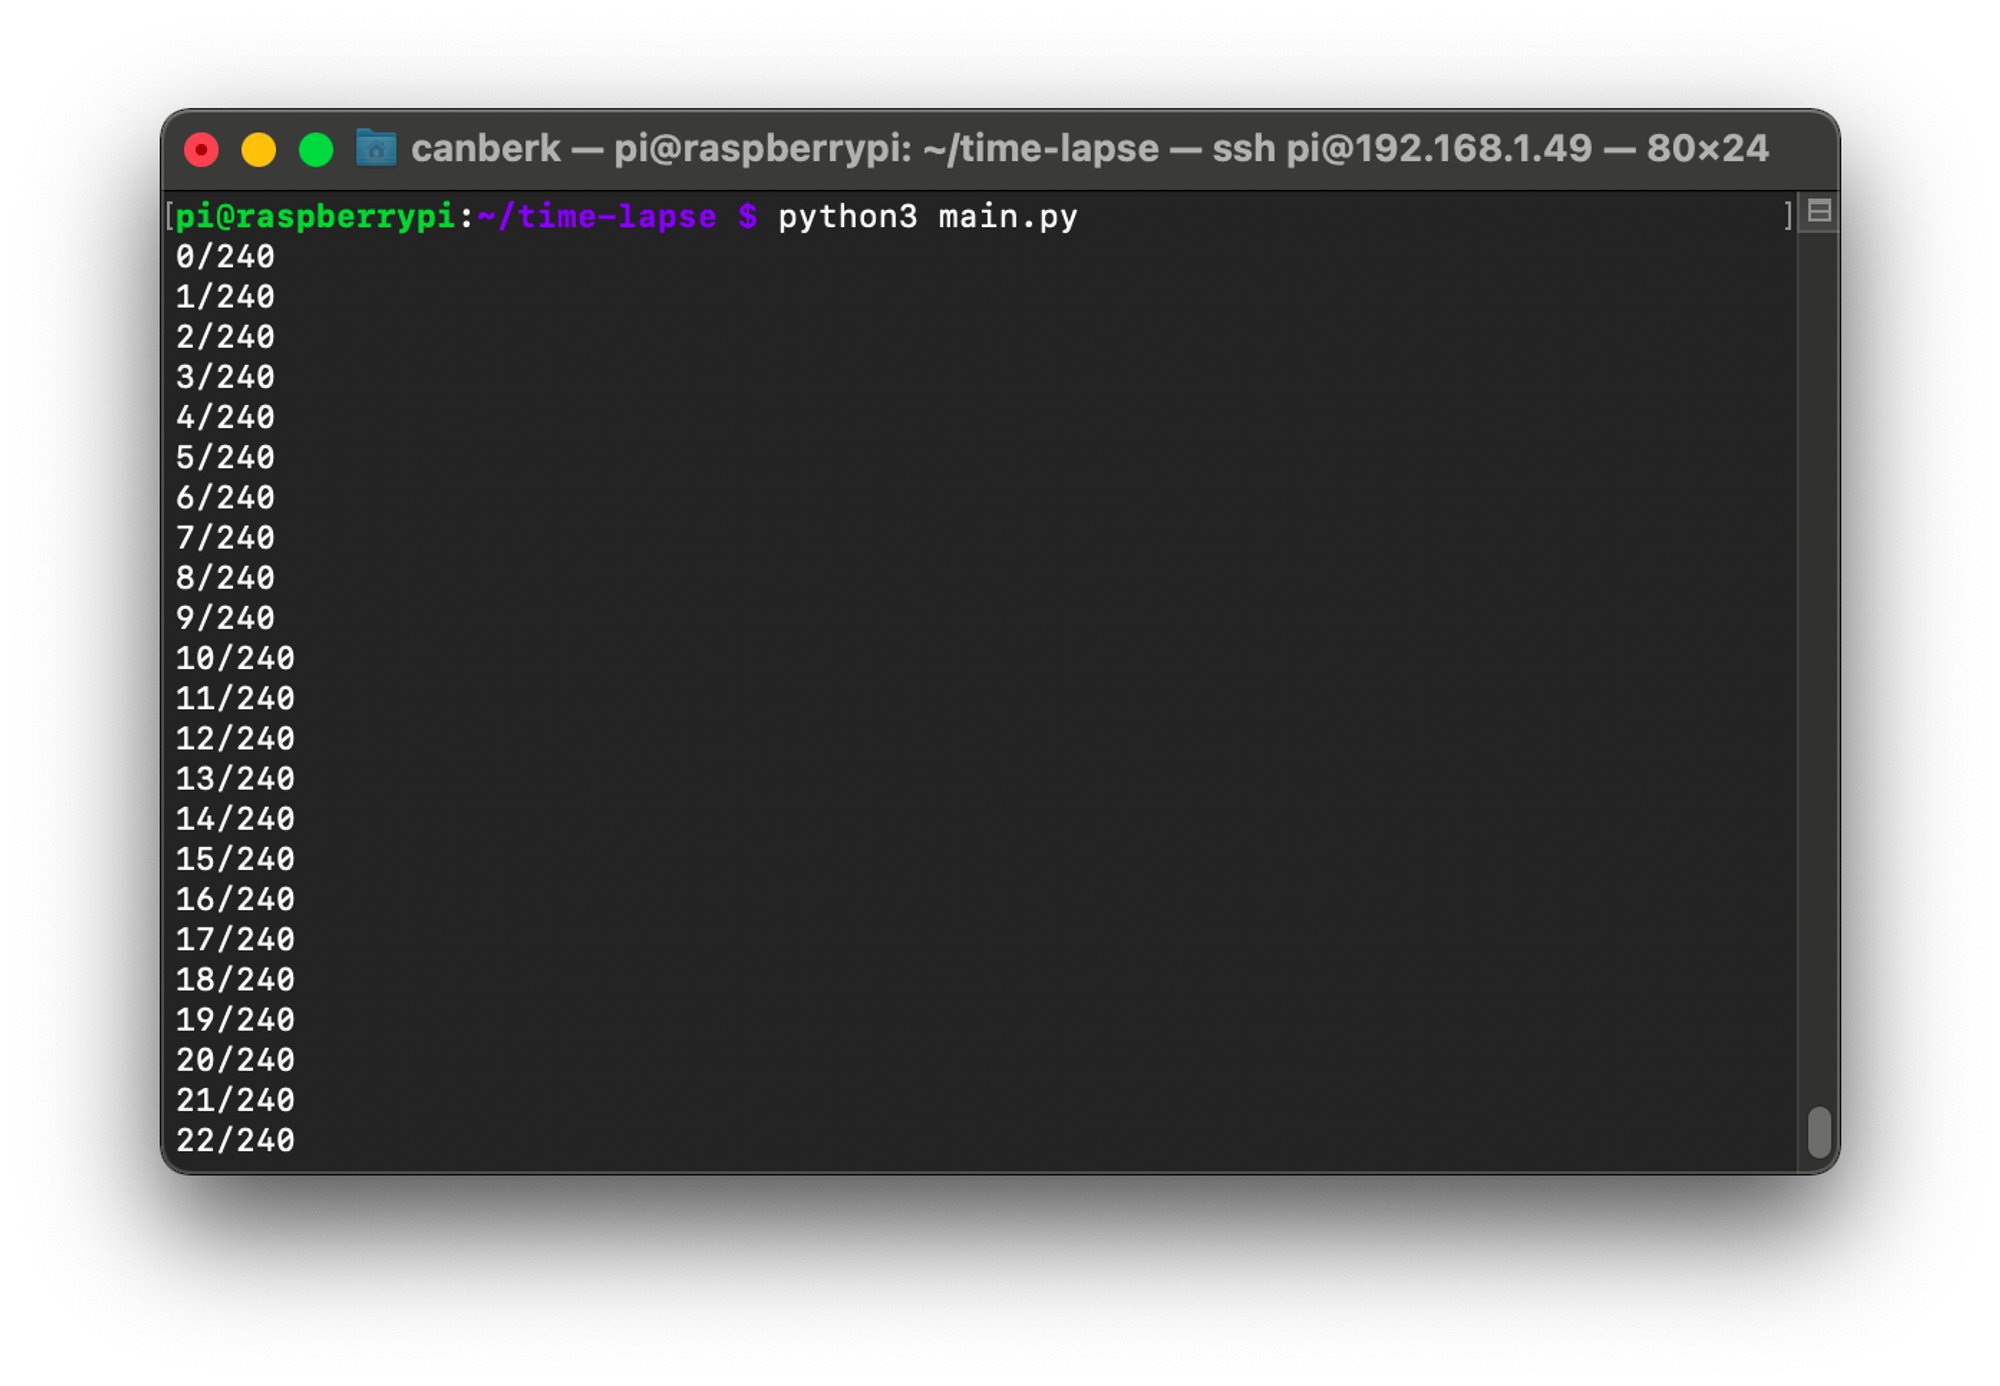
It will start capturing and saving images to the data folder. In the end, it will be exporting a video to the video folder.
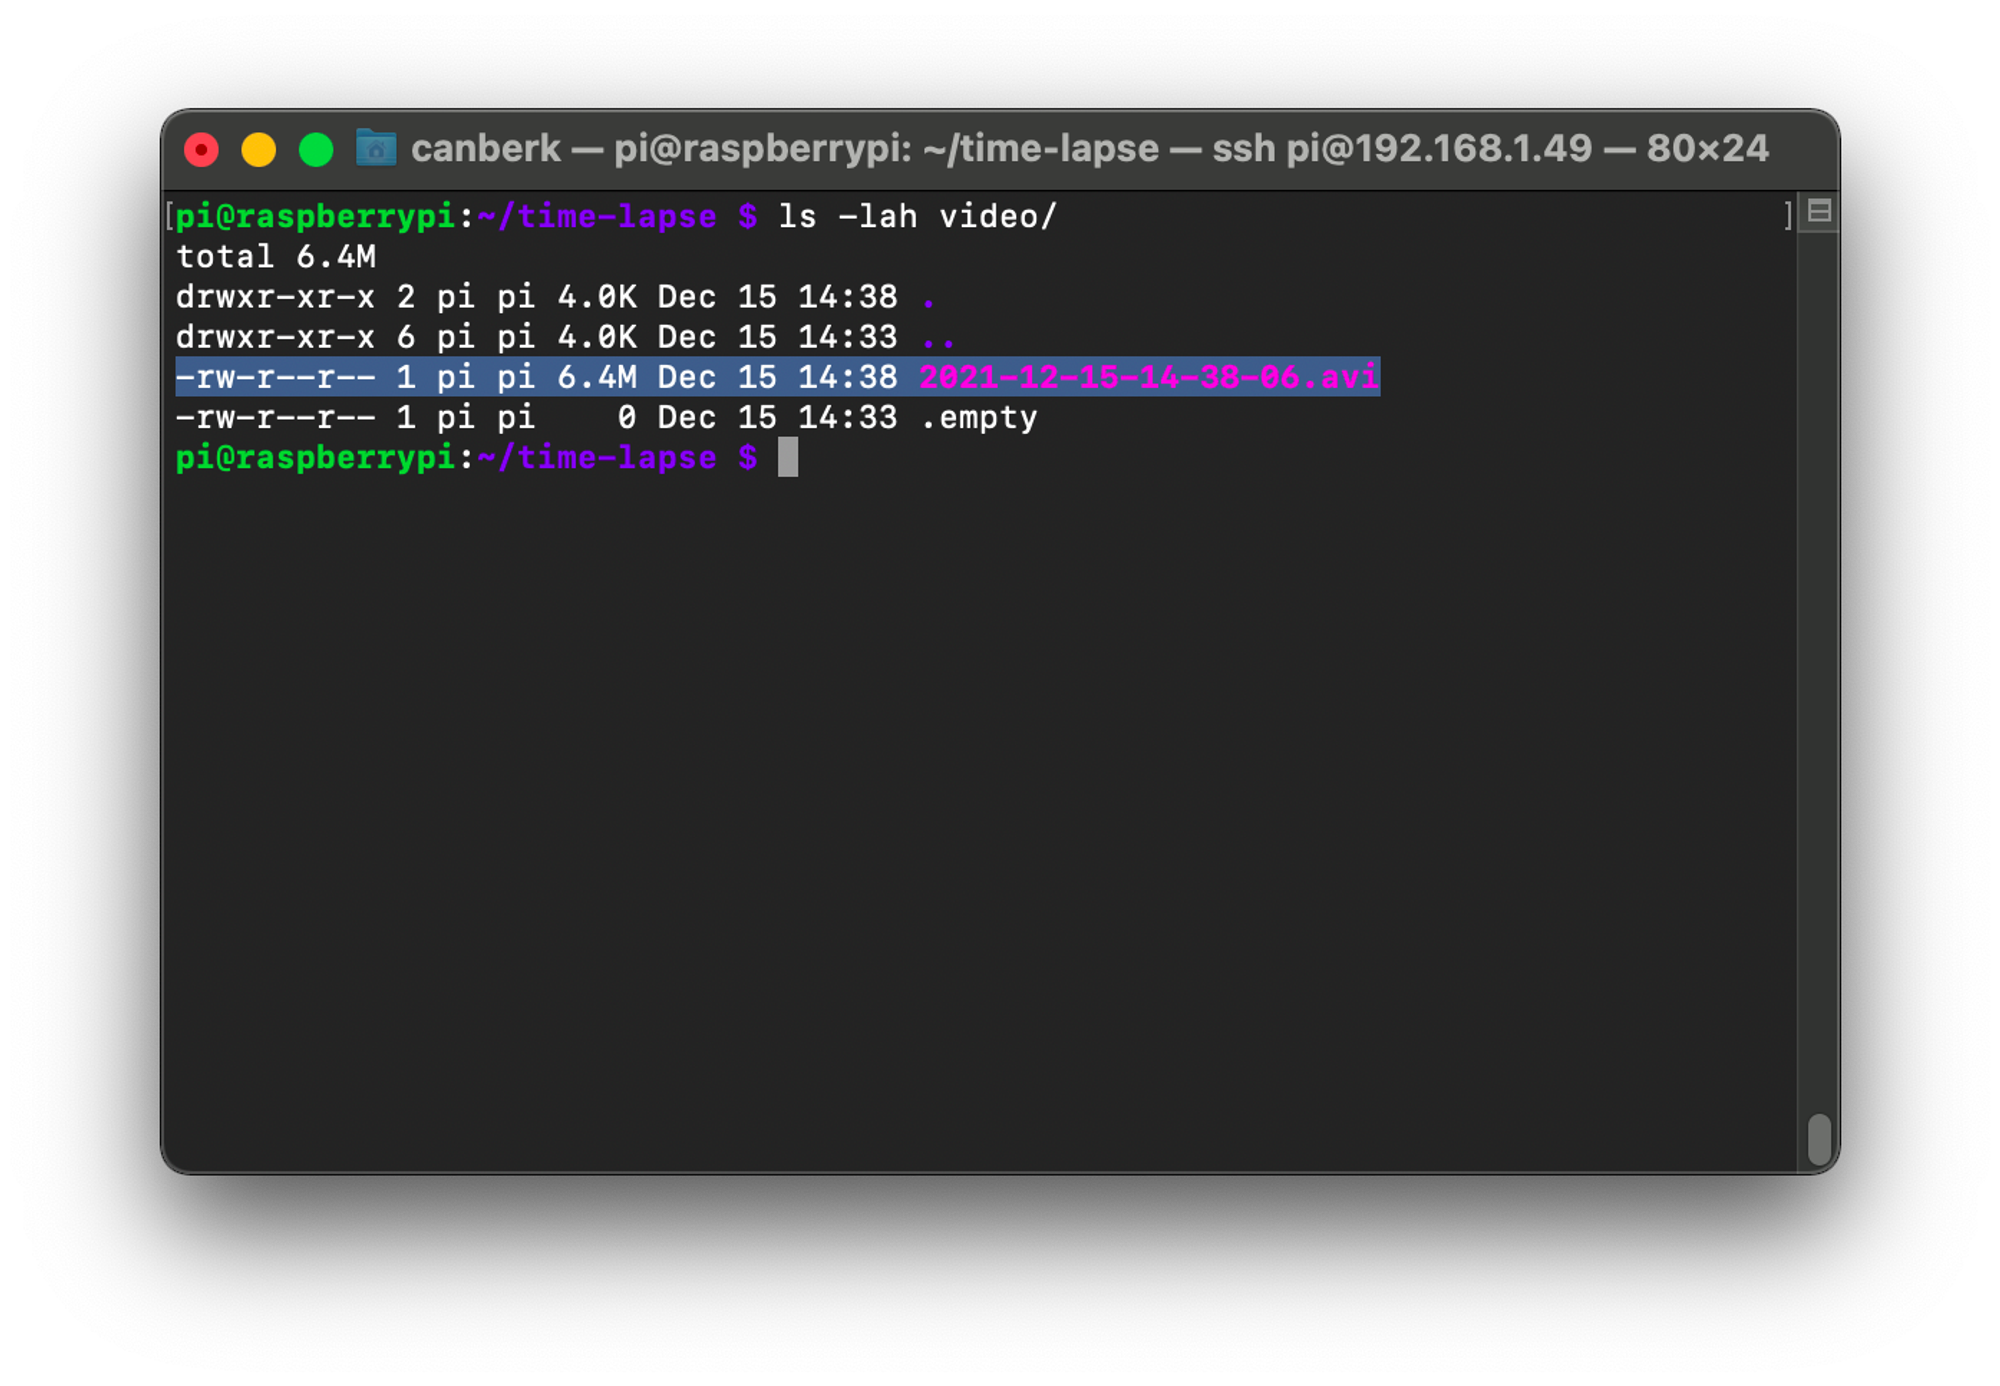
4. Copy the video from Raspberry Pi to your computer
You can copy the video from the Raspberry Pi to your computer with ssh. You should run the line below on your local terminal, not on the Raspberry Pi terminal. Replace the IP address of the Raspberry Pi. Replace the path and the name of the video by checking it out on the terminal that you connected to the Raspberry Pi using ssh with ls and pwd
scp [email protected]:/home/pi/time-lapse/video/2021-12-15-14-38-06.avi .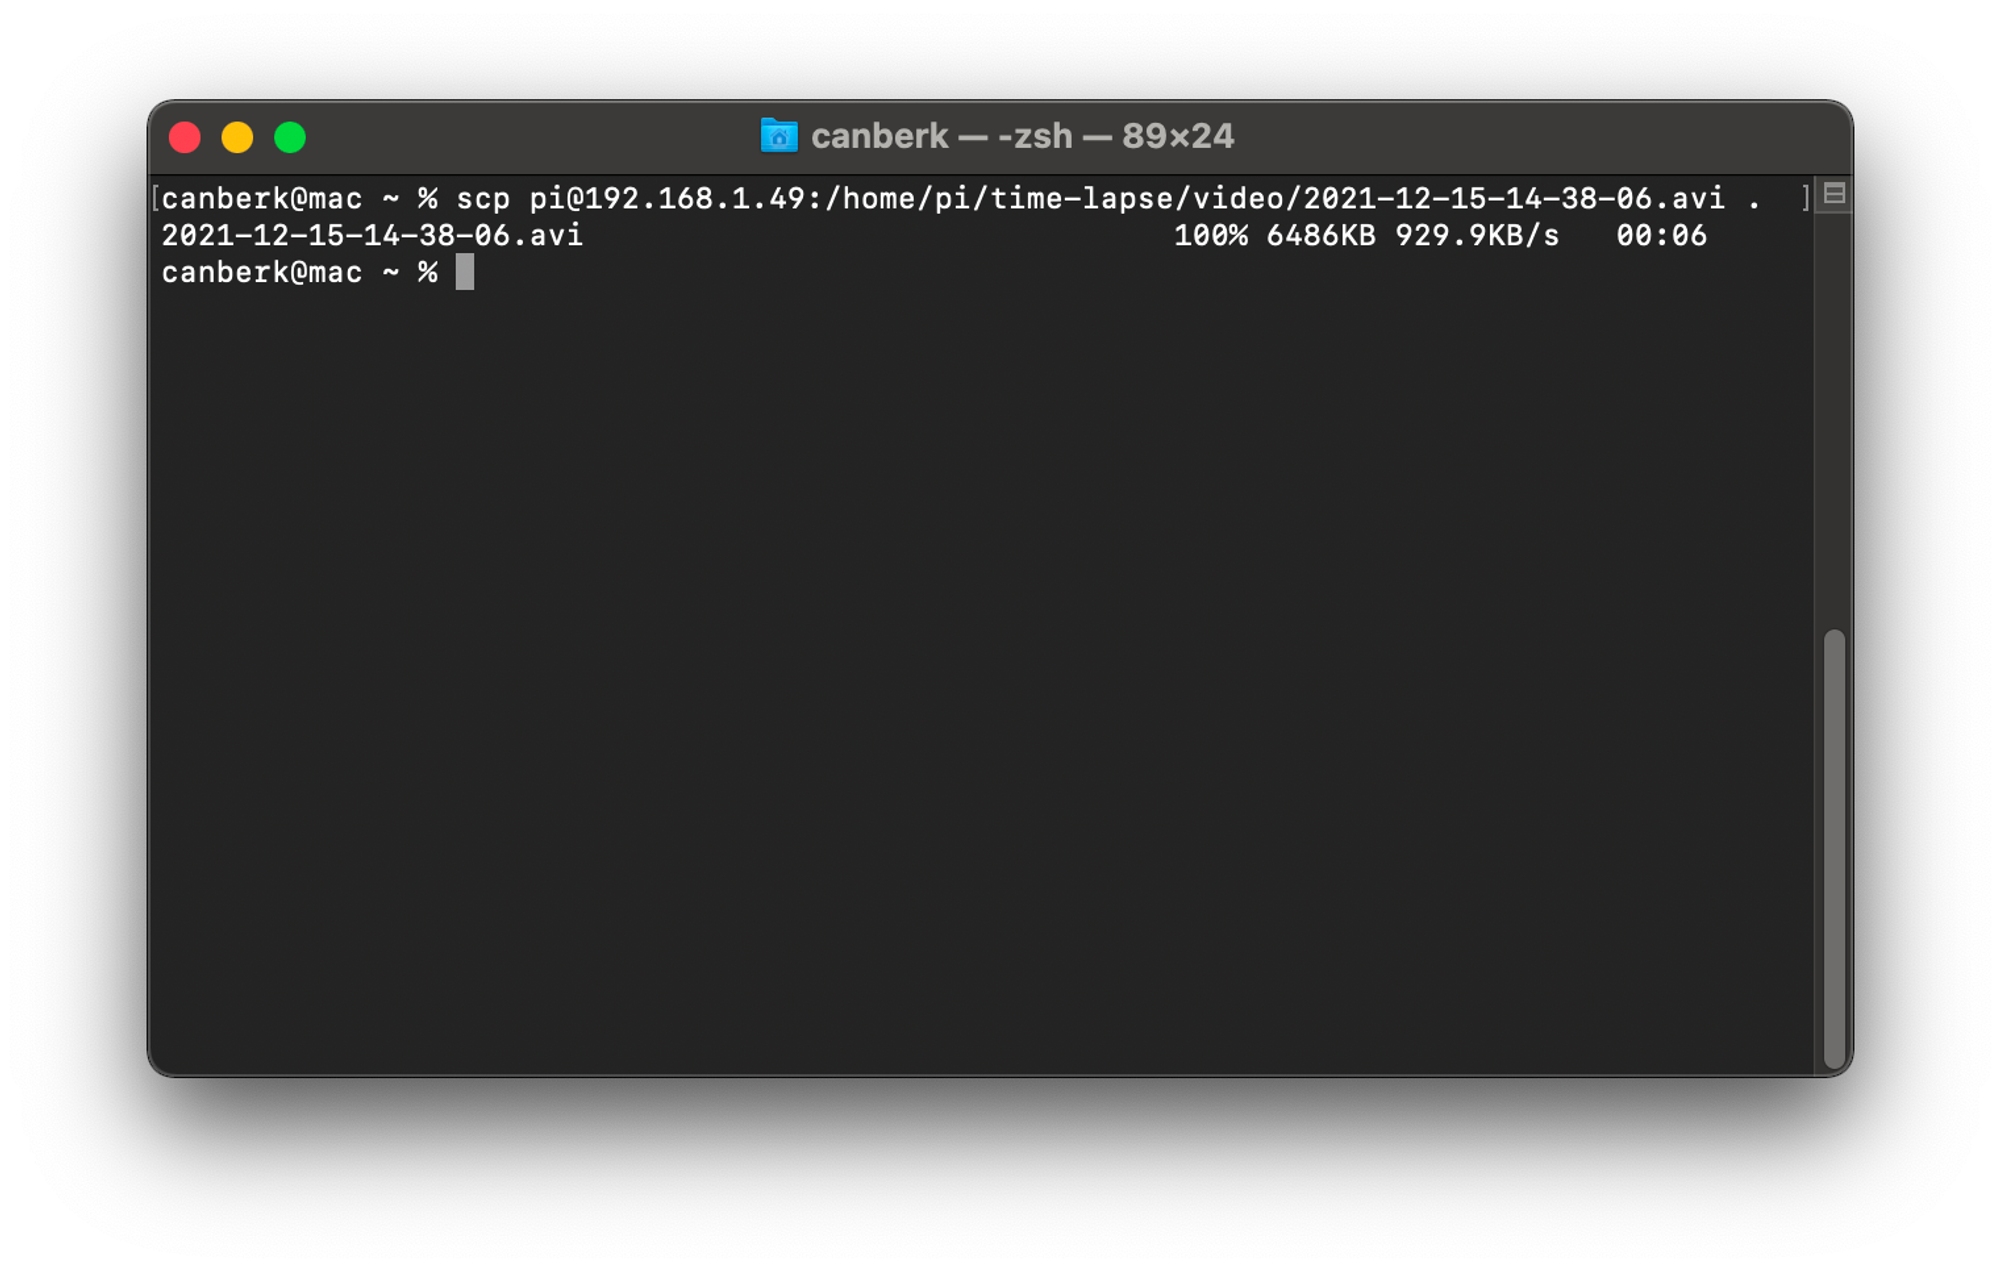
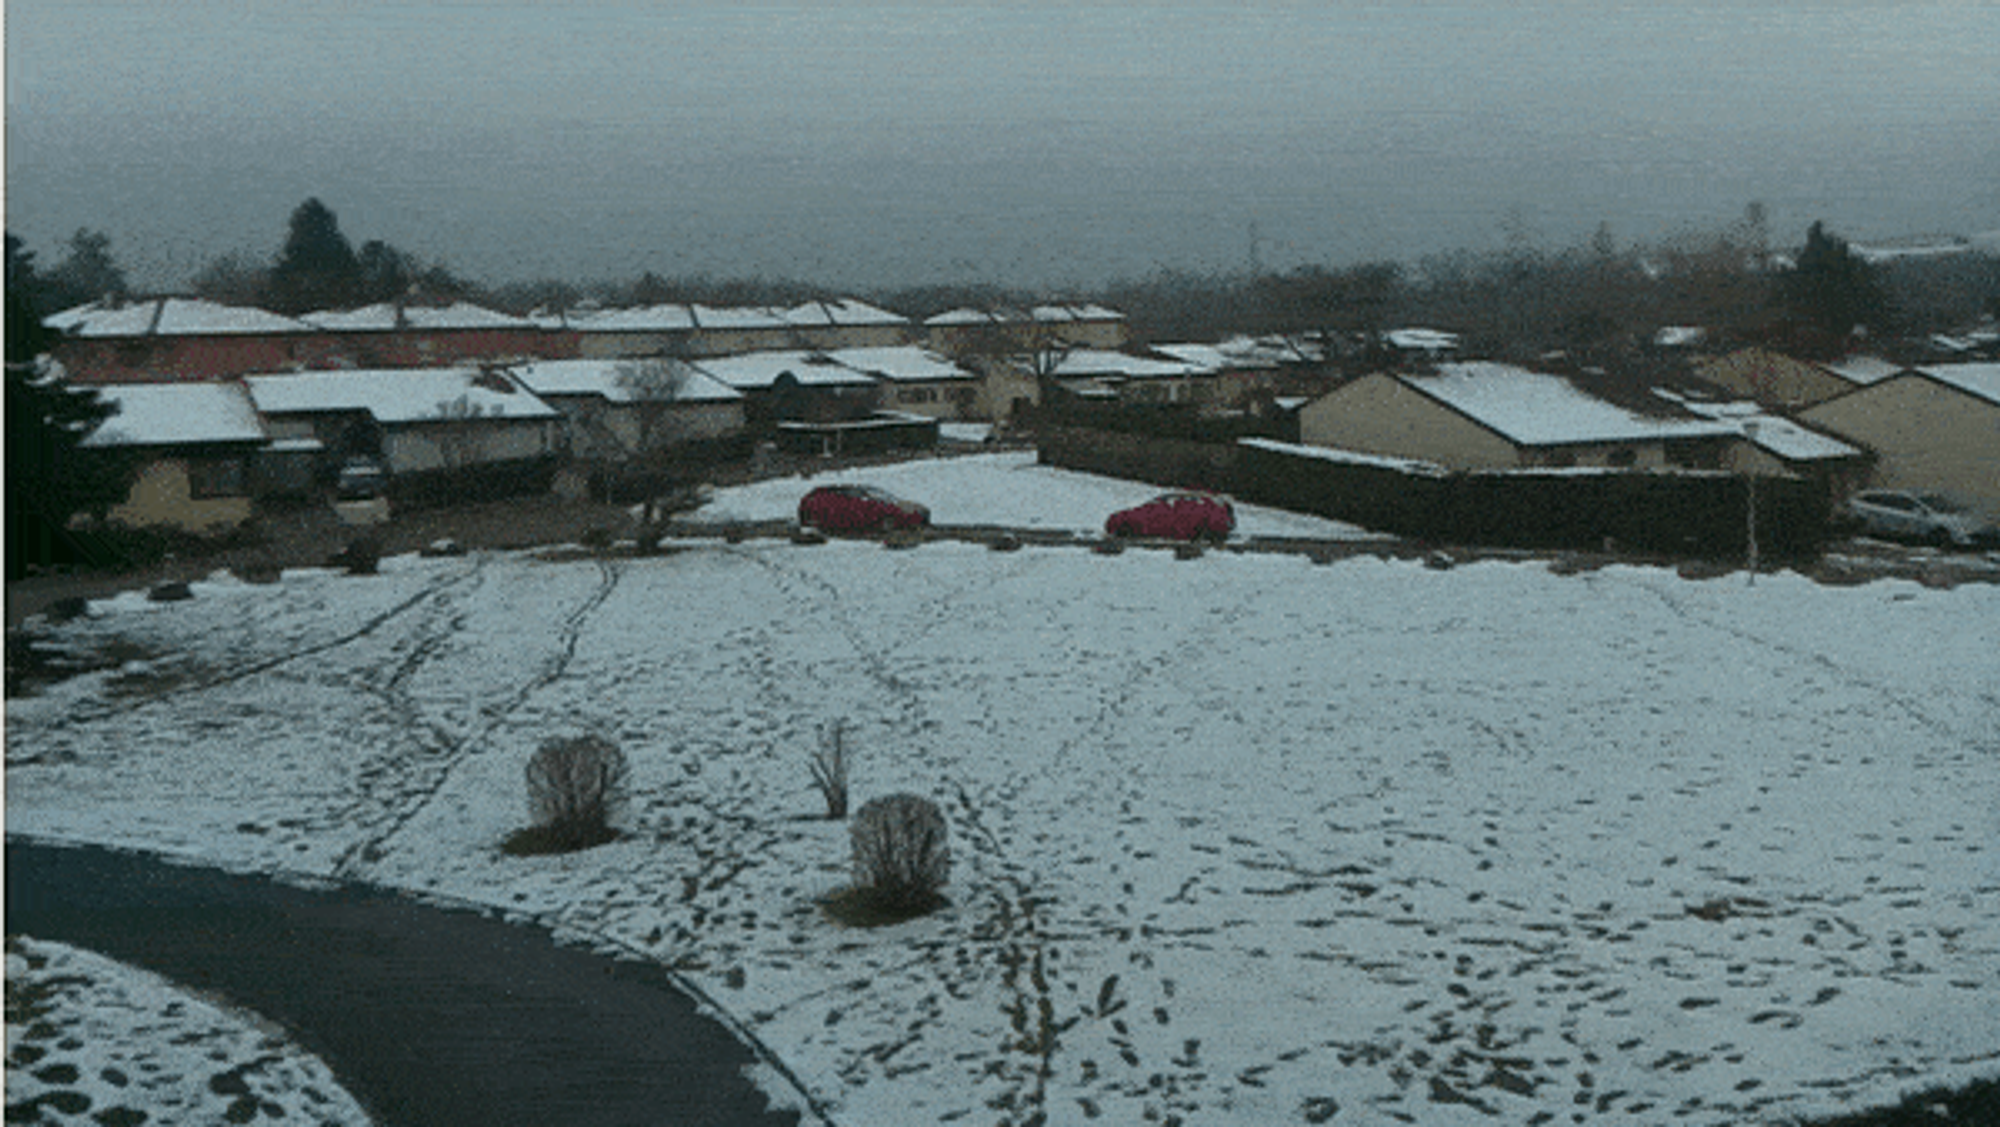
This is the result of my first test with two minutes, converted to a gif and heavily compressed. Yeah, the weather is not the best.