Install Apache Server on Raspberry Pi
1. What is Apache Server and Why Use it on Raspberry Pi?
According to the Apache website: “The Apache HTTP Server Project is an effort to develop and maintain an open-source HTTP server for modern operating systems including UNIX and Windows. The goal of this project is to provide a secure, efficient and extensible server that provides HTTP services in sync with the current HTTP standards.”
It can be used to serve websites over various systems. We are interested in using it on Raspberry Pi in this post.
If you haven’t installed OS on your Raspberry Pi, this post can be helpful for beginning: Headless Raspberry Pi Installation for Beginners
2. Update Apt Packages
Before running any installation commands we have to make sure that our system is up to date and ready for installation. If you just installed your OS or have not updated it for a while, it might take some time.
sudo apt update && sudo apt upgrade -y3. Install the Apache HTTP Server
The Apache Server can be installed on Raspberry Pi easily by using the apt package repository.
sudo apt install apache2 -y
4. Check the Status of the Apache Server
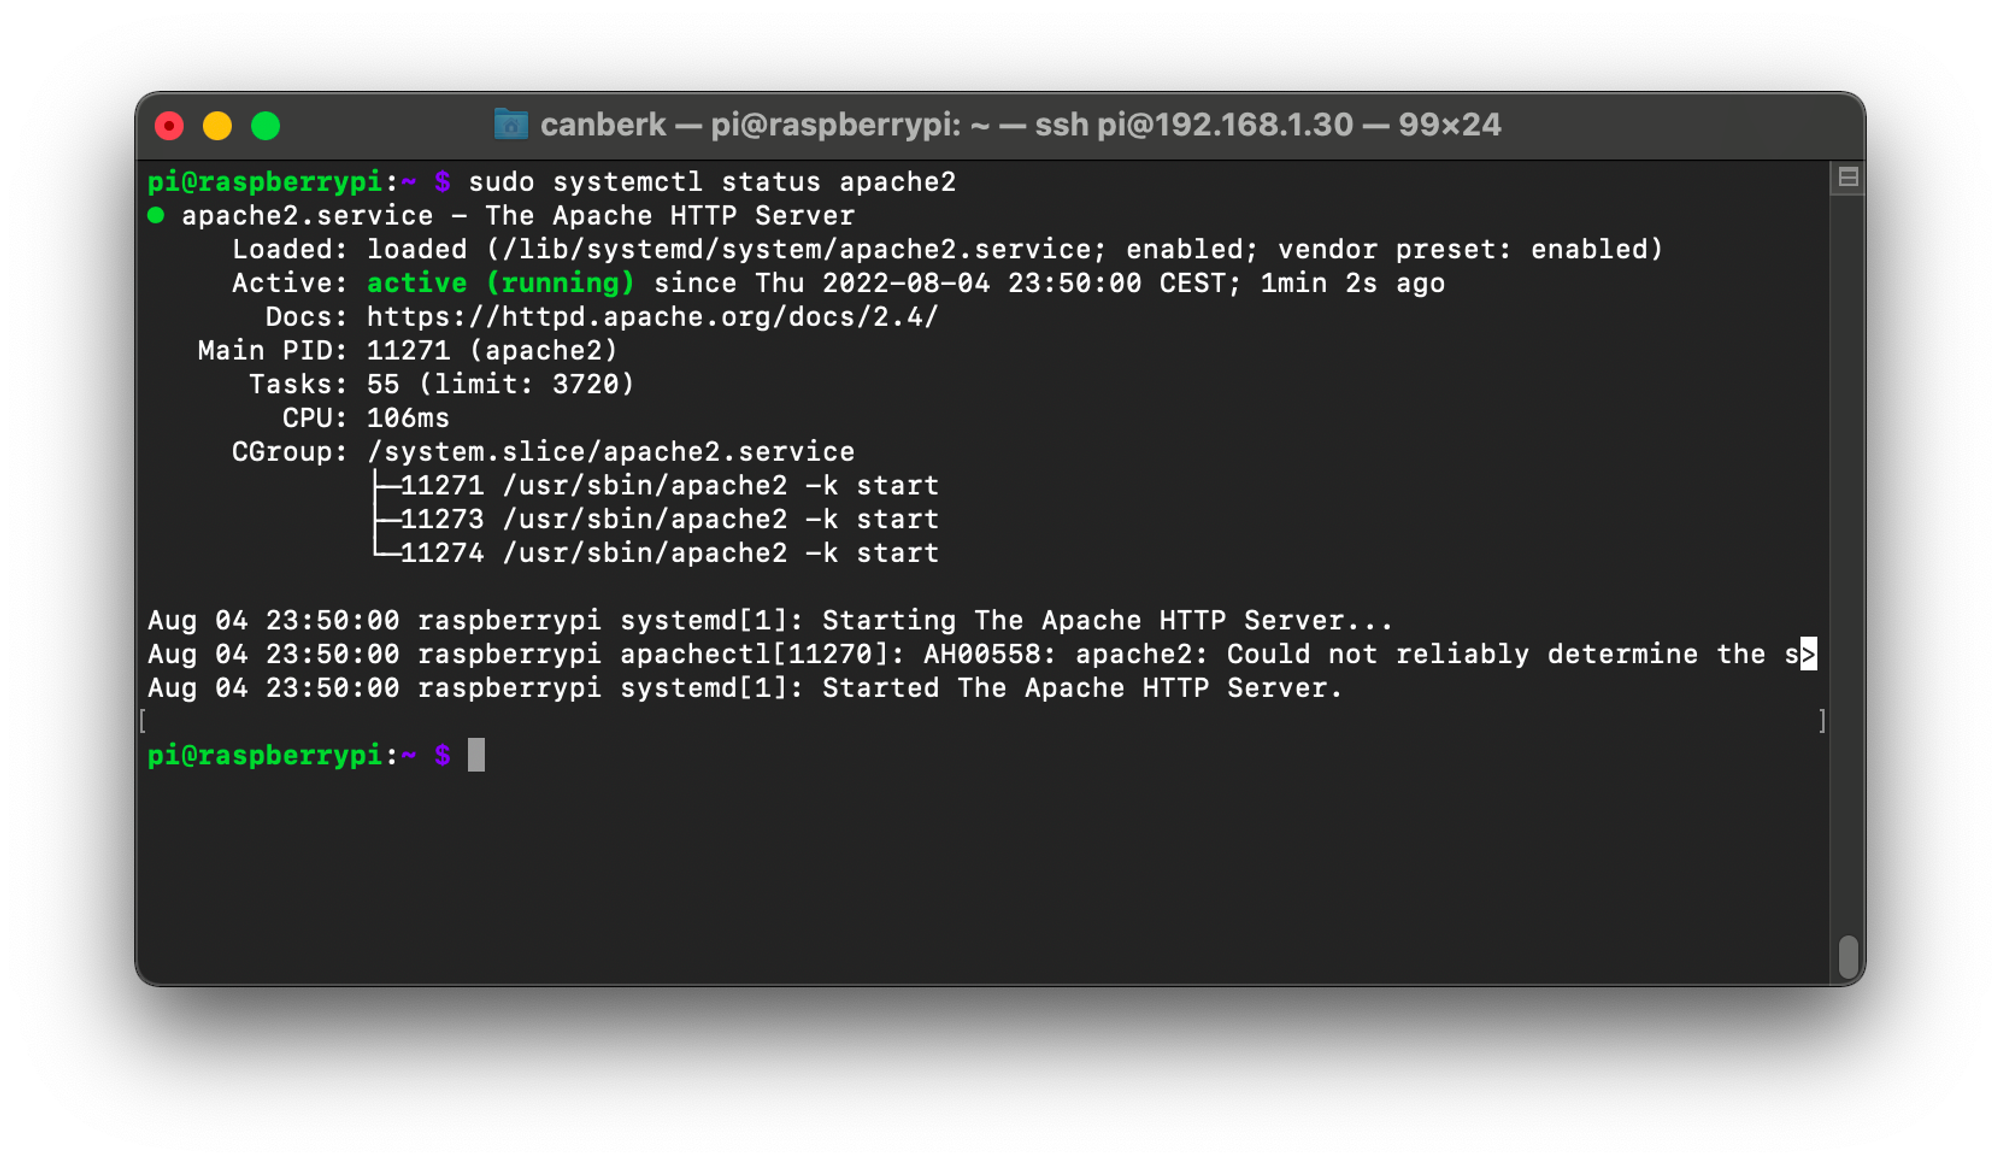
In order to know if the Apache Server is running or not, we can use the systemctl utility as below.
sudo systemctl status apache2As you can see, the Apache Server started automatically after the installation.
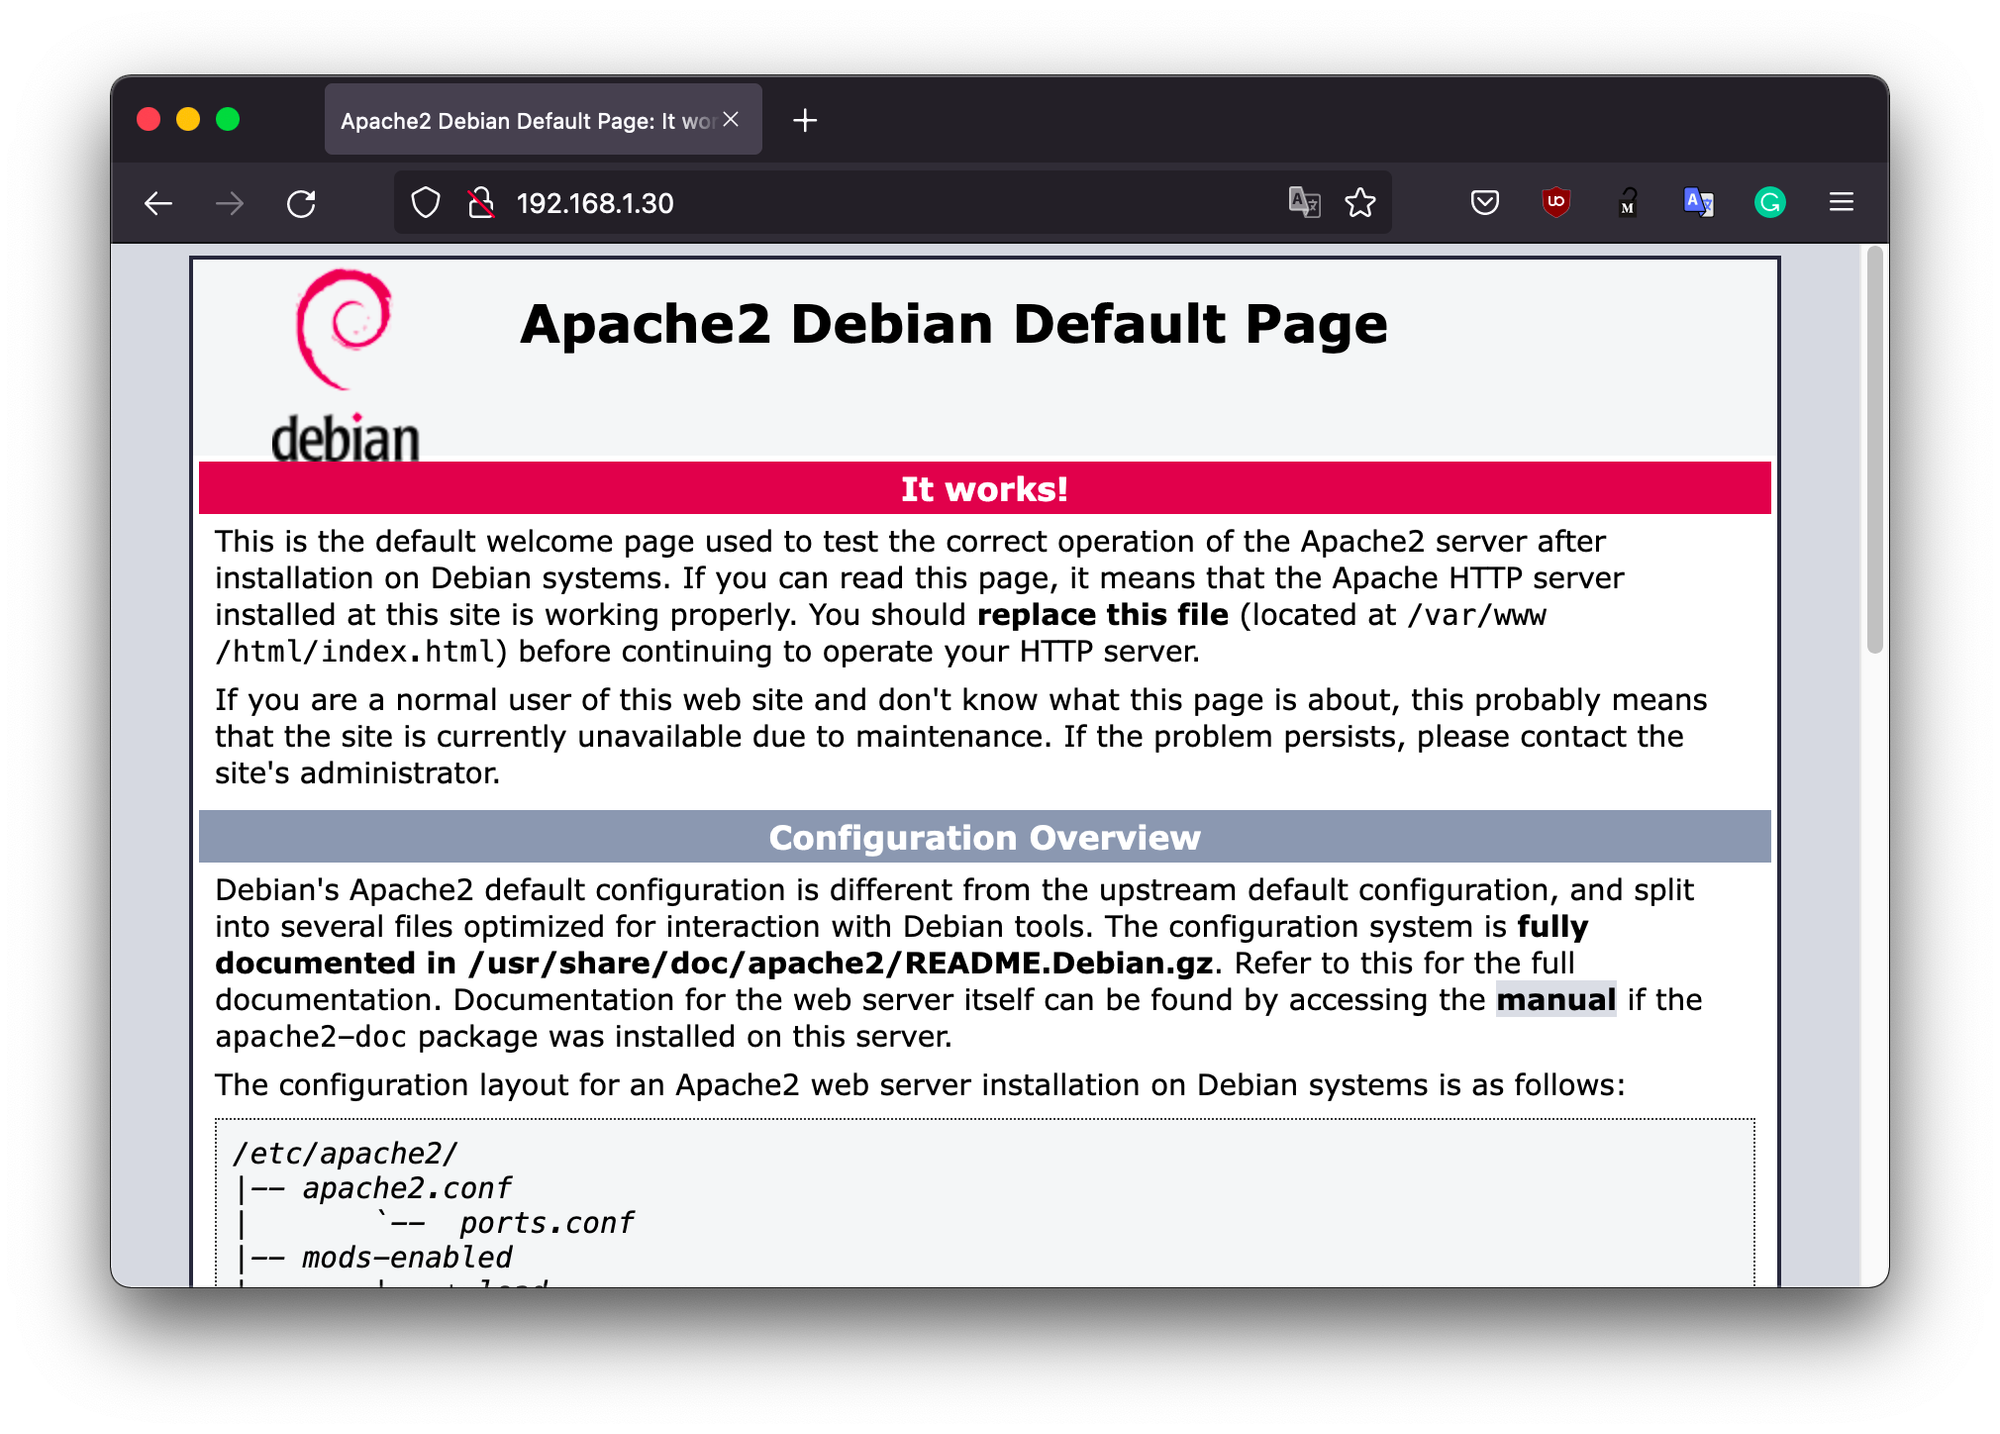
4. Check the Place Holder Website
It should be hosting a placeholder page and we will learn how to modify that page in the next section. First, let’s test if the site is reachable from other computers in the local network and if Apache Server is working as it should be. For this, we should know the local address of the Raspberry Pi. On the Raspberry Pi’s console hostname -I command can be used to reveal the local address of the Raspberry Pi.
hostname -I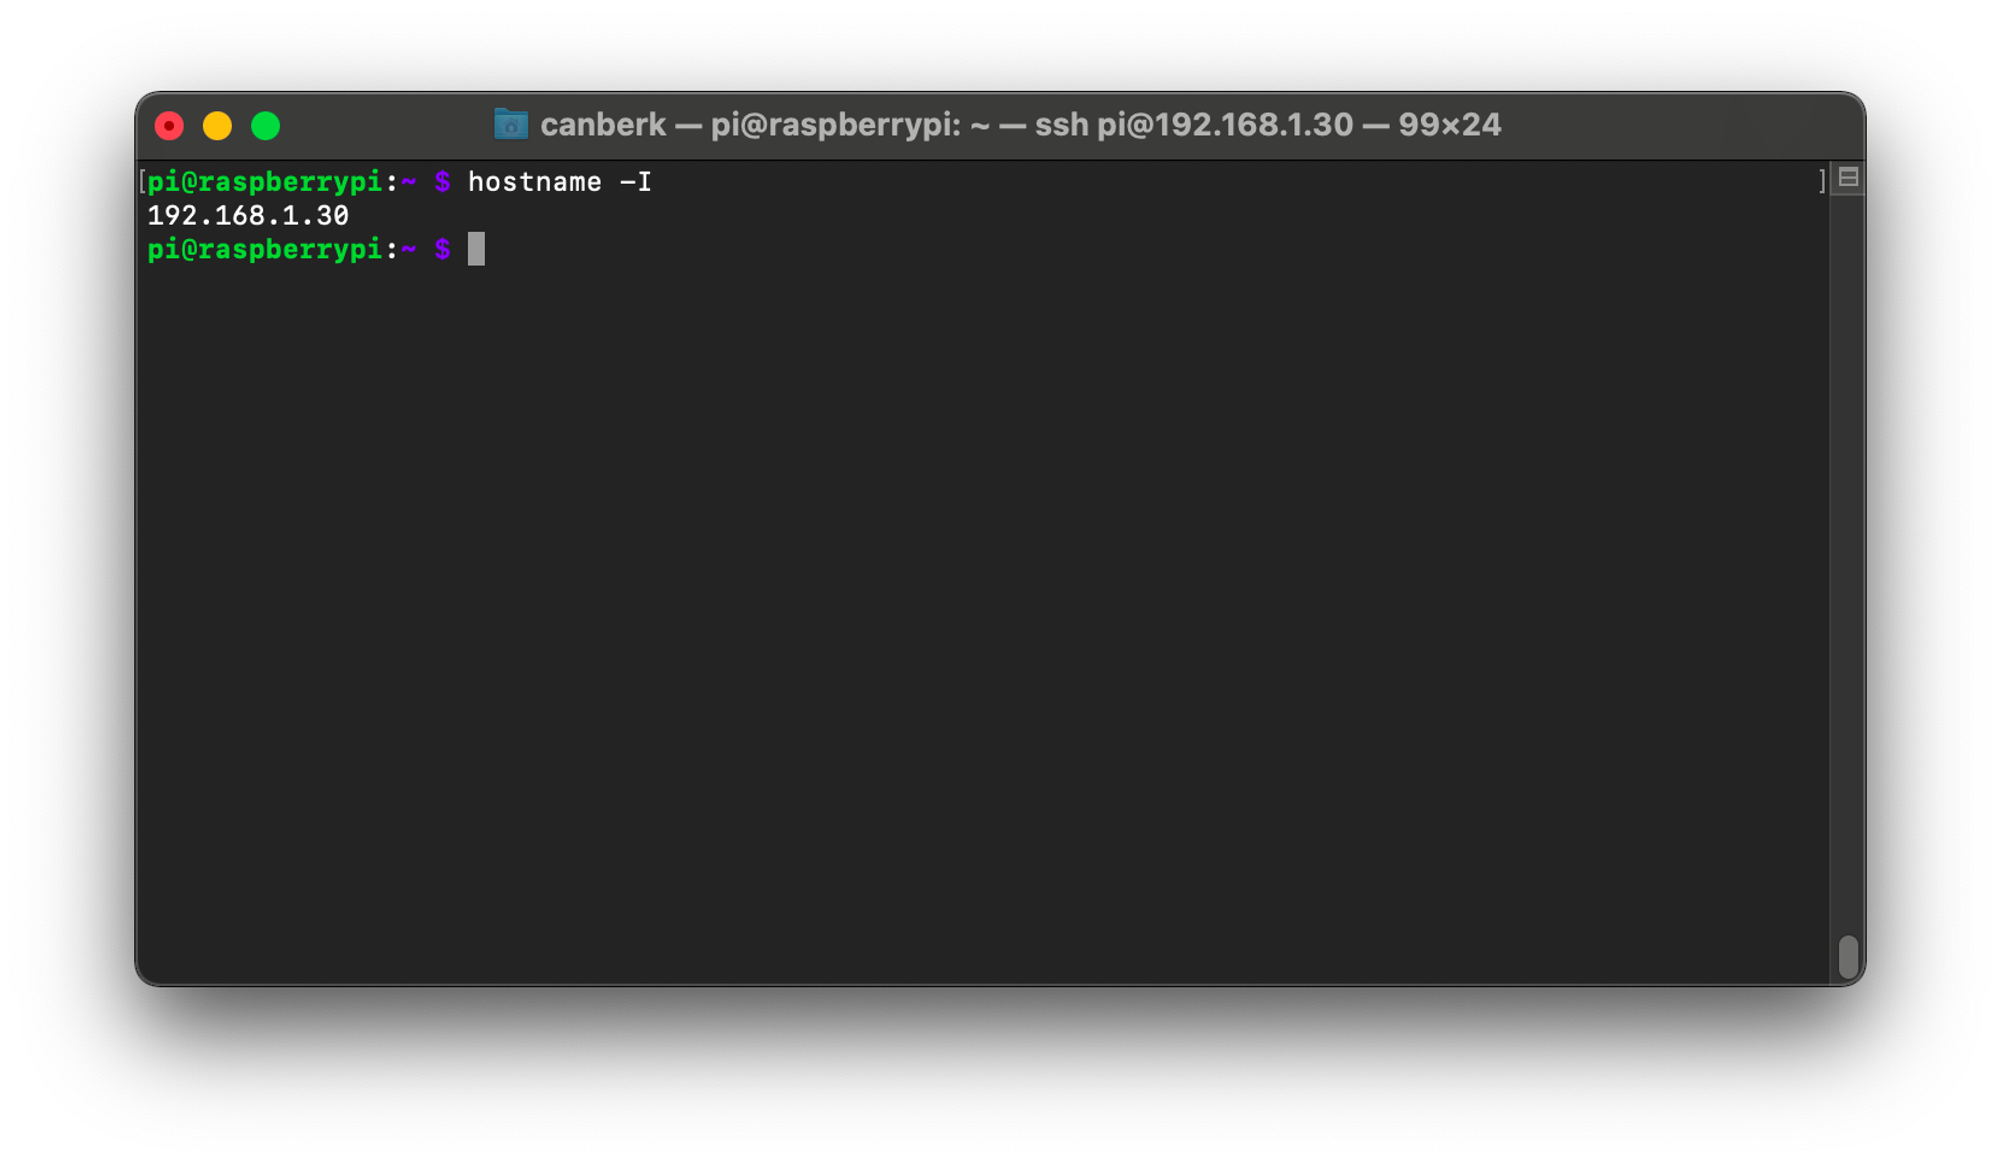
Go to the address you see on the browser.
5. Edit the Placeholder Website
The page you see on the browser is saved in the file /var/www/html/index.html on the Raspberry Pi. You can see the contents using the nano text editor on the terminal.
sudo nano /var/www/html/index.html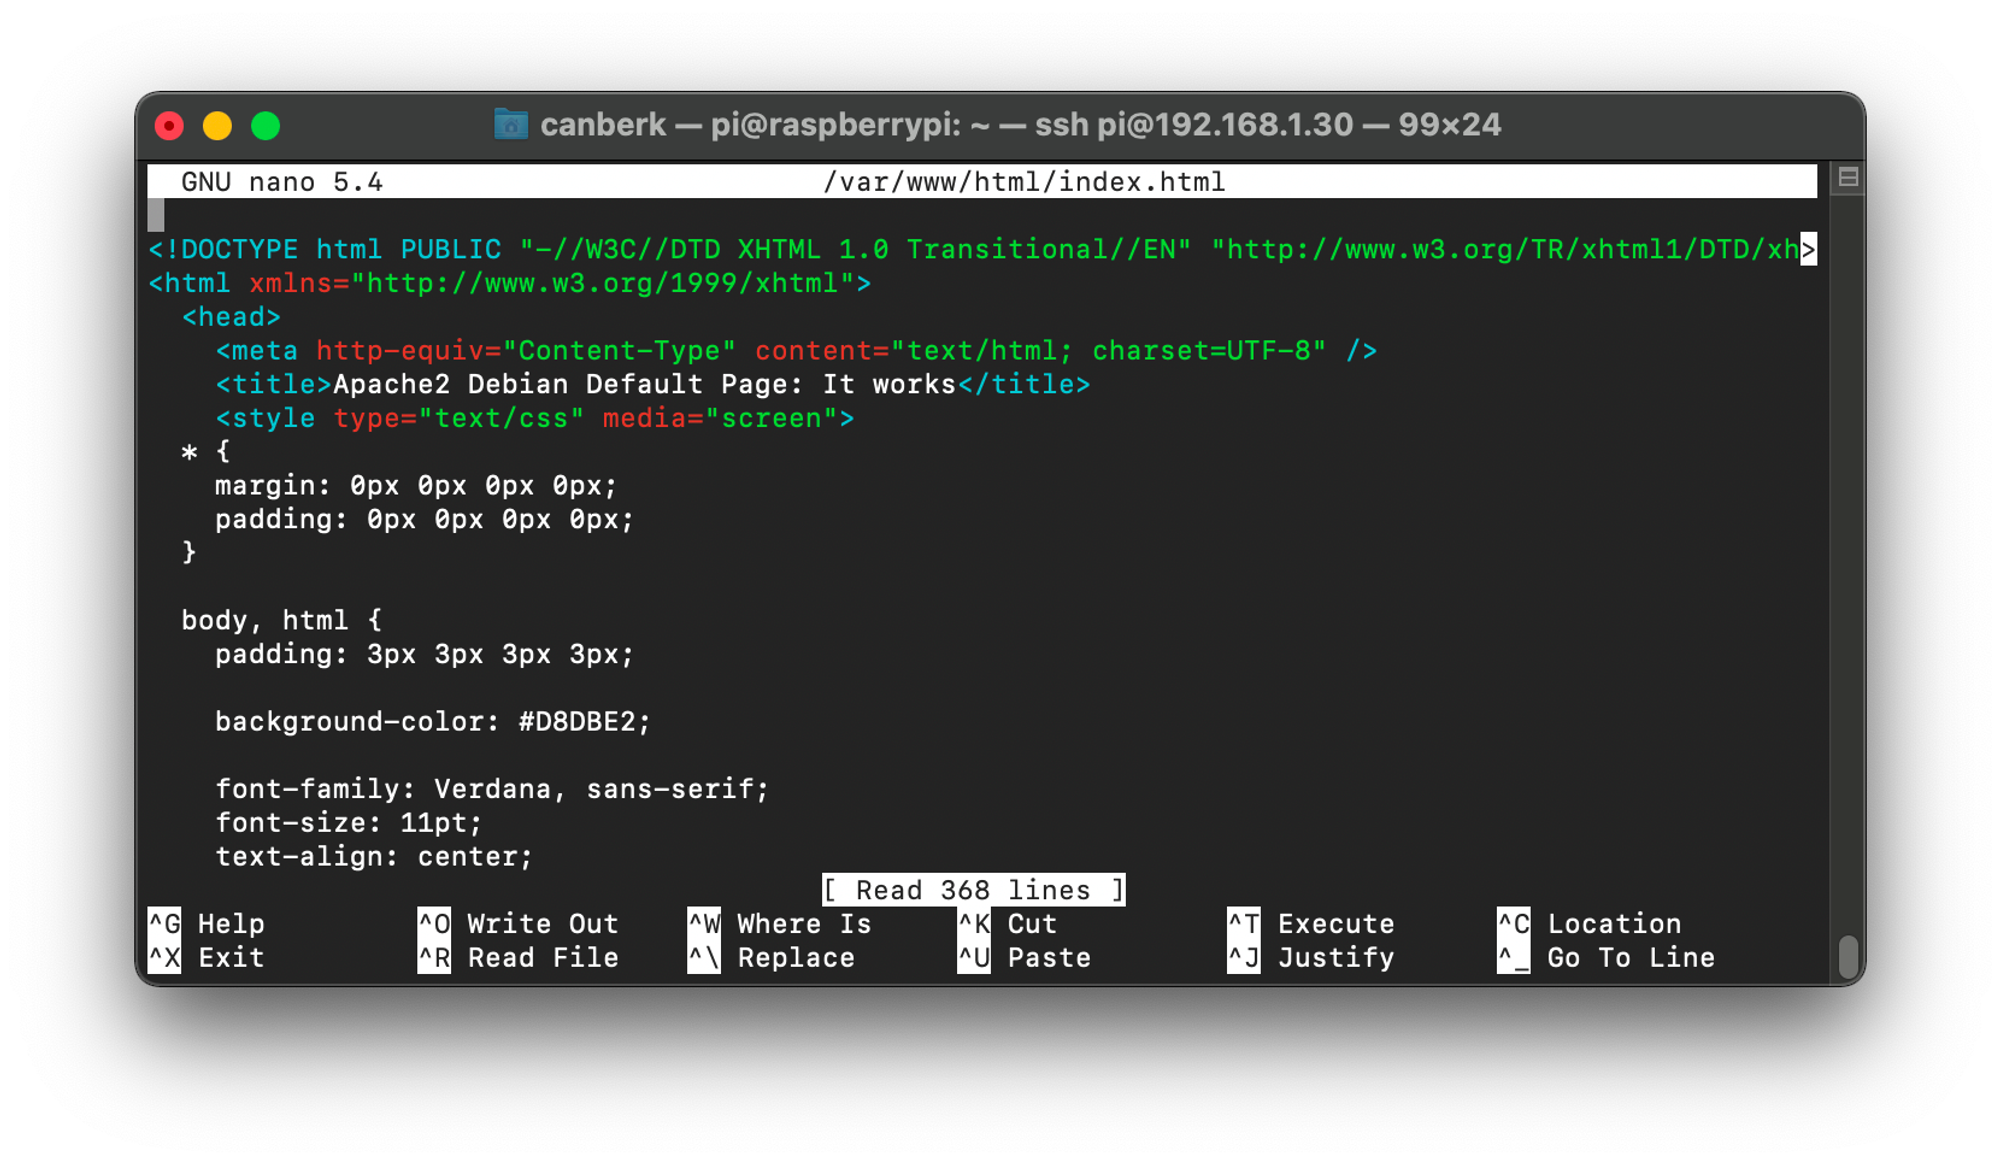
This -of course- is not the ideal environment to read and write code for the website. When you want to develop a website and host it with Apache, you probably are going to write and test the site on another computer and use the Raspberry Pi only to keep the files for serving.
Or you can use this post to make remote development on Raspberry Pi with VSCode: Coding on Raspberry Pi Remotely with VS Code
6. Further Configuration
If you want to have full control over your Apache Server and configure it according to your special needs, you can use the comprehensive documentation that Apache provides: https://httpd.apache.org/docs/2.4/
If you want to dive deeper and see more than user documentation (like contribution guidelines, FAQ, development guides, log messages, etc.) here is a great wiki page: https://cwiki.apache.org/confluence/display/HTTPD/